- Science Toys
- Magnetism
- Electromagnetism
- Electrochemistry
- Radio
- Thermodynamics
- Aerodynamics
- Light and optics
- Simple laser communicator
- Make your own 3D pictures
- Making permanent rainbows.
- A solar powered marshmallow roaster
- Make a spectroscope from a CD.
- The impossible kaleidoscope
- Make a solar hotdog cooker
- Exploring invisible light
- A high resolution spectrograph.
- Time-lapse photography.
- High speed photography.
- Stacking photos for high depth of field.
- Biology
- Mathematics
- Computers and Electronics
A Geodesic Dome
Some years ago I built a geodesic dome out of ½ inch galvanized steel electrical conduit, to serve as an aviary for chickens and small parrots. I wrote a computer program to calculate the proper lengths of steel tubing, and draw the diagram shown below: The dome is made from three different lengths of tubing. I used colored
stickers on the tubes to mark the different lengths -- red for the long ones,
violet for the medium lengths, and green for the short ones. You can see those
colors in the drawing.
The ends of the tubes are smashed flat with a hammer, and then holes are drilled
in the flat ends for a bolt to go through to connect up to six of the tubes
together. Aviary wire is then wrapped around the dome to keep the birds in
and predators out. The completed dome is 18 feet high, and over 20 feet in
diameter.
For this project, something a little more modest in size is required.
Something less than three feet in diameter, so it can fit through a door.
For the first attempt at a smaller dome, I used bamboo kebab skewers and
gumdrops. The three lengths of the struts are 100%, 97.85%, and 84.53%.
Because I knew I would be using soda straw for the more permanent second version,
and the straws were 7¾ inches long, I chose that length for
the long (100%) strut. That made the other lengths 7½ inches, and
6½ inches.
You will need these materials for the gumdrop dome:
The dome is made from three different lengths of tubing. I used colored
stickers on the tubes to mark the different lengths -- red for the long ones,
violet for the medium lengths, and green for the short ones. You can see those
colors in the drawing.
The ends of the tubes are smashed flat with a hammer, and then holes are drilled
in the flat ends for a bolt to go through to connect up to six of the tubes
together. Aviary wire is then wrapped around the dome to keep the birds in
and predators out. The completed dome is 18 feet high, and over 20 feet in
diameter.
For this project, something a little more modest in size is required.
Something less than three feet in diameter, so it can fit through a door.
For the first attempt at a smaller dome, I used bamboo kebab skewers and
gumdrops. The three lengths of the struts are 100%, 97.85%, and 84.53%.
Because I knew I would be using soda straw for the more permanent second version,
and the straws were 7¾ inches long, I chose that length for
the long (100%) strut. That made the other lengths 7½ inches, and
6½ inches.
You will need these materials for the gumdrop dome:
- 90 skewers 7¾ inches long
- 85 skewers 7½ inches long
- 80 skewers 6½ inches long
- 11 green gumdrops
- 15 orange gumdrops
- 50 red gumdrops
- Cellophane tape
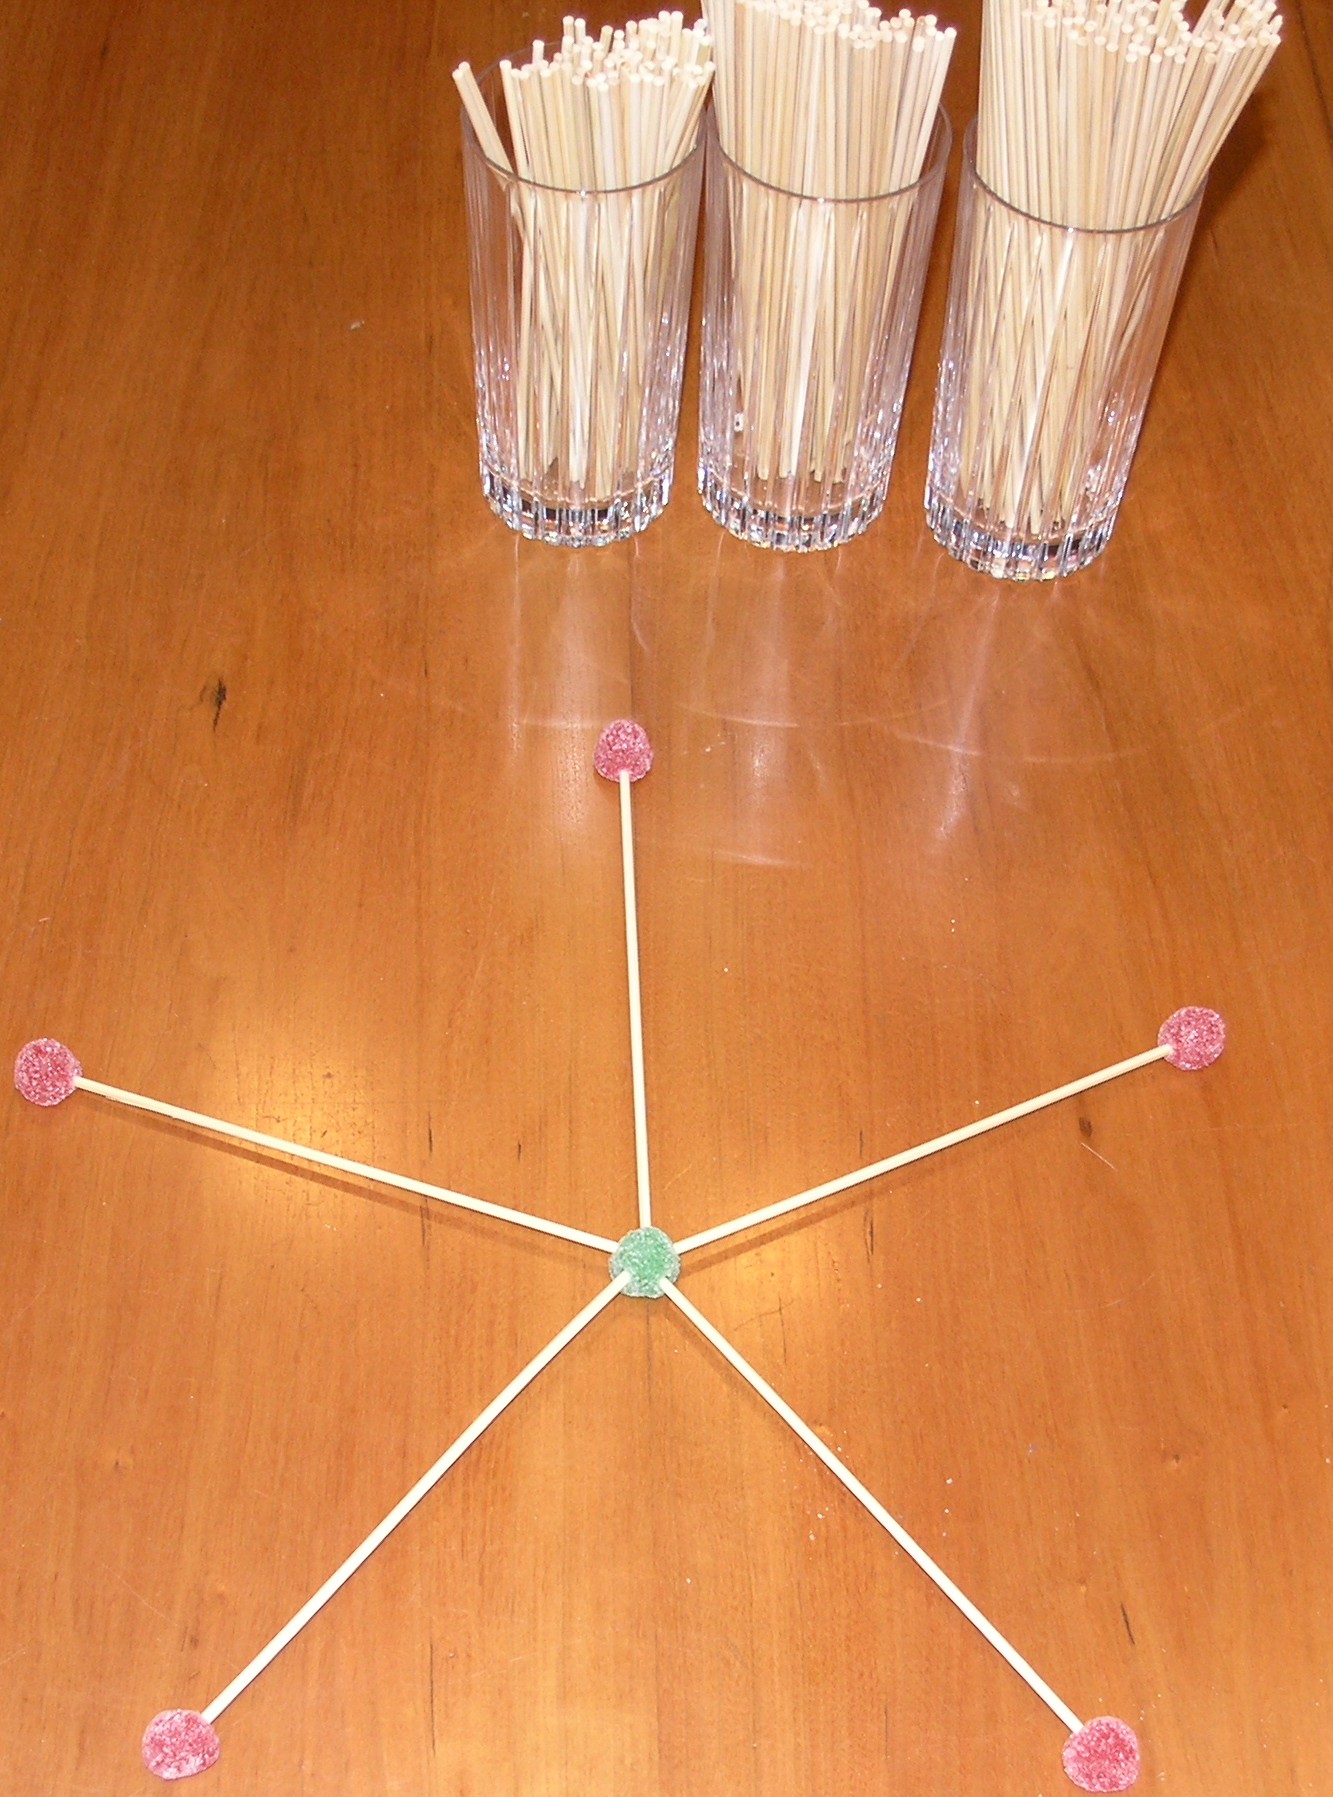
Click on photo for a larger picture With the sticks all cut to the proper lengths (using a pair of wire cutters) the first step is to make the central pentagon of the dome. Five short sticks are stuck into a green gumdrop, and a red gumdrop is stuck onto each of the five ends of the sticks.
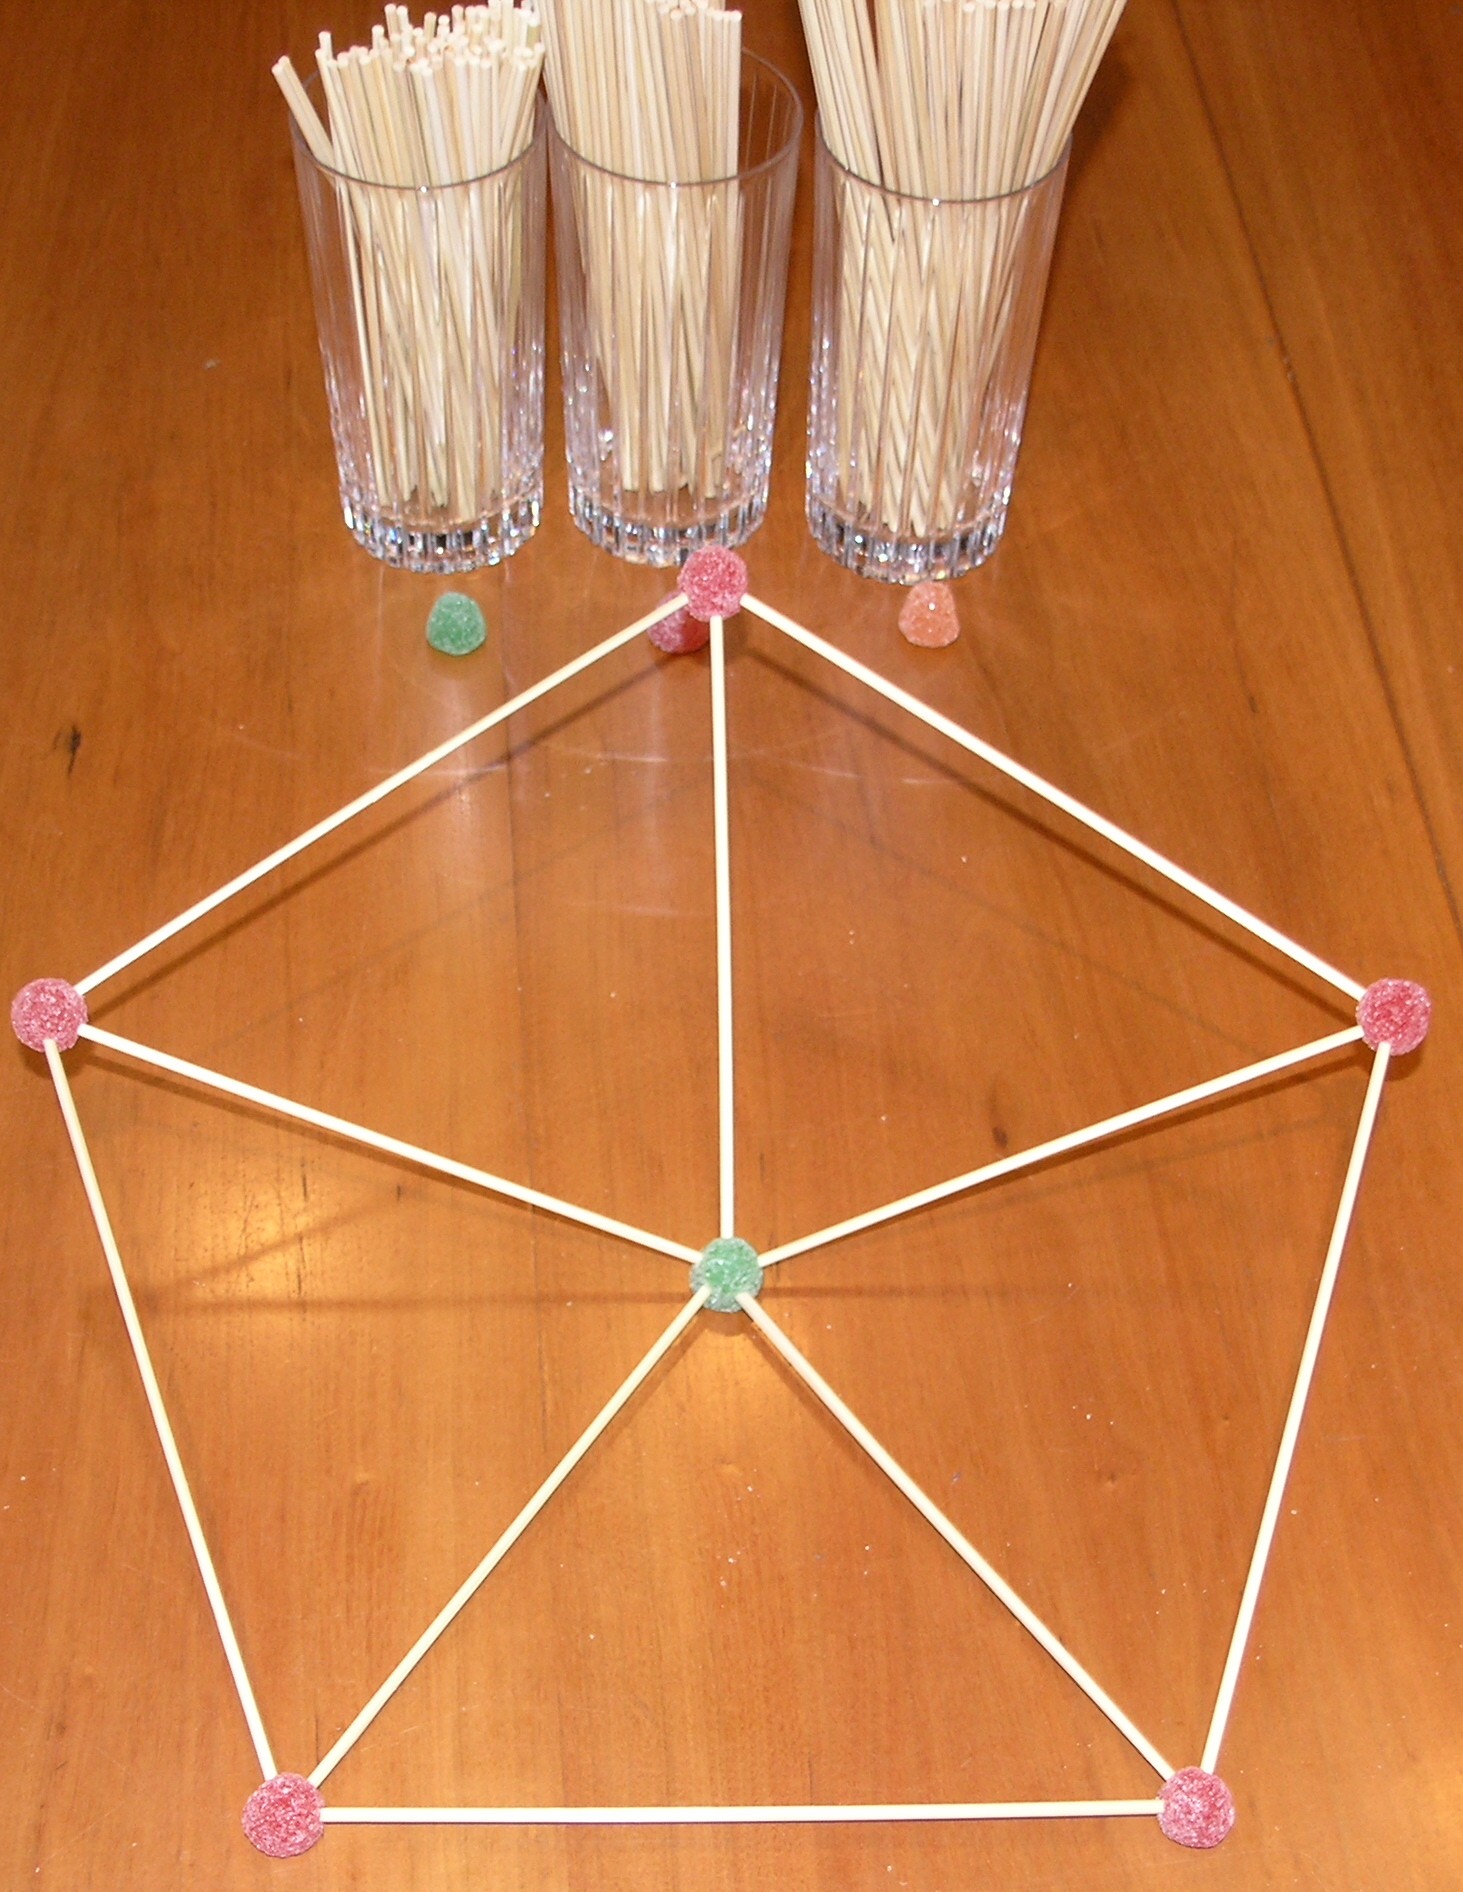
Click on photo for a larger picture Next, five medium sticks are stuck into the red gumdrops, and the pentagon is no longer flat. We can now see that by making the sticks different lengths, we can ensure that the proper three-dimensional form will take shape.
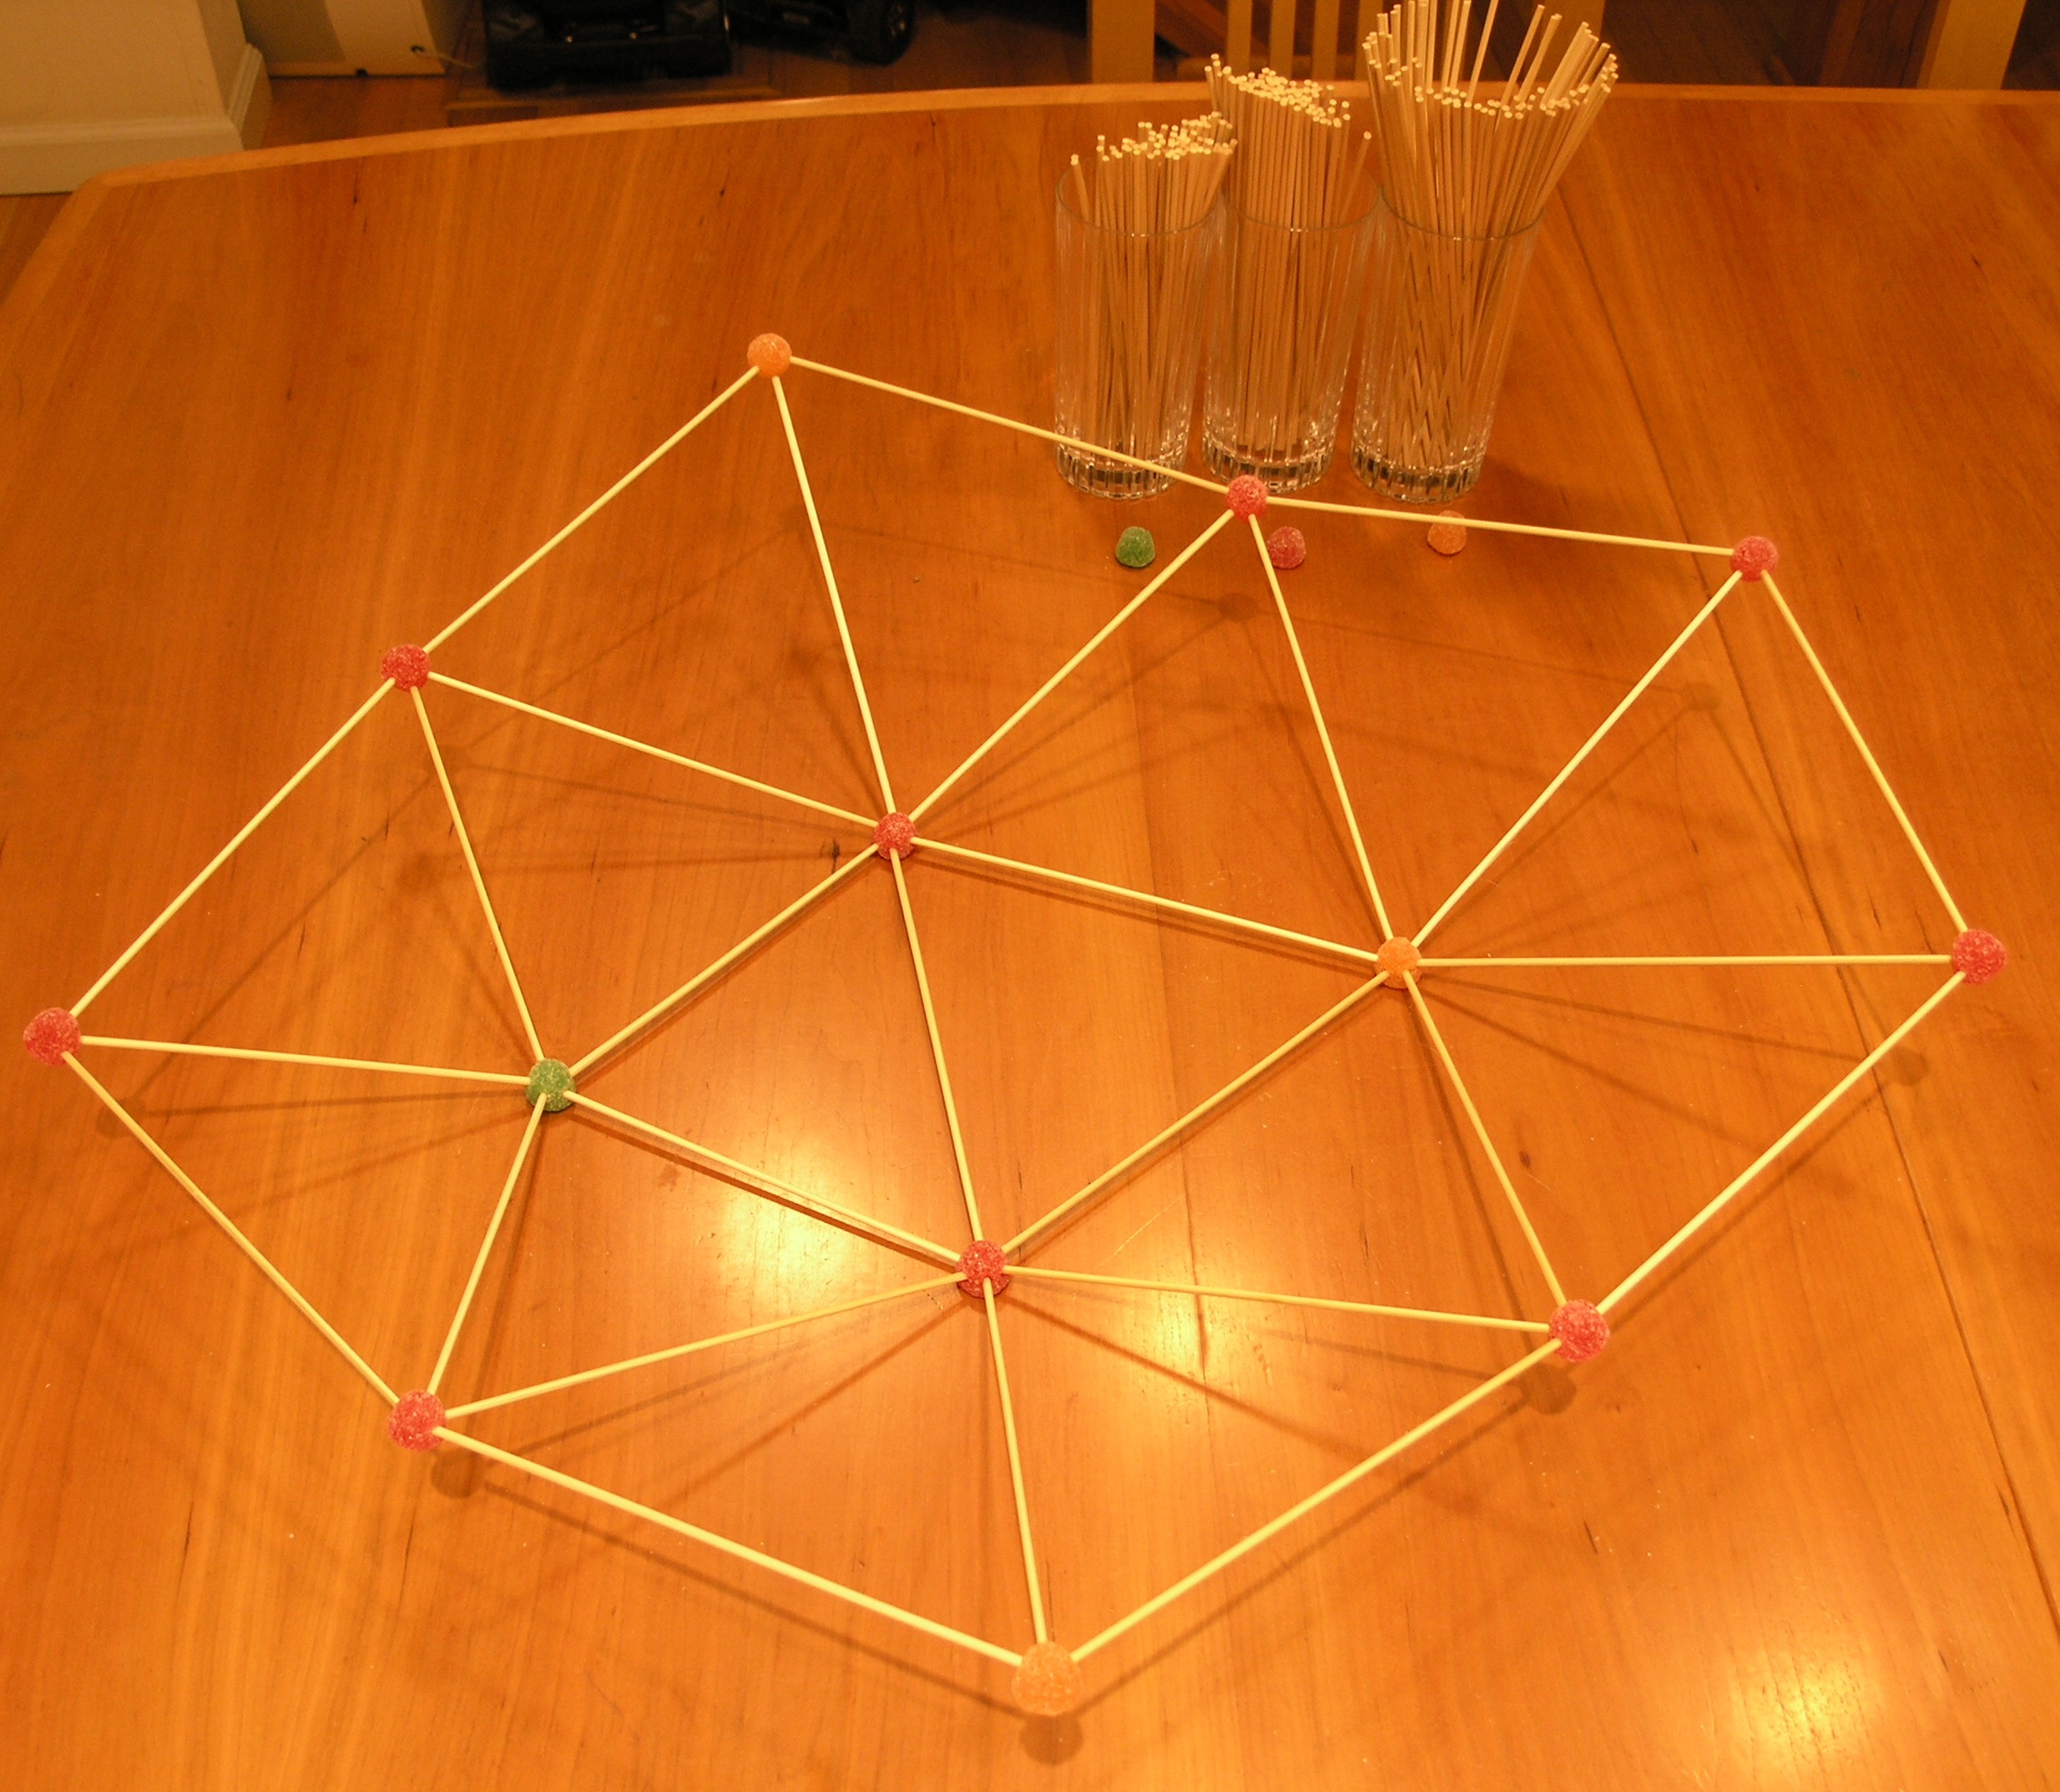
Click on photo for a larger picture The dome is made of pentagons and hexagons. Each of the five sides of the pentagon has a hexagon attached to it made from the longest sticks. The sides of the pentagons and hexagons are all made of the medium sticks. In the gumdrop dome we have green gumdrops at the center of the pentagons, and orange gumdrops at the center of the hexagons, and red gumdrops everywhere else.
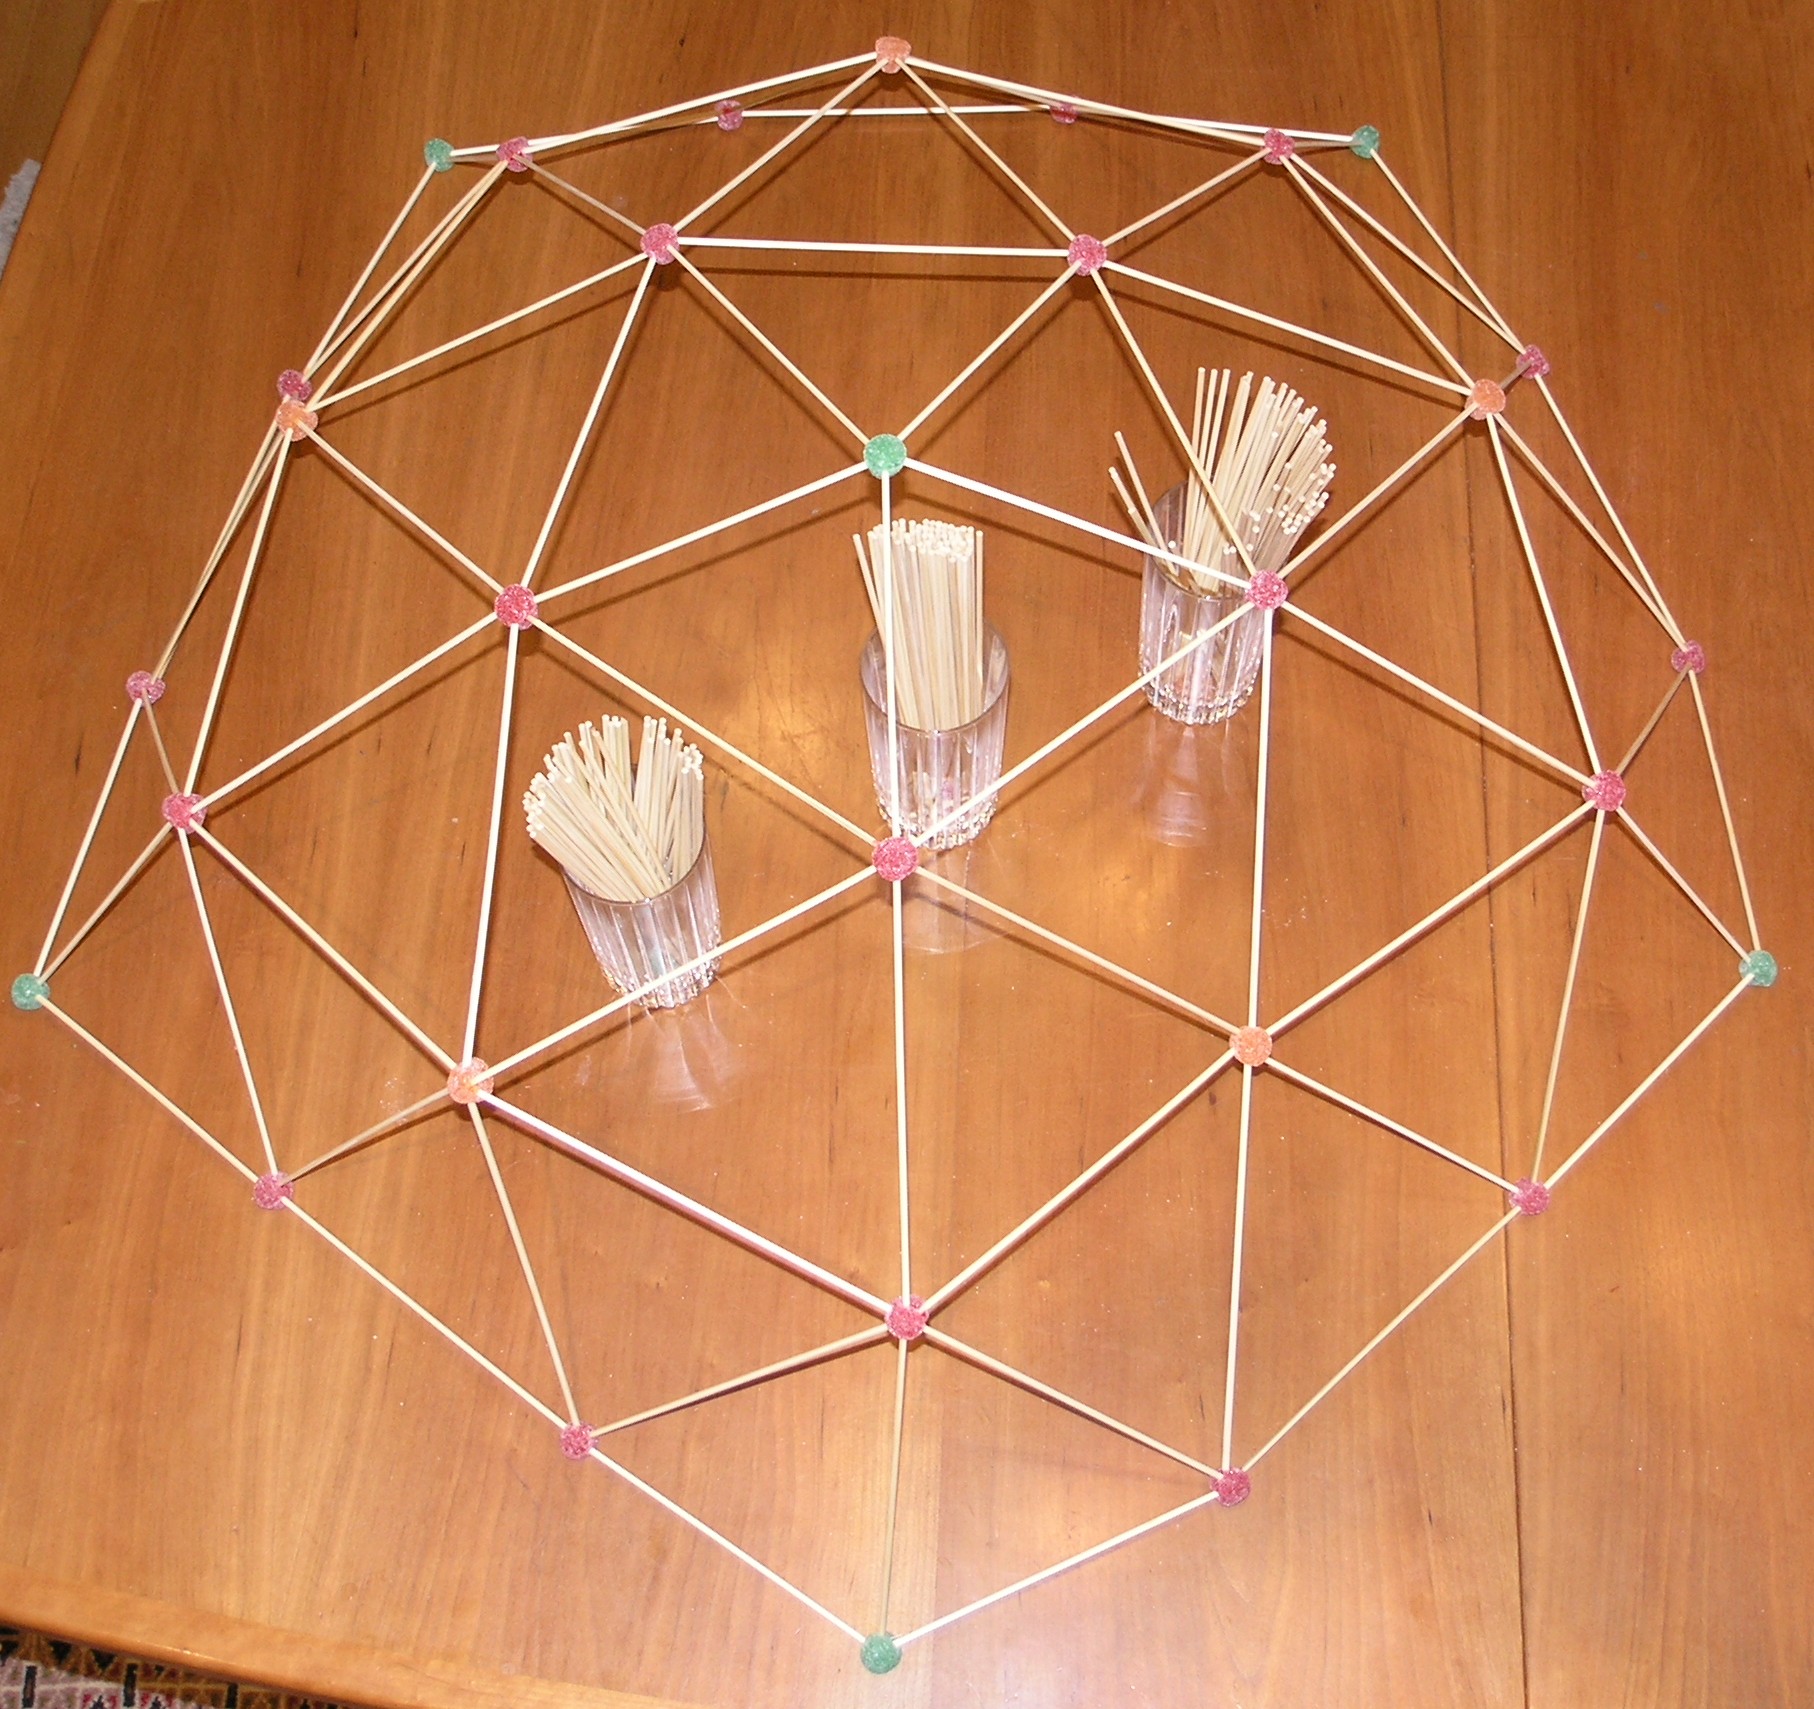
Click on photo for a larger picture When five hexagons have been attached to the central pentagon, and five more green gumdrops connected at the bottom between the hexagons, we have a structure that looks like a dome. This is about as far as we can go with gumdrops alone. At this stage, all of the weight of the dome is being held up by the stickiness of the bottom gumdrops. But gumdrops can only hold a small amount of weight before the sticks start to pull out. We solve this problem by using cellophane tape to hold the sticks together. We only need to do it for the red and orange gumdrops, where we can easily connect the sticks in pairs, across the gumdrops. Attach one end of a 4 inch length of tape to one stick, lay the tape over the gumdrop onto the opposite stick, and then fold the edges of the tape around the stick so the sticky sides hold together. You can see this by enlarging the photo below.
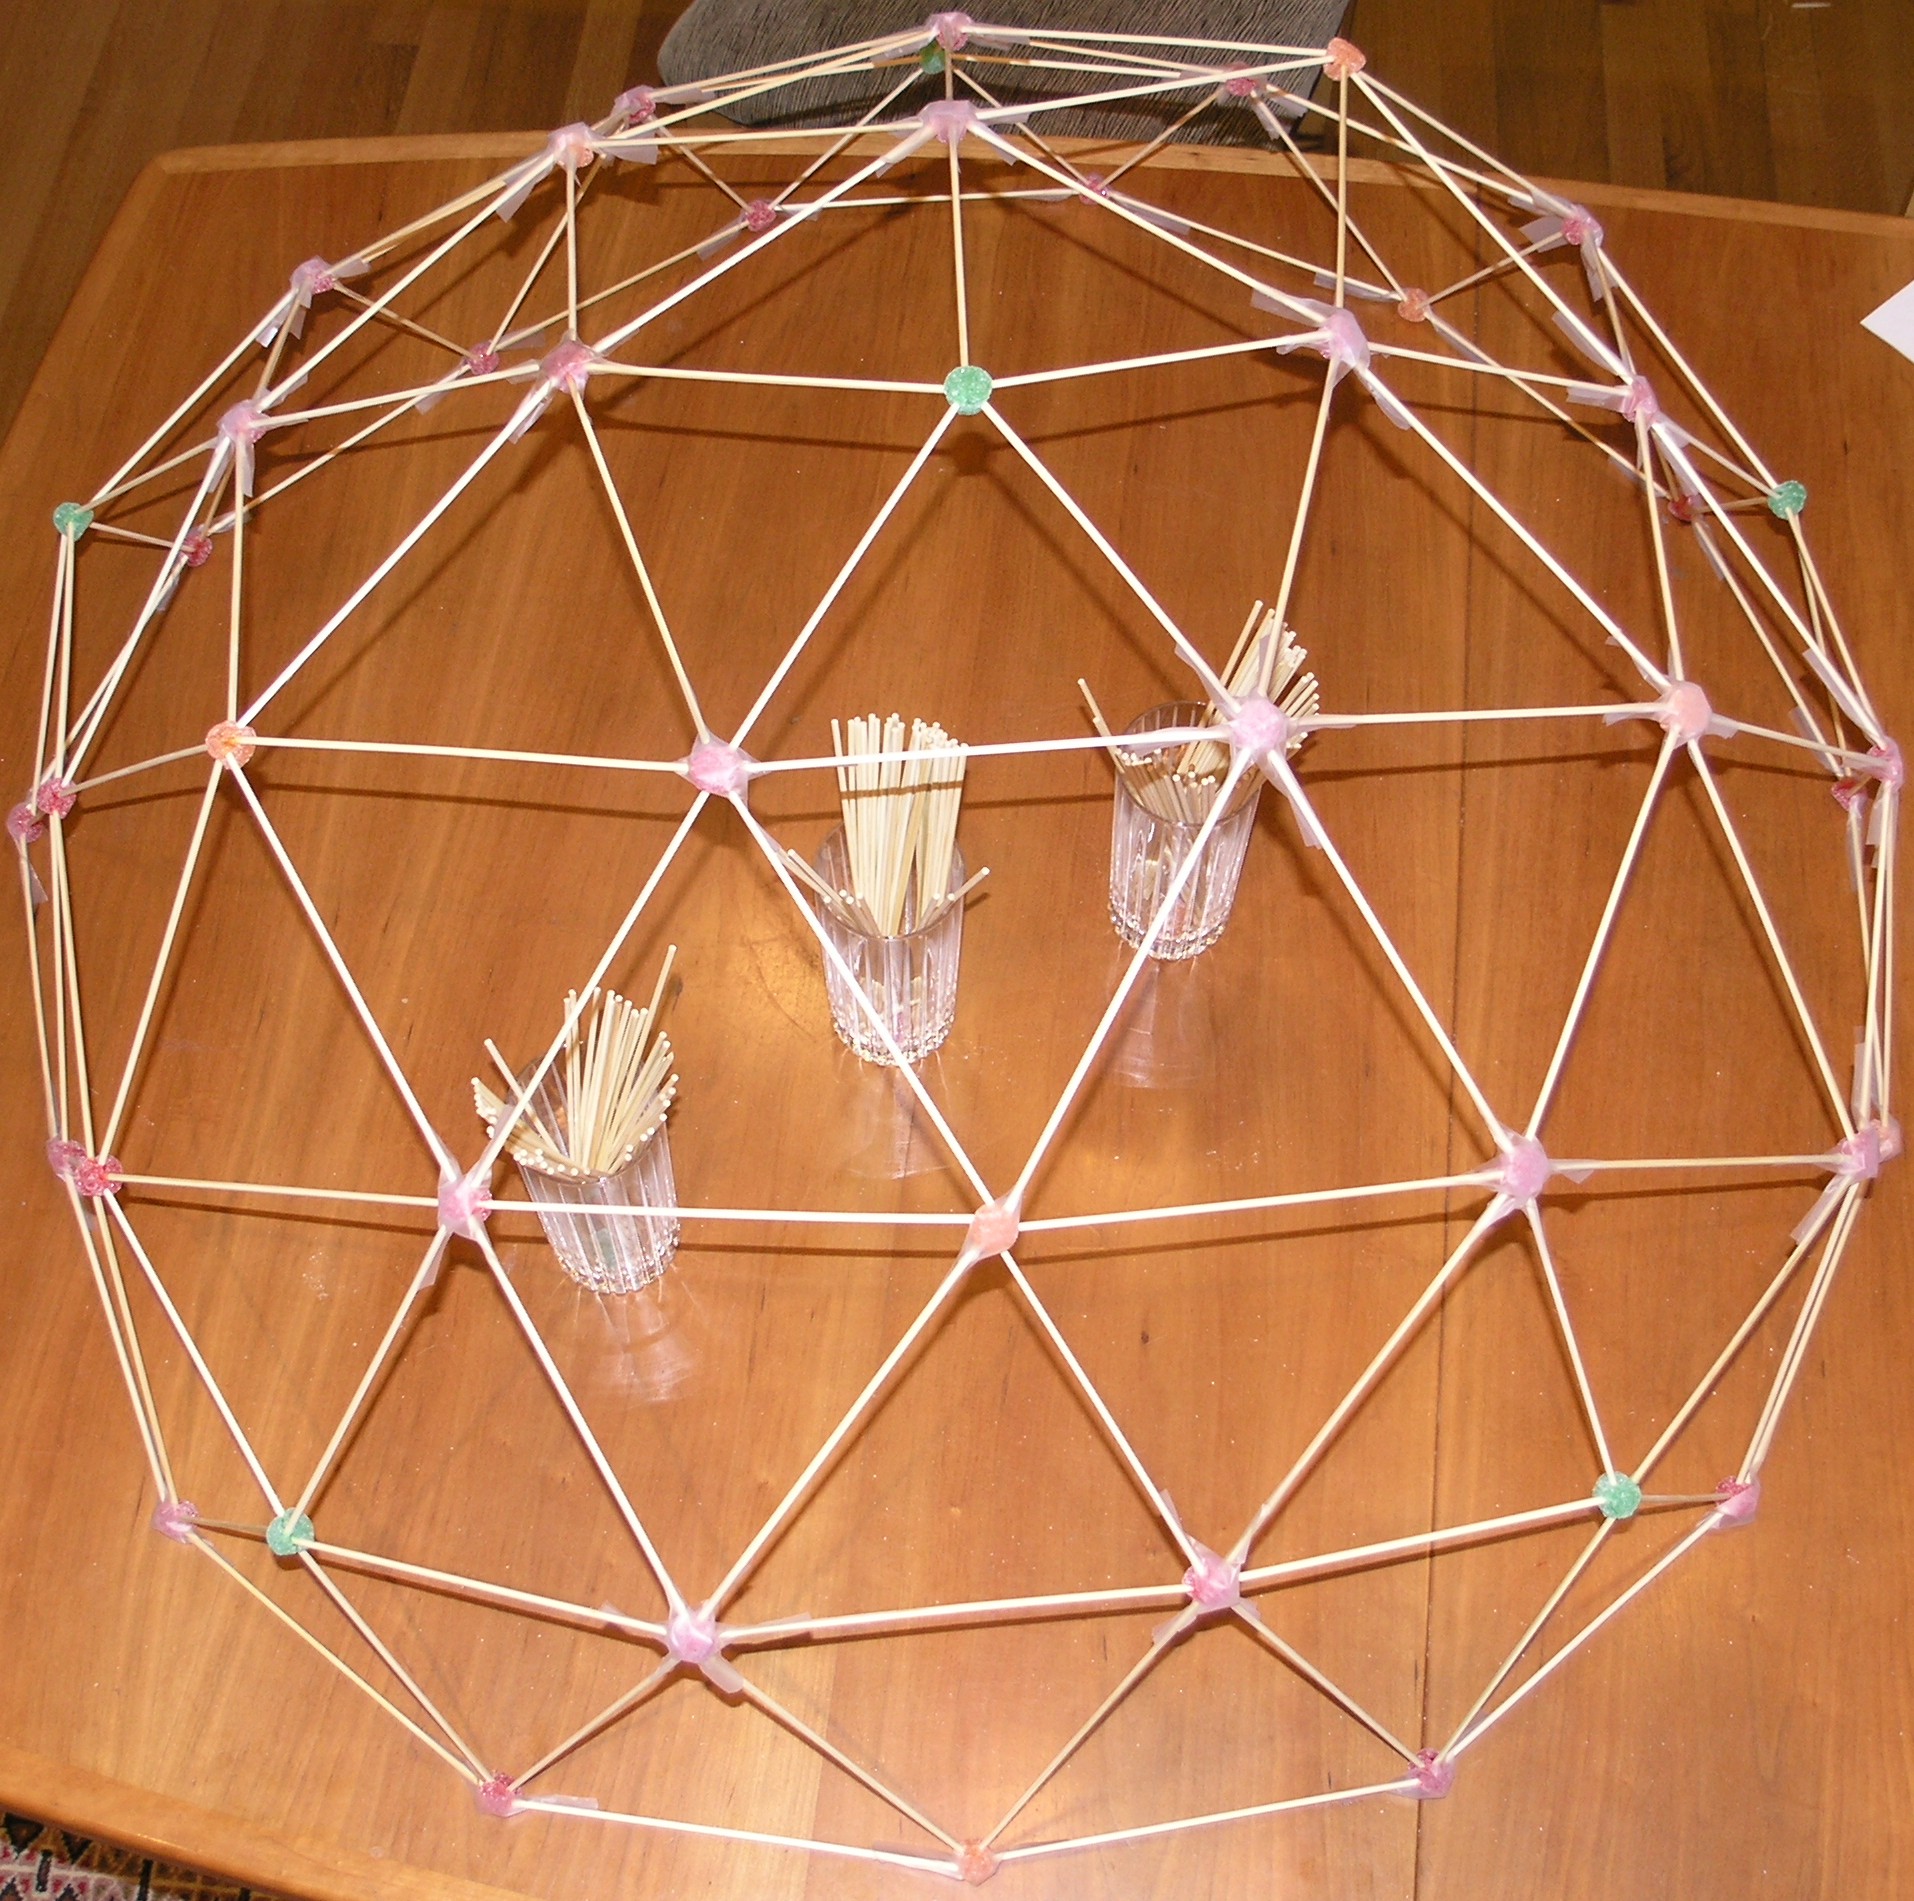
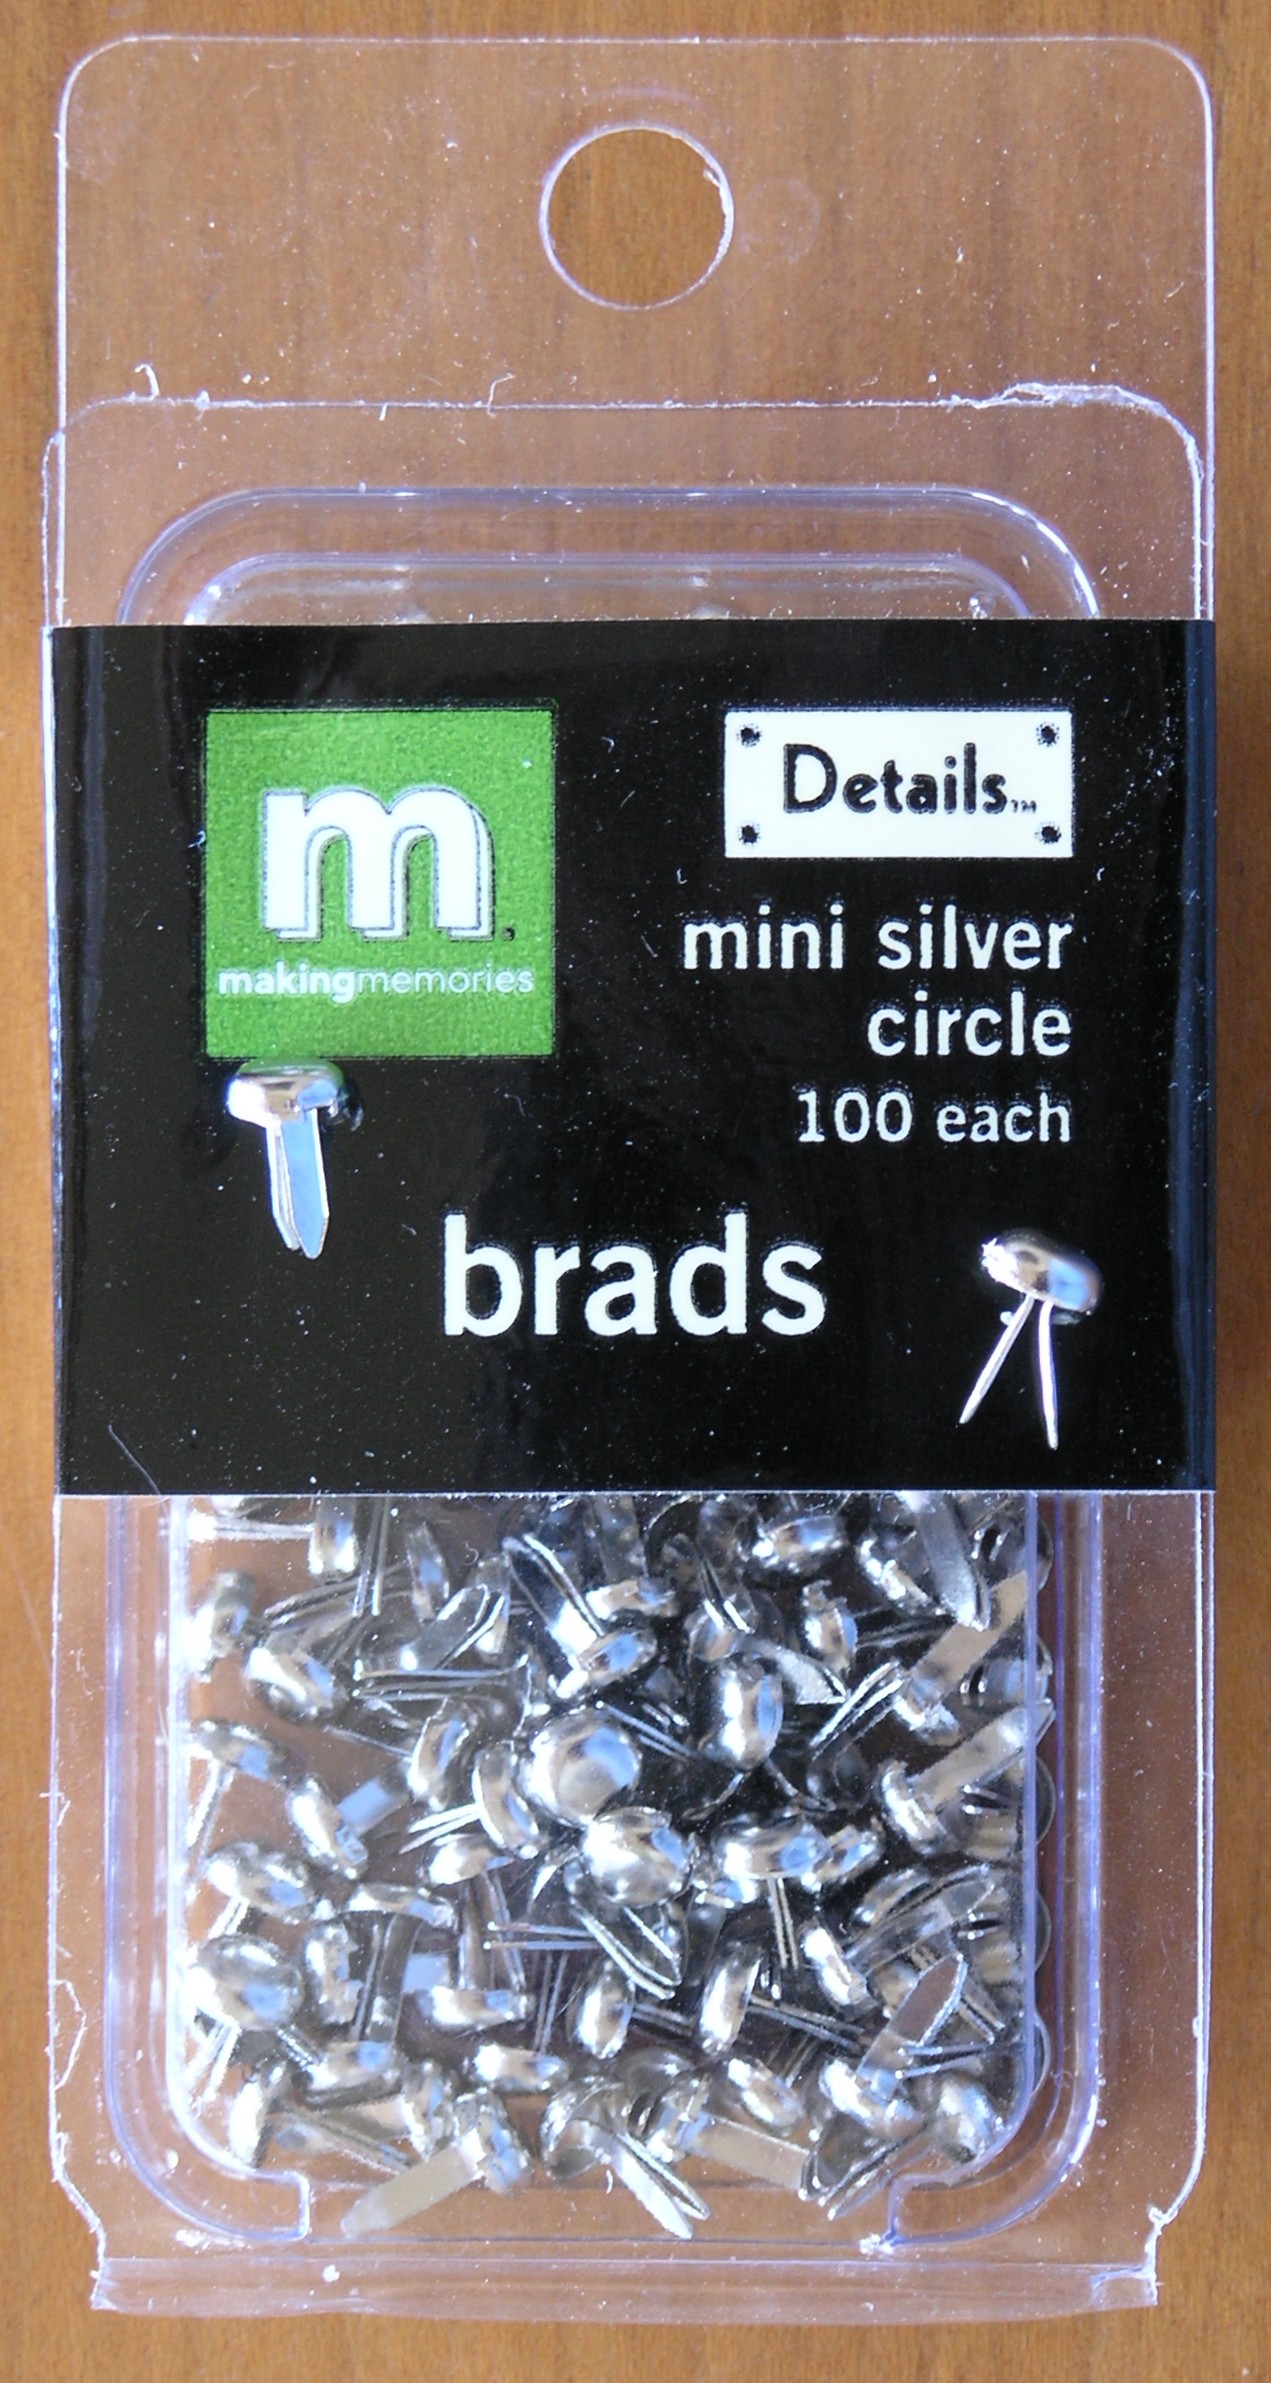
Click on photo for a larger picture We end up with a nice dome. But it won't hold up well to being moved around, because the gumdrops are heavy and don't hold the sticks well enough. But it let us get the concept, and it was nicely color coded. Our second, more portable and permanent dome, is made from plastic soda straws and small brads, the kind used for fastening paper. You will need these materials for the soda straw dome:
- 90 straws 7¾ inches long
- 85 straws 7½ inches long
- 80 straws 6½ inches long
- 76 small brads
Click on photo for a larger picture We begin assembling the dome by connecting one side of the center pentagon to one side of a hexagon. The photo shows one hexagon for clarity, but you will be putting two hexagons on at a time, so there are always six straws meeting at each brad. The photo also only shows one medium length straw forming an edge, but you will be adding the edges on all sides, closing the brad whenever you have six straws connected.

Click on photo for a larger picture In the photo below, we have five hexagons connected to the central pentagon, and five more pentagons (without sides yet) connected between the hexagons.
Click on photo for a larger picture The finished dome is 2 feet 2¾ inches tall (68 centimeters). It is lightweight, and can be tossed around without breaking, and will fit through doors, or in the back of a station wagon. The geometry of the finished sculpture is quite beautiful.
Click on photo for a larger picture The large dome is still housing chickens out in my backyard. It is amazingly strong -- I had to climb all over it to wrap the aviary wire on it, and it never budged.
Click on photo for a larger picture We put a small plastic shed (7 feet high, 6 feet long, 8 feet wide) next to it, and removed three struts to form a door, and screwed the aviary wire to the shed, so the shed forms a nice door and "airlock" so the chickens don't escape. A large plastic tarp attached with bungee cords forms a waterproof roof. The small parrots live in the top half of the dome, and the chickens have the bottom half.
A Paper Geodesic Dome
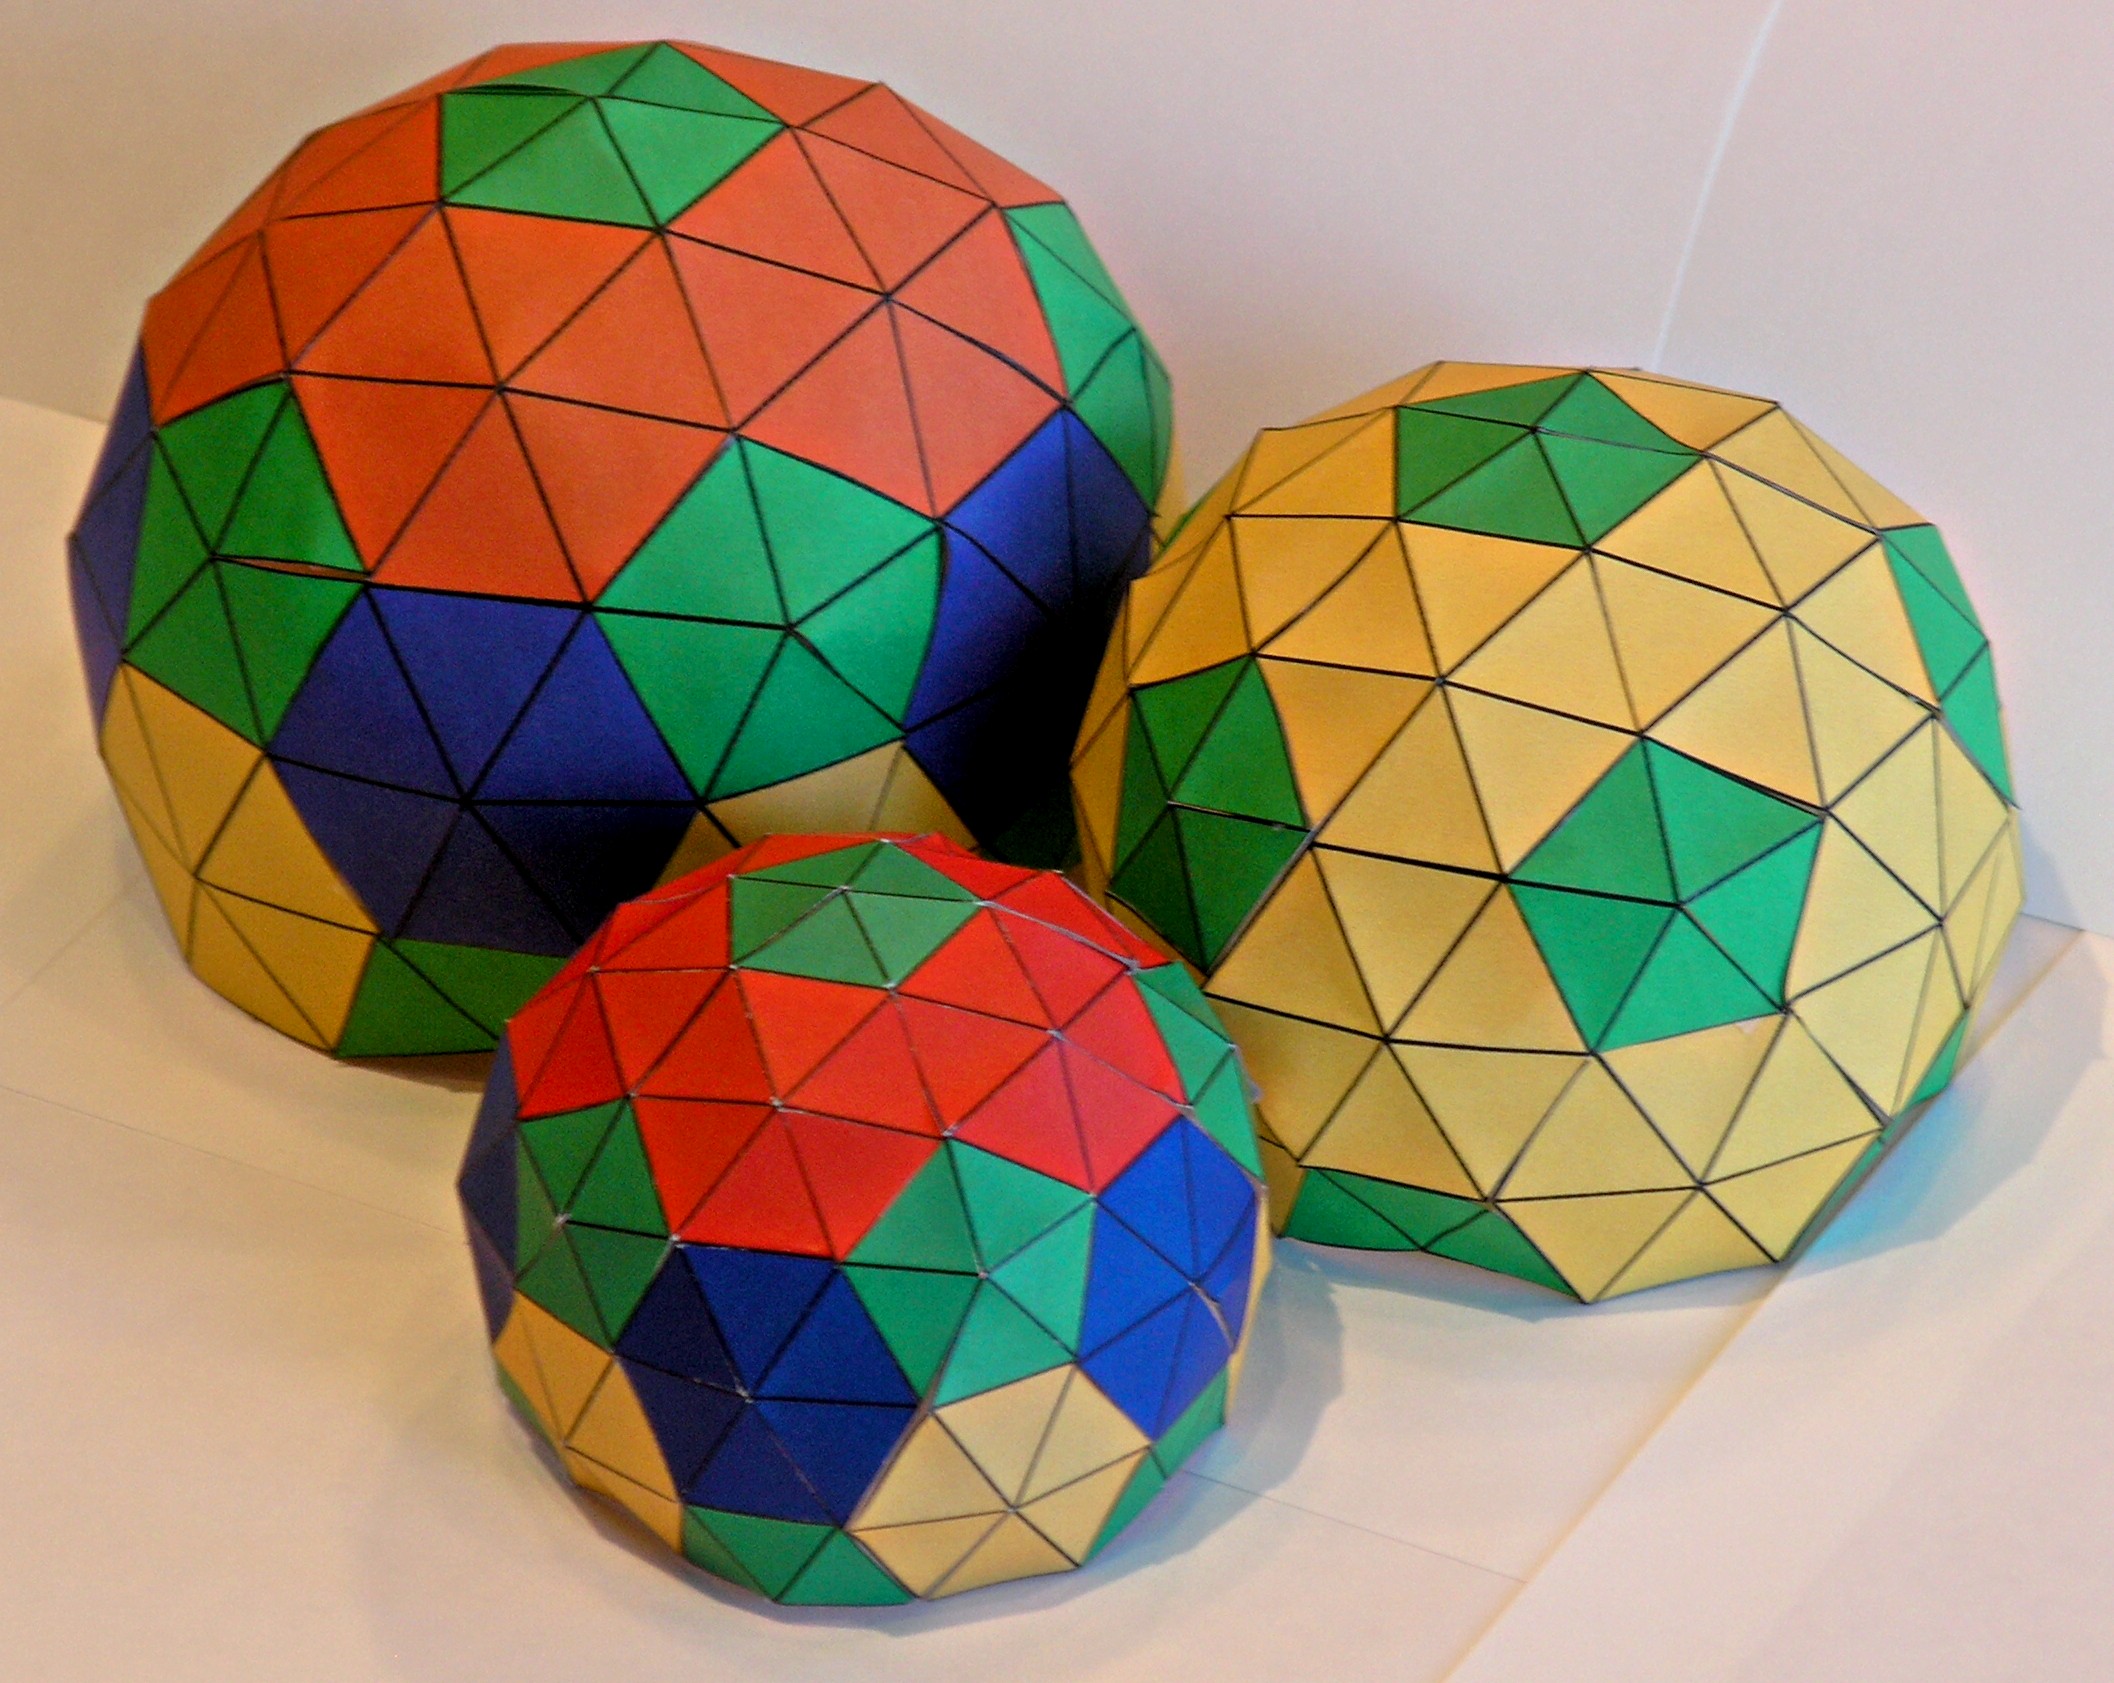
Click on photo for a larger picture The same ideas can be used to build a dome made from triangular sheets of material instead of rods. The edges of the triangles simply have the same lengths as the rods did. If we choose to use paper, we can print out a template on a printer, and then simply cut it out, fold it, and tape the edges together to get a dome. You can print out the following page from the web site, or make a photocopy of it, enlarging it if you want a larger dome.
Click on photo for a larger picture If you want an even larger paper dome, you can cut the drawing into smaller pieces, so when your printer resizes them to fit the page, you will have larger triangles. Use tape to reconnect the smaller pieces into one large piece. In the drawings below, I have duplicated the central pentagon to make it easy to see how they fit together. You will want to cut one pentagon away before taping the pieces together.
Click on photo for a larger picture
Click on photo for a larger picture You can also cut the triangles out of cardboard or plywood, and tape them together, so that fiberglass can be applied to make a sturdy building. Next: A Homemade Microgram Balance Del.icio.us
- Science Toys
- Magnetism
- Electromagnetism
- Electrochemistry
- Radio
- Thermodynamics
- Aerodynamics
- Light and optics
- Simple laser communicator
- Make your own 3D pictures
- Making permanent rainbows.
- A solar powered marshmallow roaster
- Make a spectroscope from a CD.
- The impossible kaleidoscope
- Make a solar hotdog cooker
- Exploring invisible light
- A high resolution spectrograph.
- Time-lapse photography.
- High speed photography.
- Stacking photos for high depth of field.
- Biology
- Mathematics
- Computers and Electronics
Some of my other web sites:

Send mail to Simon Quellen Field via [email protected]