- Science Toys
- Magnetism
- Electromagnetism
- Electrochemistry
- Radio
- Thermodynamics
- Aerodynamics
- Light and optics
- Simple laser communicator
- Make your own 3D pictures
- Making permanent rainbows.
- A solar powered marshmallow roaster
- Make a spectroscope from a CD.
- The impossible kaleidoscope
- Make a solar hotdog cooker
- Exploring invisible light
- A high resolution spectrograph.
- Time-lapse photography.
- High speed photography.
- Stacking photos for high depth of field.
- Biology
- Mathematics
- Computers and Electronics
Make a permanent rainbow

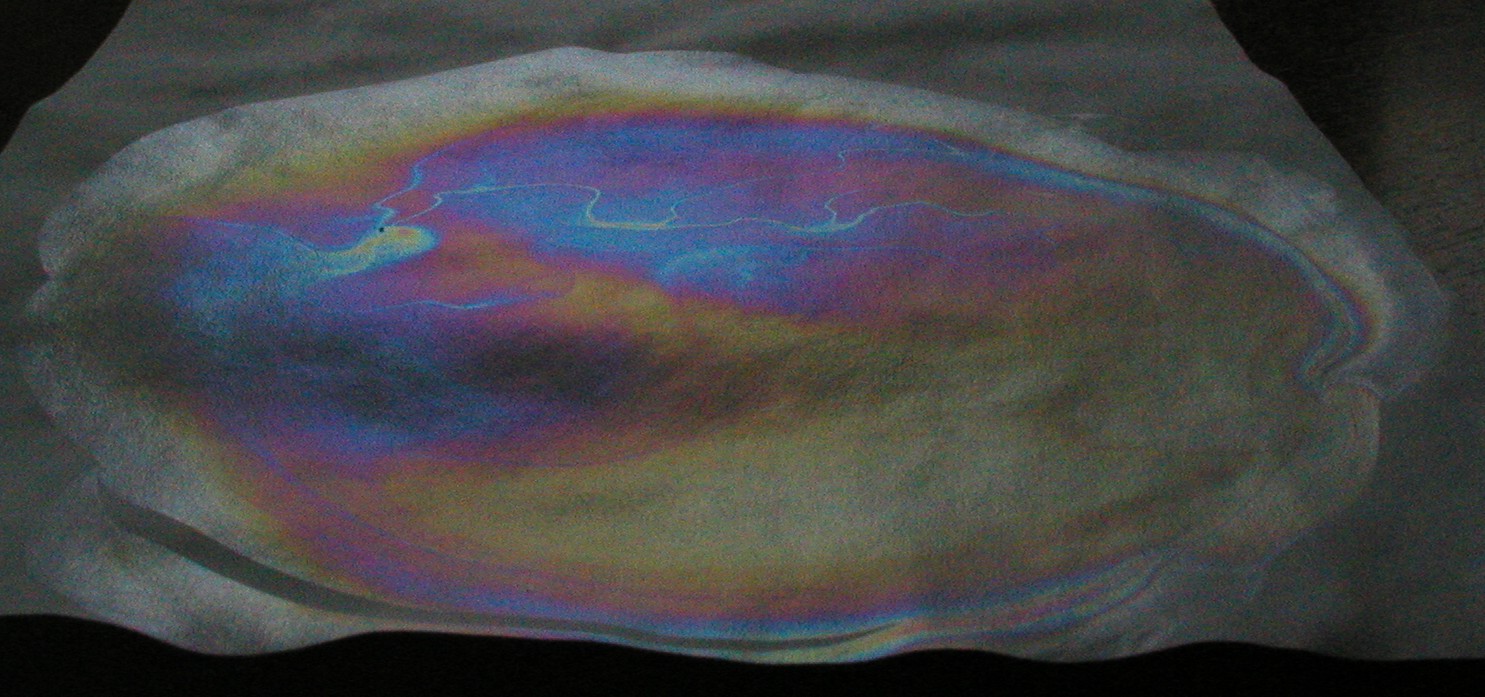
Click on photo for larger picture You have probably seen the beautiful rainbow colors caused by a tiny bit of oil floating in a puddle of water. In this project, we are going to capture those colorful patterns on paper, in a permanent form, so you can view them anytime you like, without a messy puddle. What we will need:
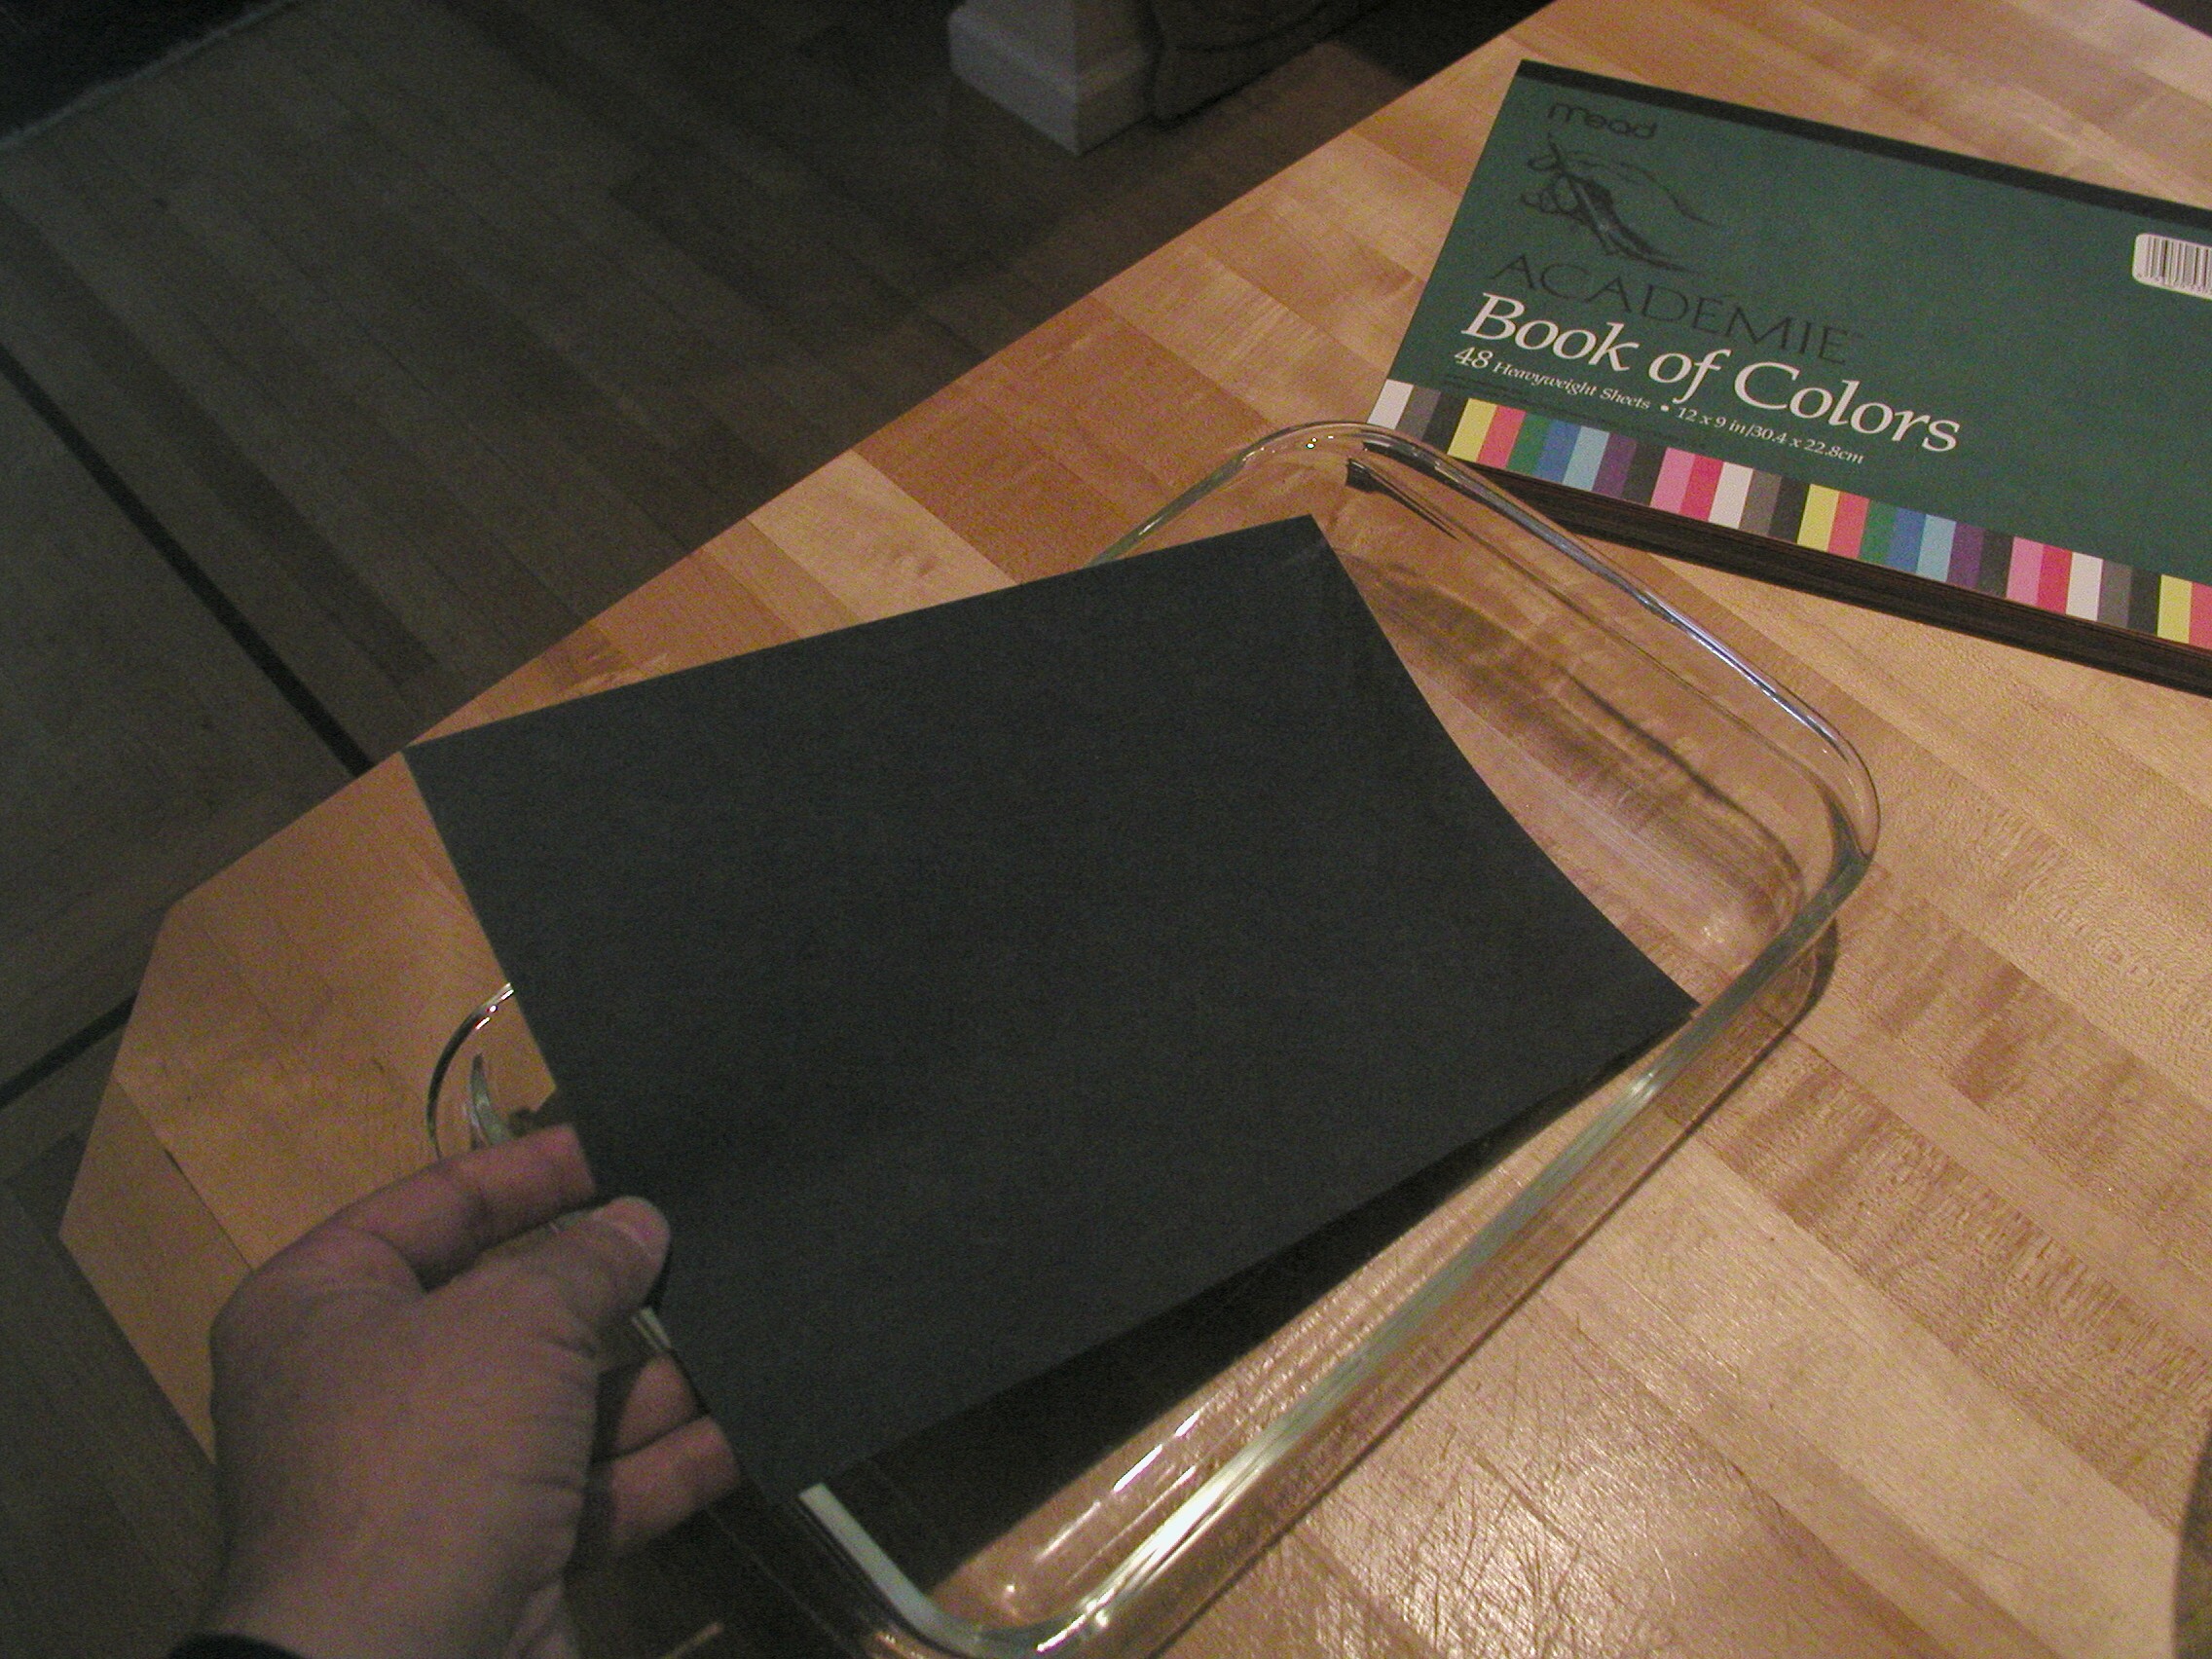
- A piece of paper. Black construction paper works well, but so does the slick coated glossy photographic paper used in ink jet printers.
- A cake pan or similar container that can hold water, and that is big enough to hold the piece of paper flat in the bottom. You can cut the paper to size if you don't have a pan big enough.
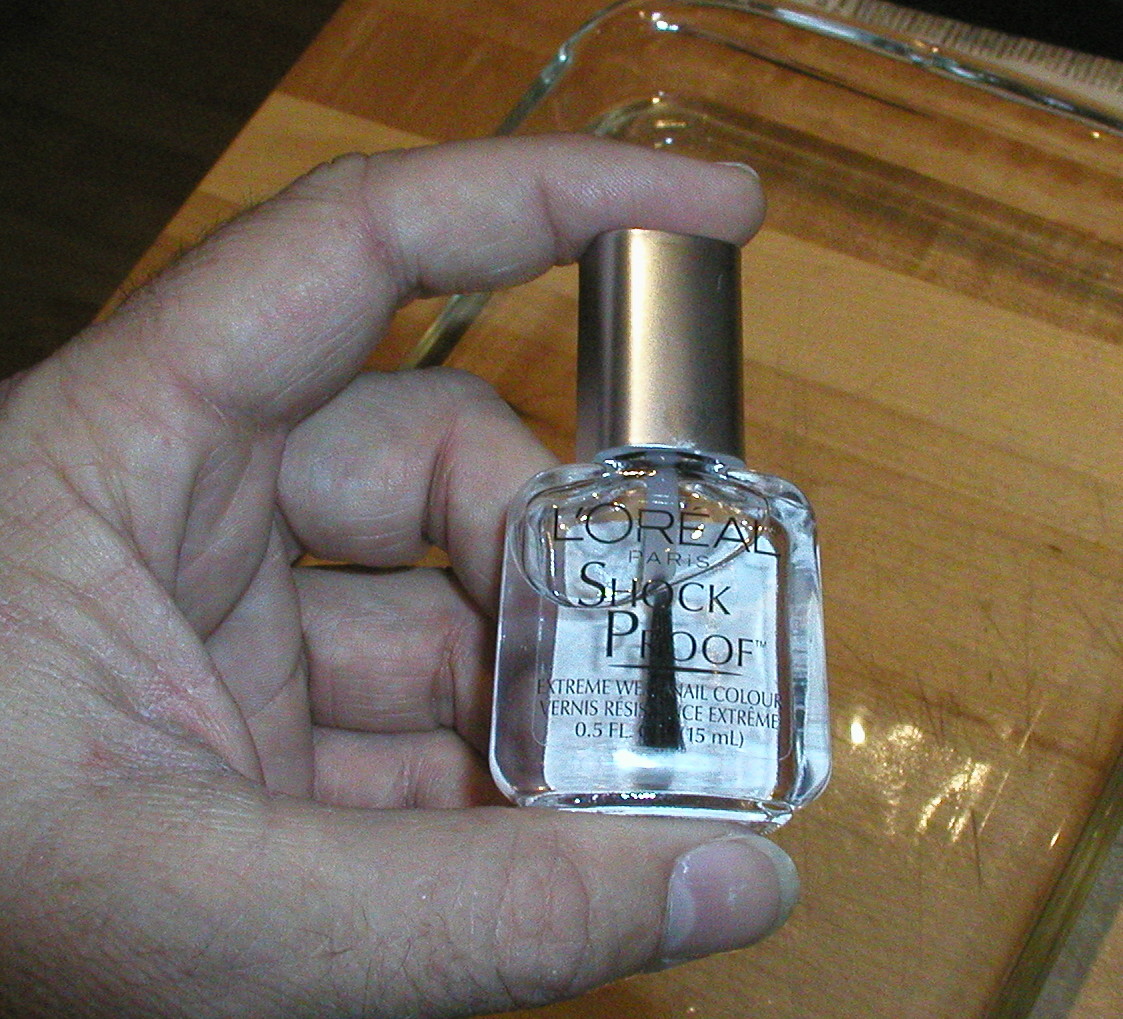
- Some clear fingernail polish.

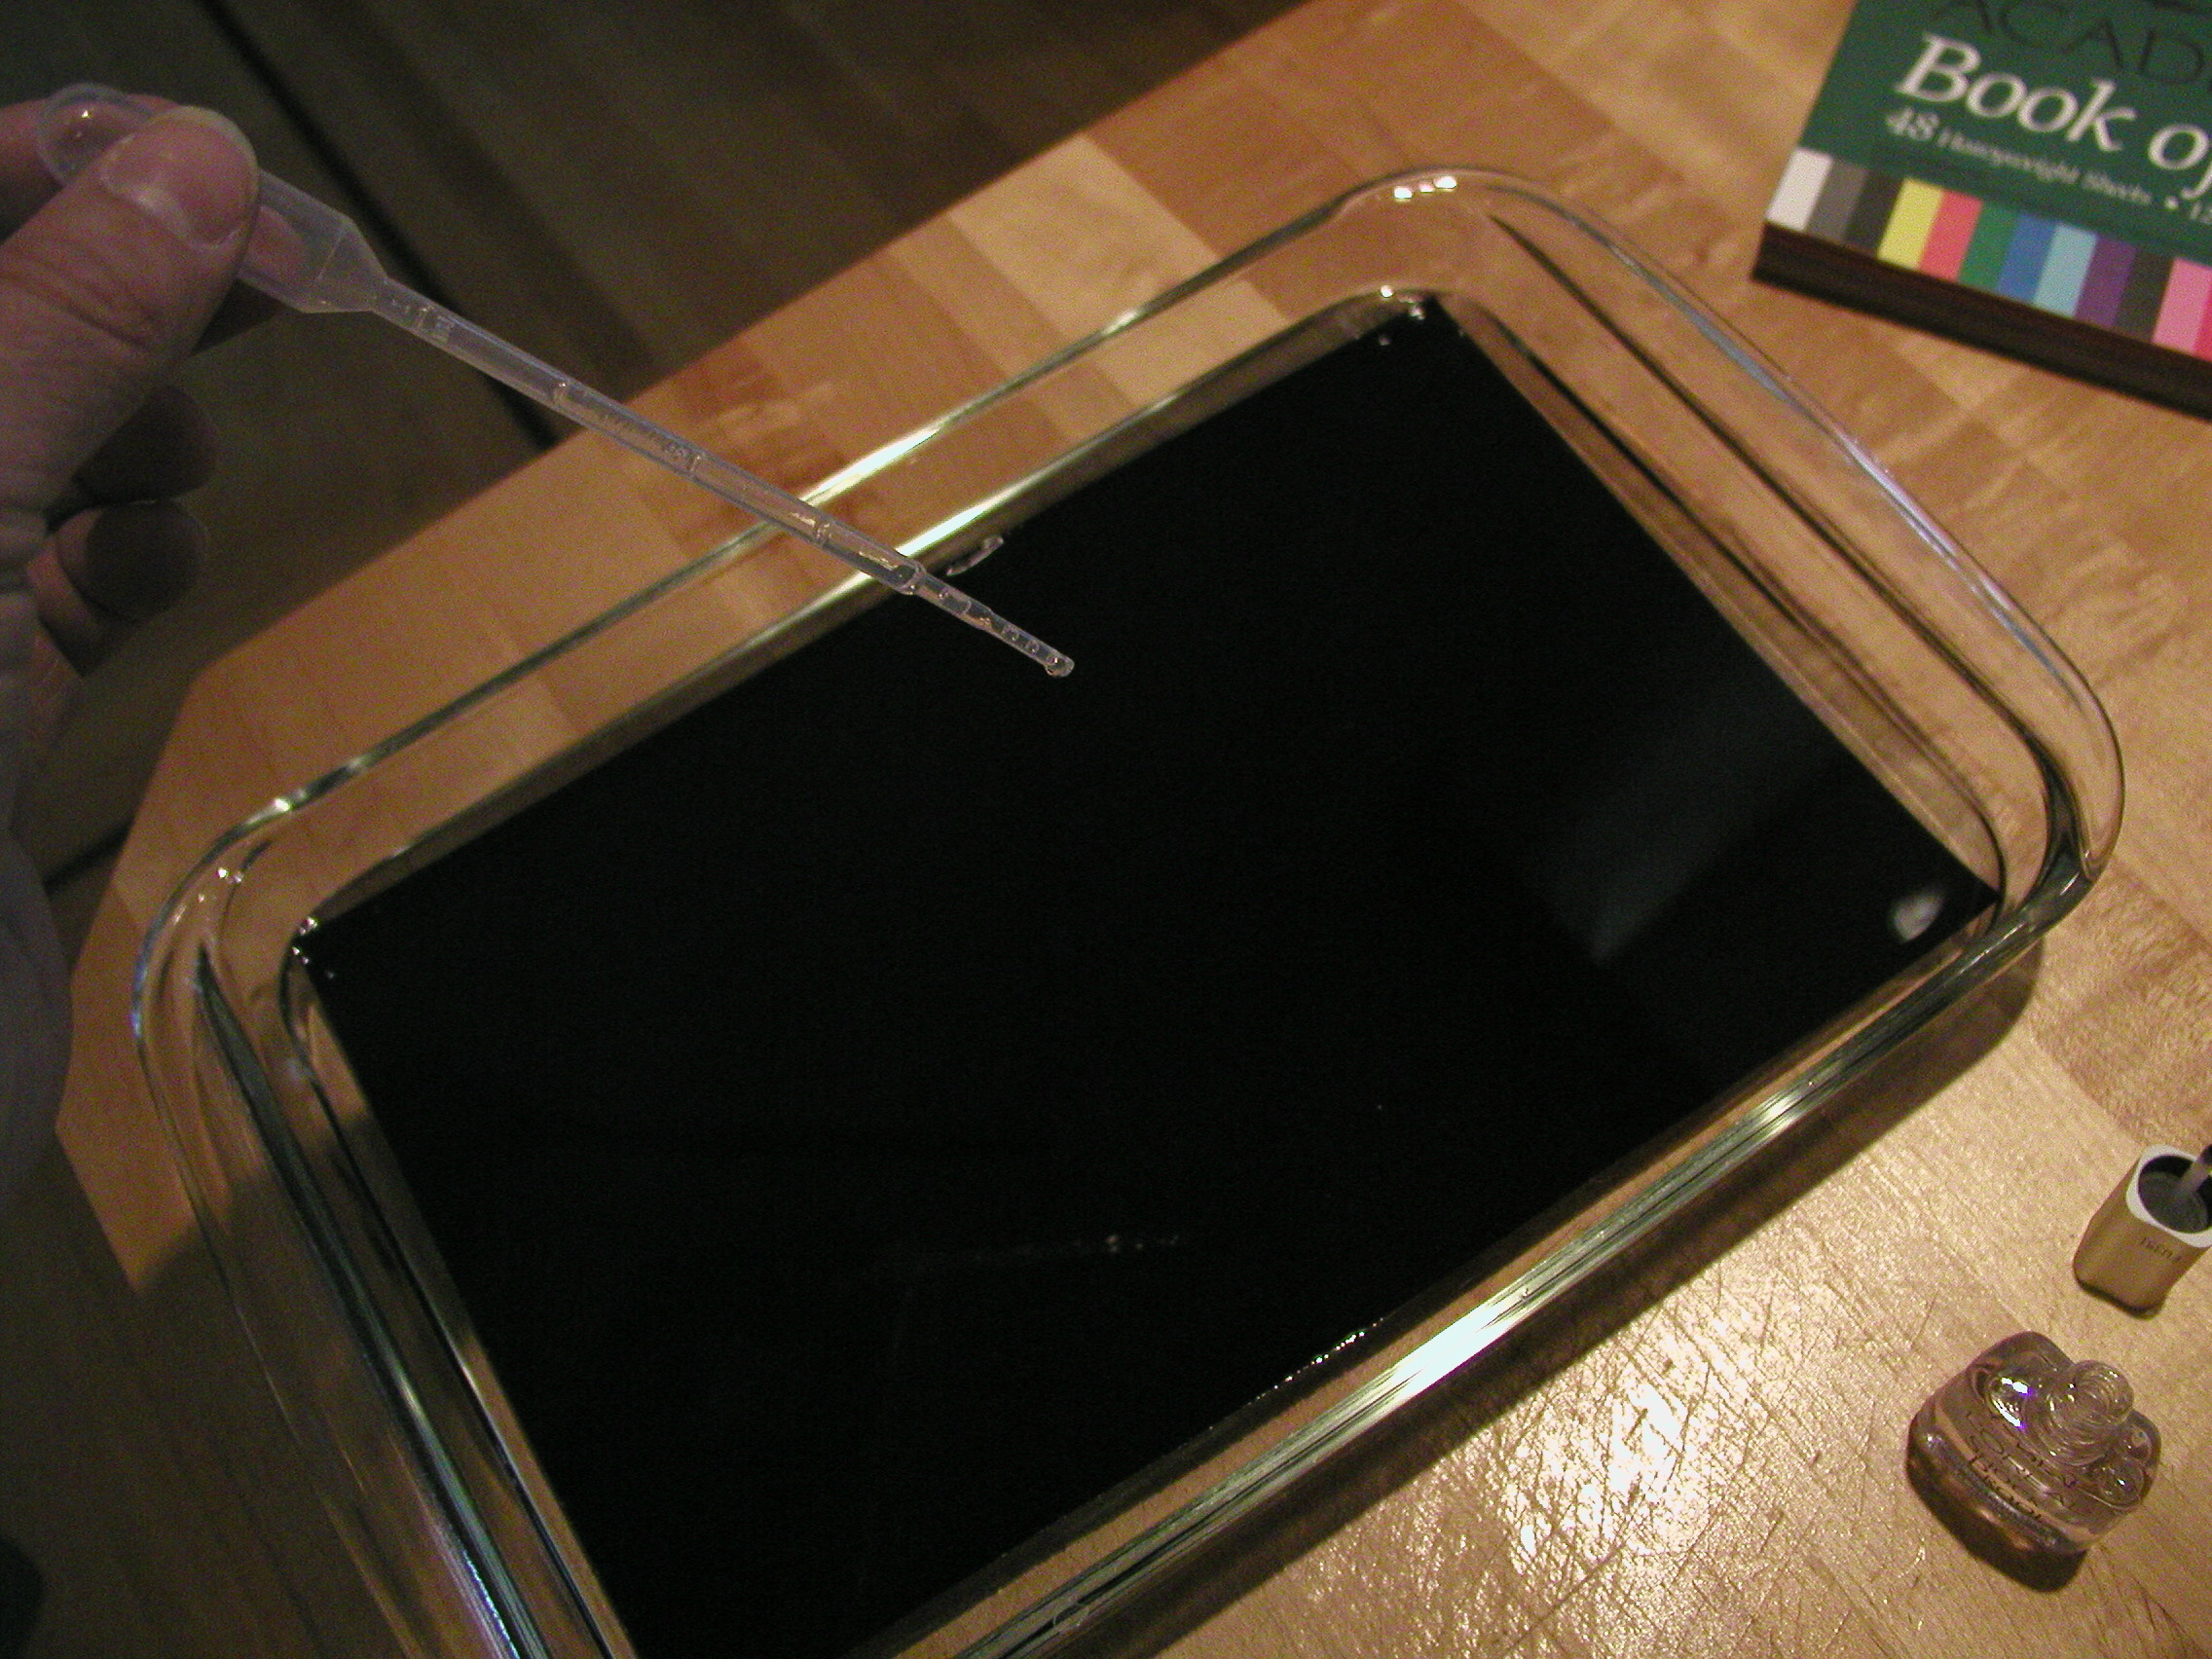
Click on photo for larger picture - An eye dropper that you can dedicate to this purpose, since it will not be good for much else when we are done. A disposable plastic pipette is ideal.
Click on photo for larger picture Fill the pan with water to cover the paper with at least a half of an inch of water.
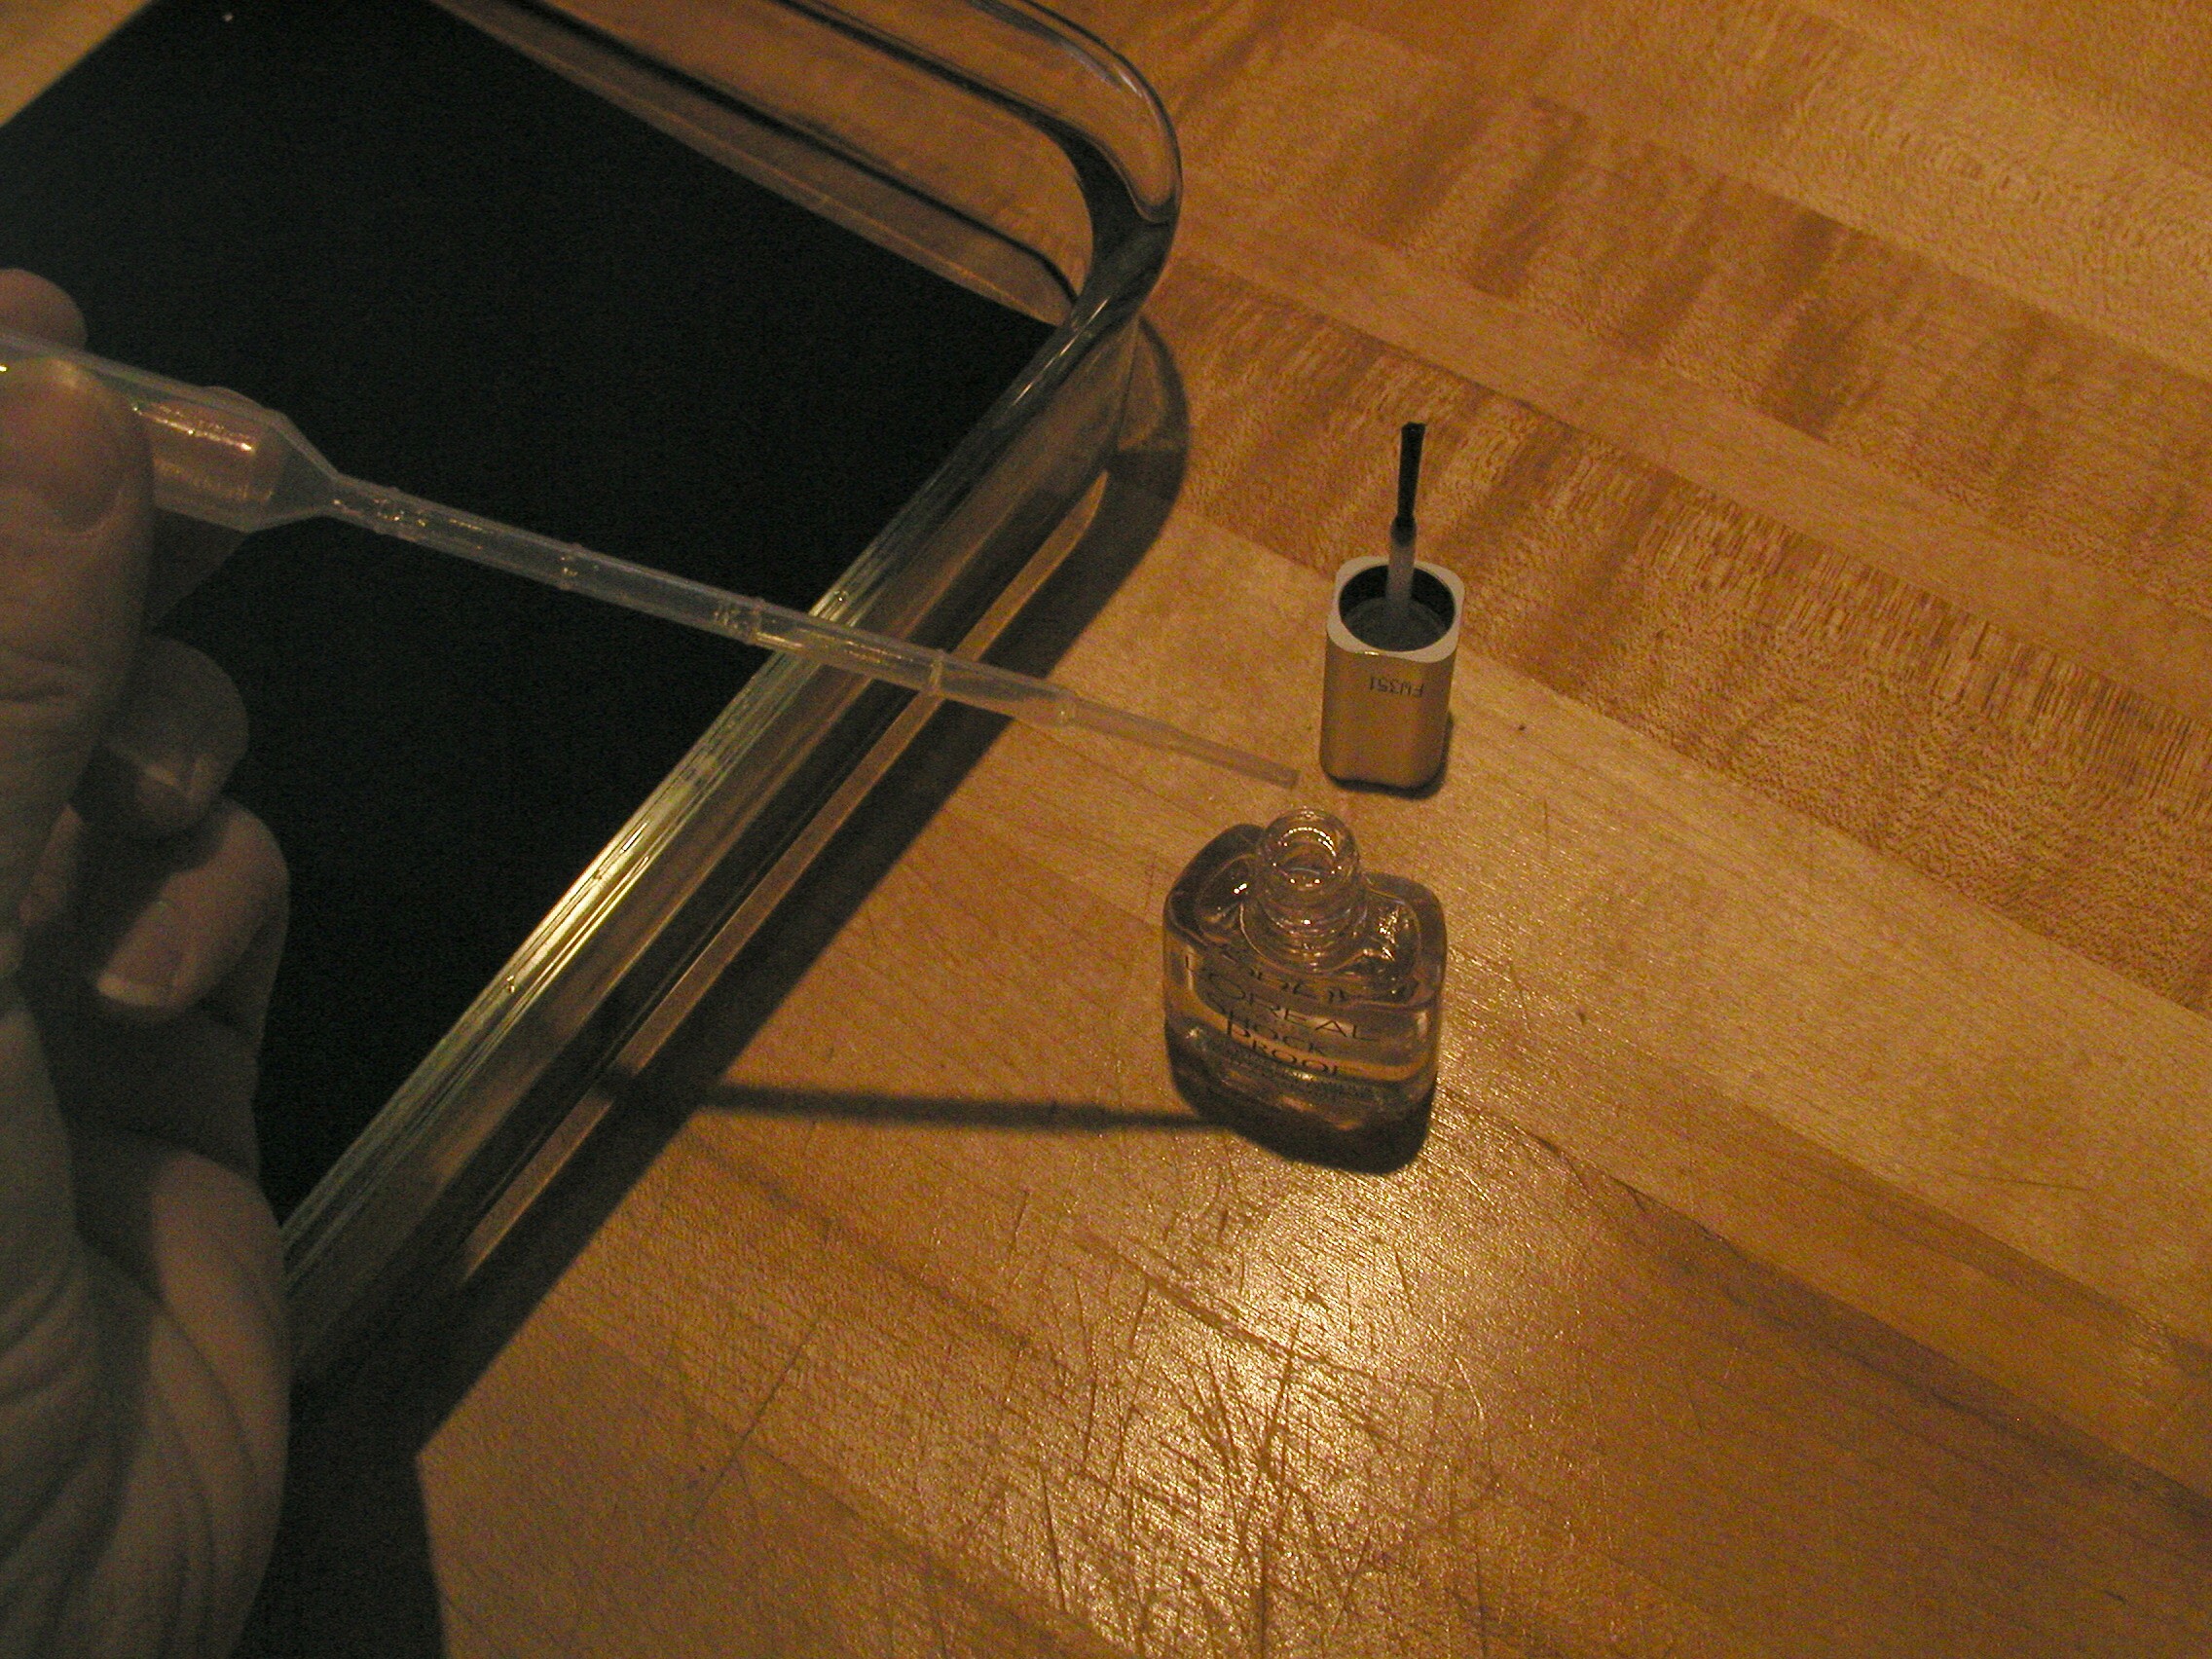
Click on photo for larger picture Put the eyedropper into the nail polish bottle, and squeeze just a little air out of it, to get just a half of an inch or so of nail polish into the eyedropper. We only need a single drop.
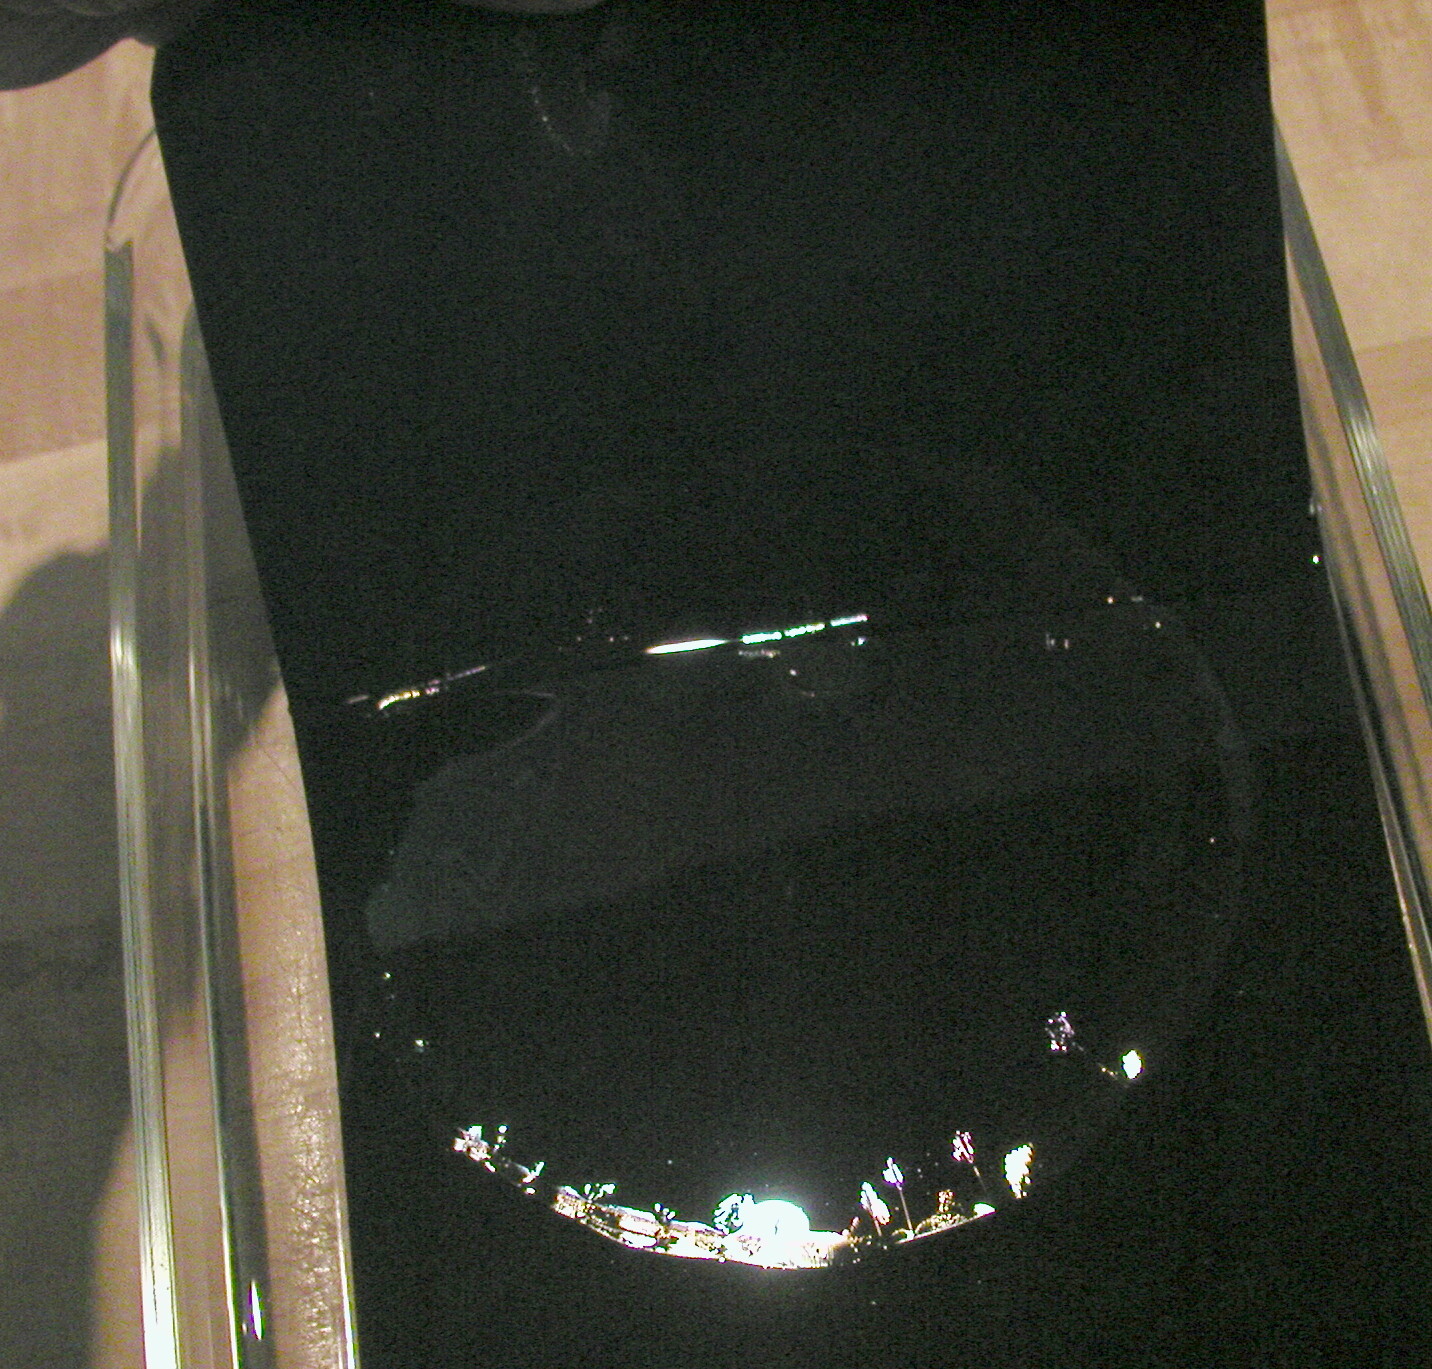
Click on photo for larger picture Drop a single drop of nail polish onto the surface of the water.

Click on photo for larger picture The nail polish drop will quickly expand to make a circle of film on the water. This film will be so thin, that it will only be as thick as one wavelength of light.
Click on photo for larger picture Let the circle of nail polish film dry for a few minutes. The edges will generally wrinkle a bit, and the center will take longer to dry than the edges. Gently lift one end of the paper out of the water, making sure you catch the edge of the thin circle onto the paper.
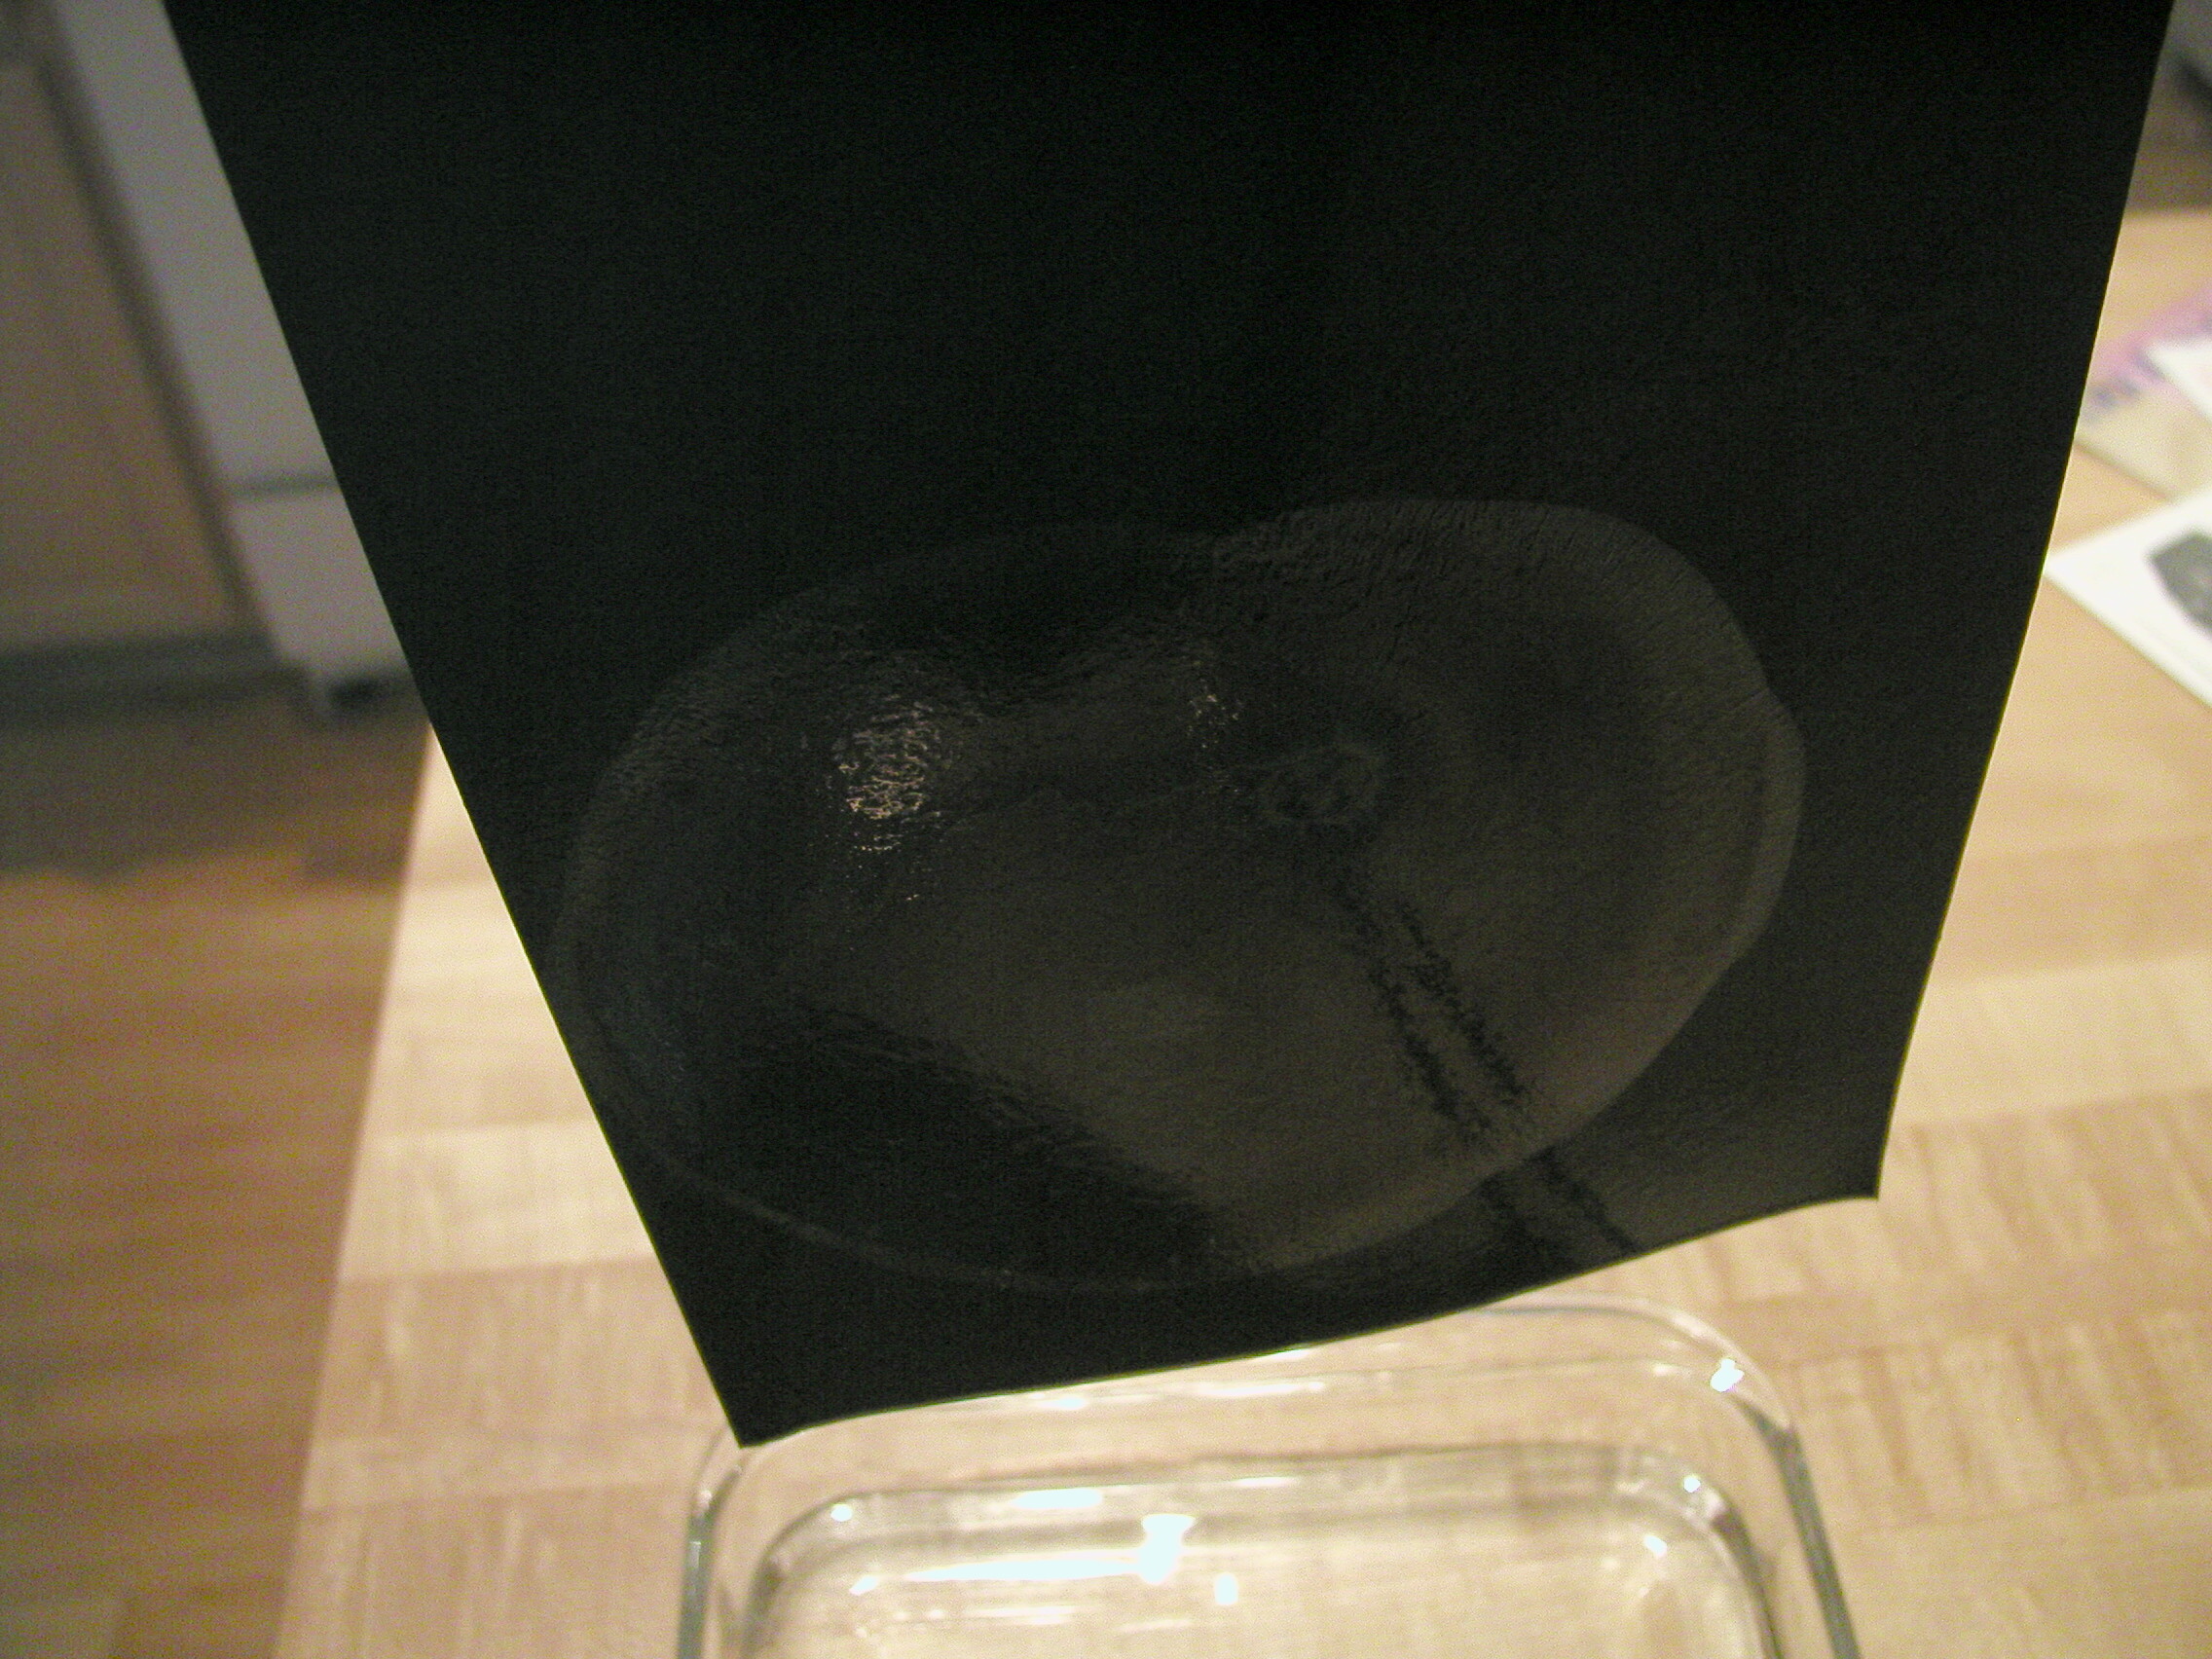
Click on photo for larger picture Let the water drip off the paper into the pan for a little while, and then set the paper (with the circle of film clinging to the middle of it) onto some newspaper to dry.
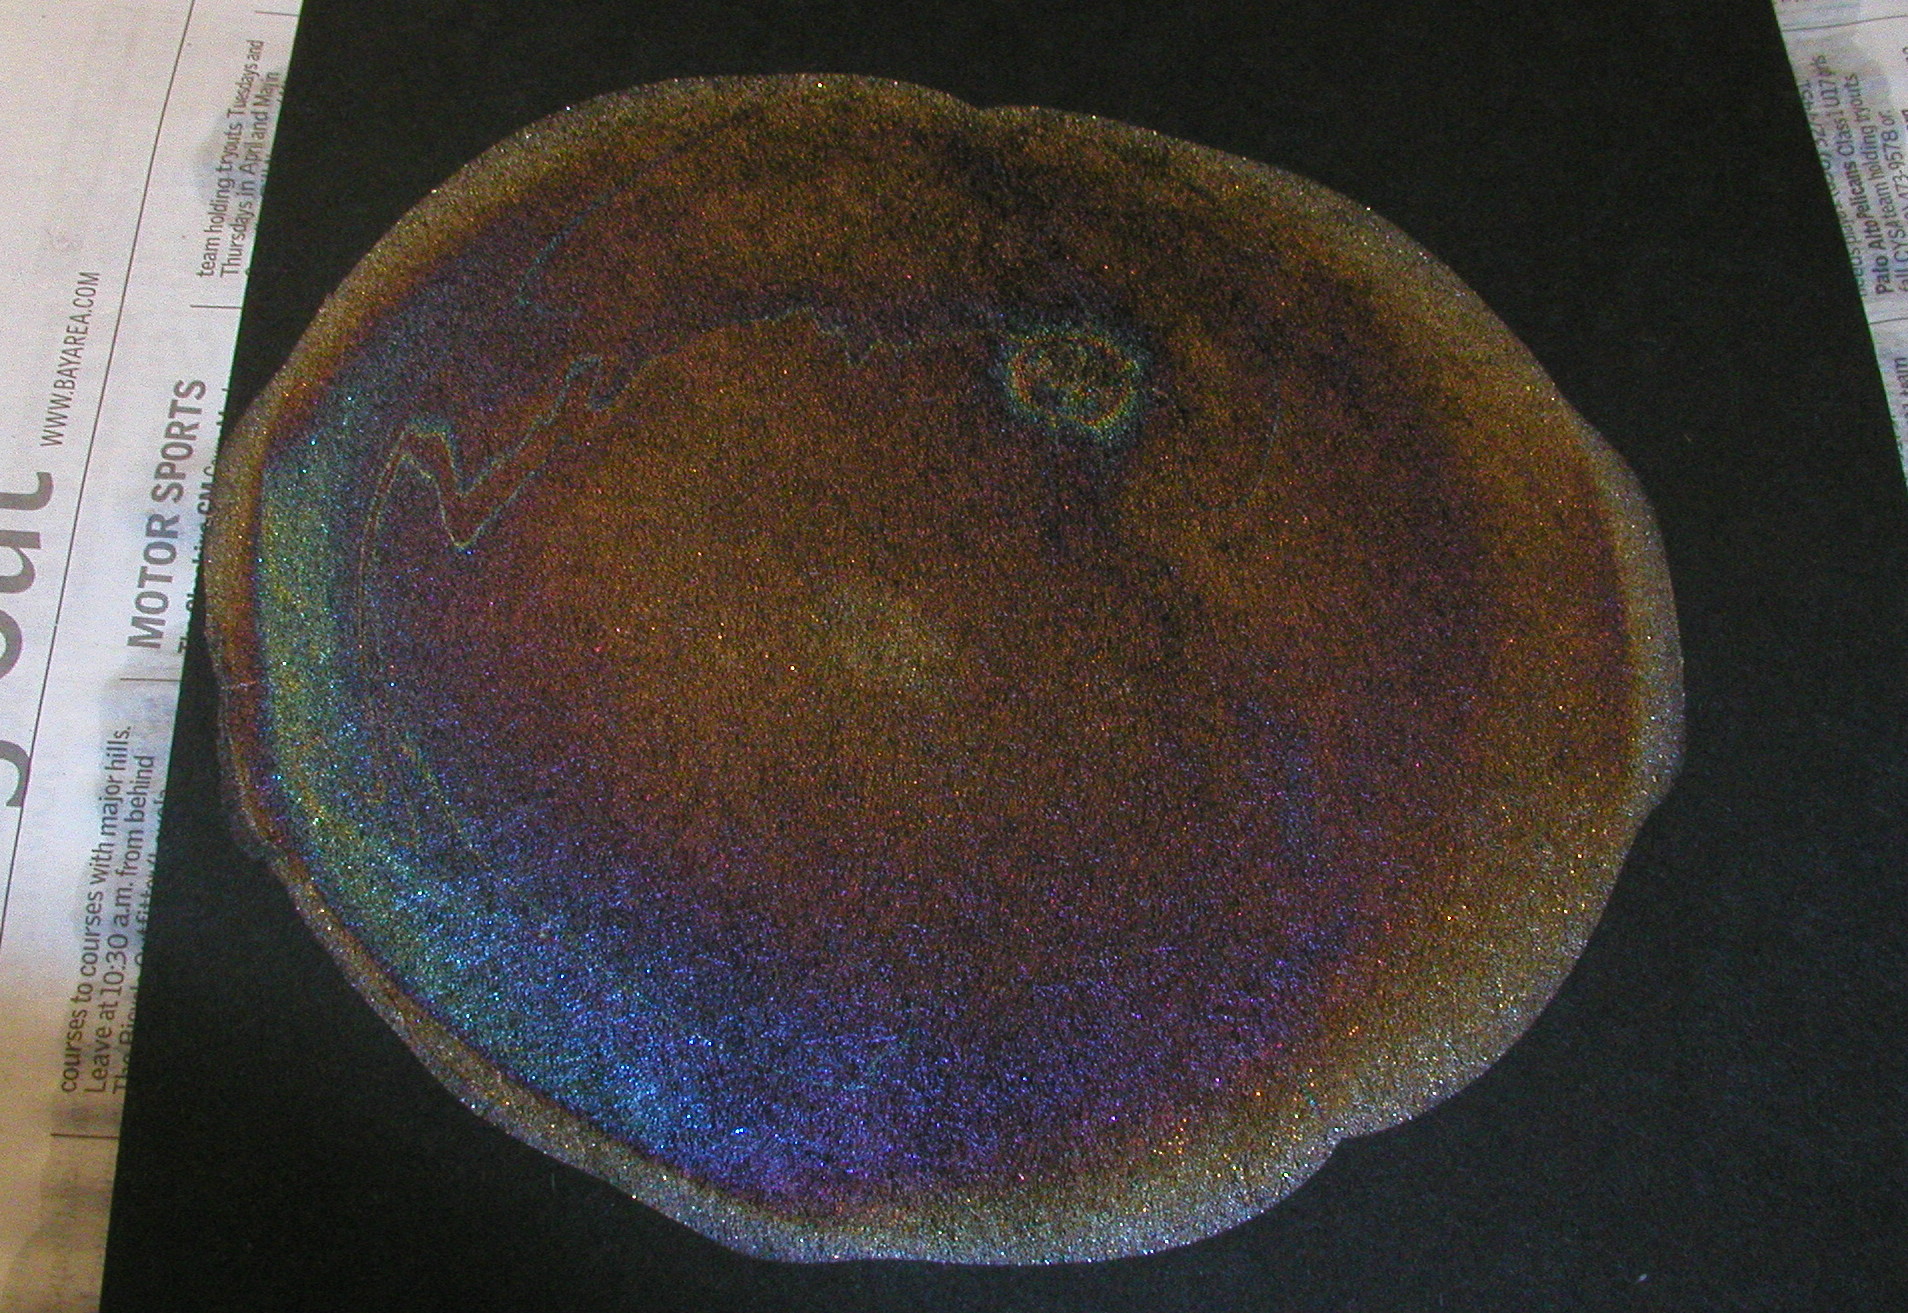
Click on photo for larger picture To view the colors, hold the paper flat towards the light, and view it at a low angle.
Click on photo for larger picture If you use more than one drop, you might get double patterns.
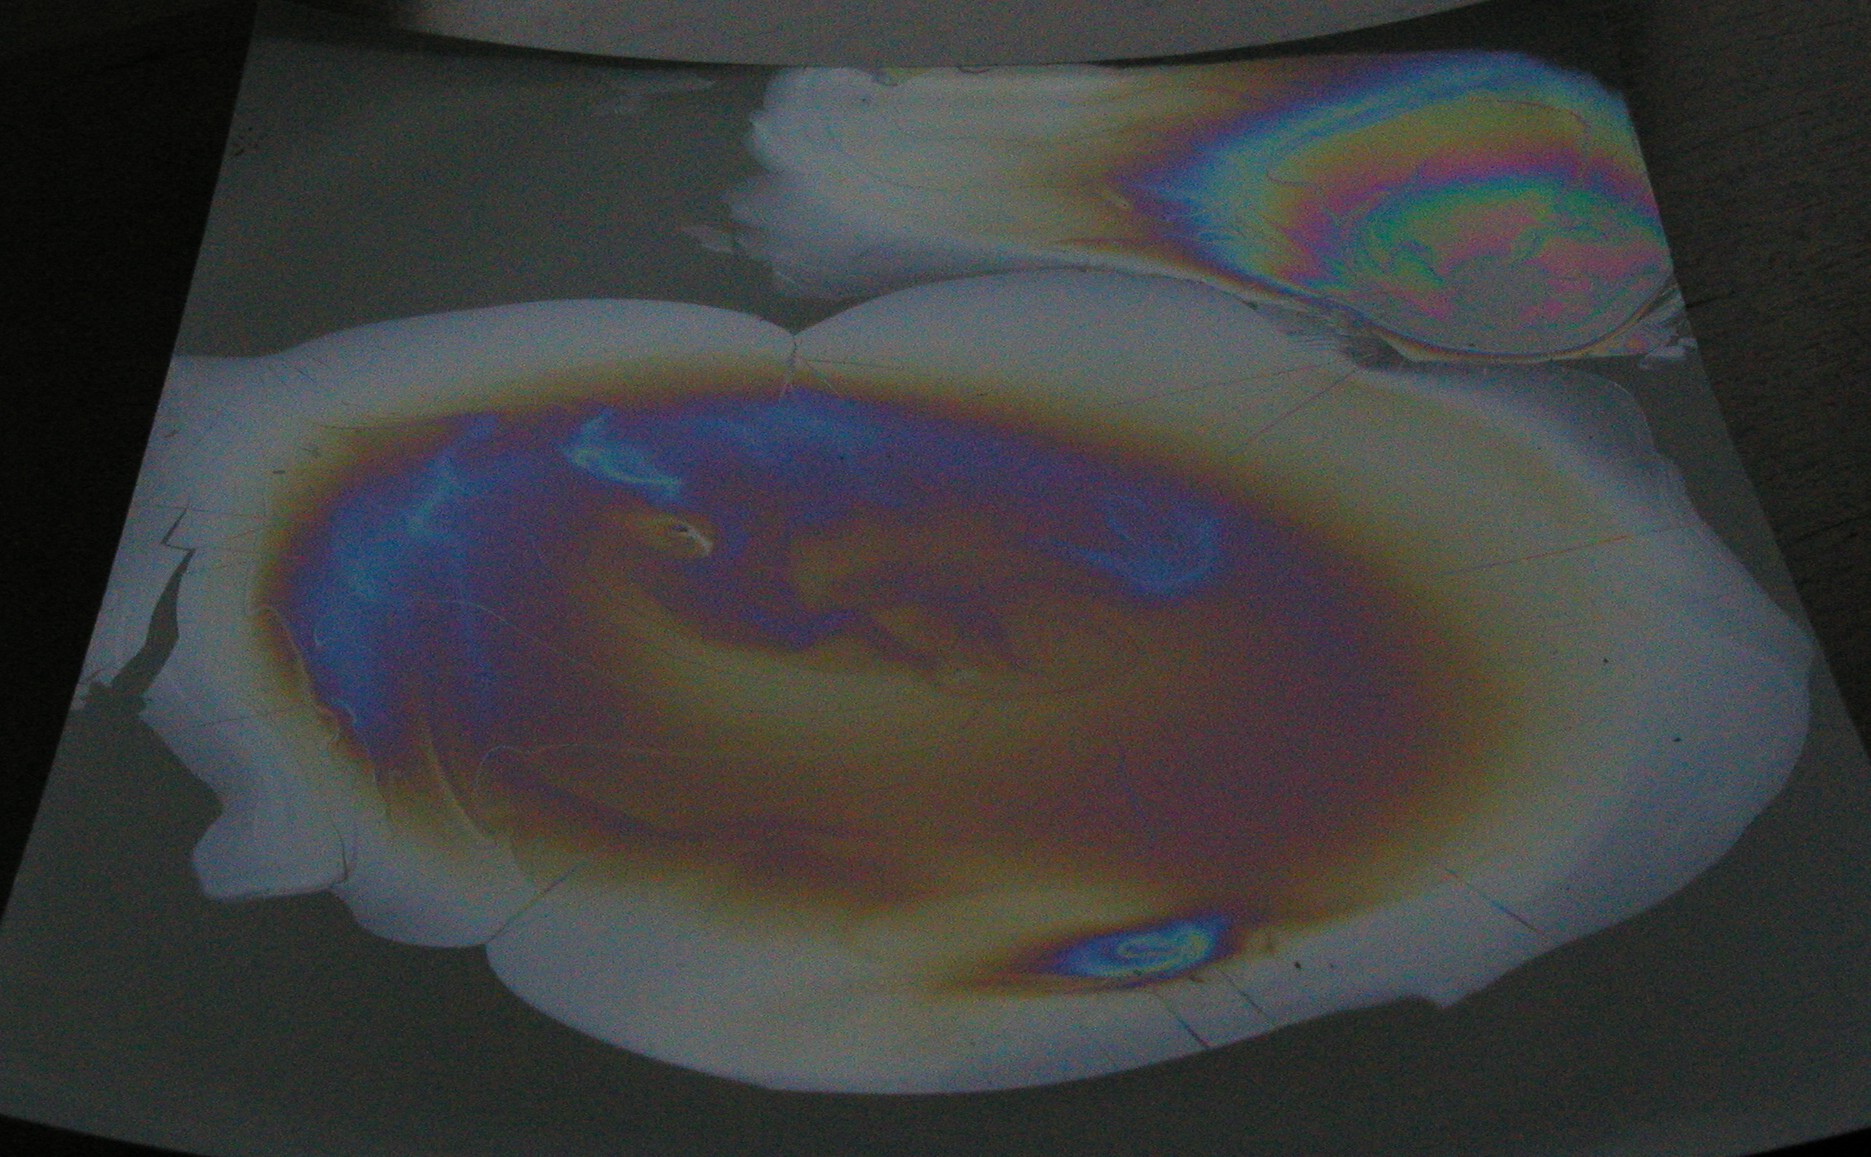
Click on photo for larger picture The glossy photo paper leaves a nice smooth surface with many rings of color.

Click on photo for larger picture
How does it do that?
The colors are caused by the interactions of several interesting qualities of light. Light travels at different speeds in different materials. In air, or the vacuum of space, it travels very fast (about 299,792,458 meters per second). In water, light travels one third slower than it does in air. We say water has a refractive index of 1.33. In the film we made from the drop of nail polish, the light is even slower, since the dried nail polish has a refractive index of 1.42. Light travels in waves. We can picture the waves of light as looking like waves of water in the ocean. The waves come by in parallel rows, one behind the other. Picture a set of waves coming in at an angle, and encountering a material that slows them down, as in the diagram below: The left edges of the waves encounter the material first, and slow down.
The point just to the right travels a bit farther at the higher speed,
but then it encounters the material also, and slows down. This happens
all along the wave. Inside the material, the left part of the wave has
been moving slower than the right side for a little longer as we look
at each part of the wave.
Imagine rows of people, all marching along holding hands. If the people
on the left start marching slower, the columns will make a small turn
to the left. The waves of light do the same thing. When light encounters
a material with a higher refractive index, it bends into the material.
But not all of the light bends in. Some of the light is reflected off
of the top surface. This is why you see sunlight reflecting off the
top of the ocean.
The light reflects off of the top because of the difference in refractive
index. But there is another place where the refractive index changes
suddenly. At the bottom of the film, the light leaves the film and goes
back into the air. But not all of it goes back. Some of it is reflected
back up, just like at the top surface.
Light that reflects off of a top surface (from low index to high index)
is completely out of phase with the light that reflects off of the
bottom surface (high index to low index). The rows of waves don't match
up -- it is like the rows of marchers missed a step.
What we end up with is three rays of light. Two go up, and one goes through
the film.
The left edges of the waves encounter the material first, and slow down.
The point just to the right travels a bit farther at the higher speed,
but then it encounters the material also, and slows down. This happens
all along the wave. Inside the material, the left part of the wave has
been moving slower than the right side for a little longer as we look
at each part of the wave.
Imagine rows of people, all marching along holding hands. If the people
on the left start marching slower, the columns will make a small turn
to the left. The waves of light do the same thing. When light encounters
a material with a higher refractive index, it bends into the material.
But not all of the light bends in. Some of the light is reflected off
of the top surface. This is why you see sunlight reflecting off the
top of the ocean.
The light reflects off of the top because of the difference in refractive
index. But there is another place where the refractive index changes
suddenly. At the bottom of the film, the light leaves the film and goes
back into the air. But not all of it goes back. Some of it is reflected
back up, just like at the top surface.
Light that reflects off of a top surface (from low index to high index)
is completely out of phase with the light that reflects off of the
bottom surface (high index to low index). The rows of waves don't match
up -- it is like the rows of marchers missed a step.
What we end up with is three rays of light. Two go up, and one goes through
the film.
 The two top rays are probably not in phase. Their rows of marchers don't line up
in matching rows. This is partly because the ray to the right has been
shifted by the reflection at the bottom of the film. But it has also
travelled farther than the other ray.
If the rows happen to be in phase, the marchers will all line up, and
the light will constructively interfere. It will appear twice
as bright as a single ray, since both rays are combined.
If the rows are completely out of phase, the light will destructively
interfere. The tops of the waves of one ray will fill in the troughs
of the second ray, and all we have is flat, with no waves. No waves
means no light, and the rays disappear.
Somewhere in between those two extremes, we will get some light, but not
as much as two ray's worth.
What is important to notice at this time is that there are two things
we can do to adjust the phase of the rays, to make them either constructively
or destructively interfere at our command.
The first thing we can do is to change the angle at which the light hits
the film. If the light comes in at a shallower angle, then the ray that
enters the film will travel in a longer path in the film, and therefore be
slowed down more than before, and comes out the top a little later.
The other thing we can do is to change the thickness of the film. If the
film is thicker, then the ray that travels inside the film has farther to
go, and again comes out of the top a little later.
White light is composed of waves that have many different wavelengths.
Different wavelengths are seen as different colors by our eyes.
Different wavelengths also travel at different speeds in a refractive material
like our film. This means that the ray on the right will be delayed more
in some colors than in others. So while one color may experience constructive
interference and be bright, other colors will be dimmer or completely gone.
Now we have all the pieces we need to understand the color patterns in the film.
At the outside edges, the film is thinnest. The film gets thicker towards
the middle. Since thicker film delays the light more than thinner film,
and some colors are delayed more than others, some colors will be bright,
and all the others not so bright, for a particular thickness of film.
One thing to notice in the photos above is that the rainbow colors appear
in rings. The outermost edge of the film is usually colorless. This is
because the film there is often a single molecule thick, and is thinner
than a wavelength of visible light. Inside of that edge, the first
ring of colors shows where the thickness of the film is first in the
range for making colors.
The other, inner rings are seen because the film is now two times as
thick as necessary to show colors. The waves of light are now lining
up where one ray has fallen more than a full wavelength behind the other.
This can continue for several rings. As the rings become more numerous,
the ones caused by very thick layers overlap one another, and eventually
they all combine into white light, and no rings are seen. This is why
we only see the rings in thin films.
The two top rays are probably not in phase. Their rows of marchers don't line up
in matching rows. This is partly because the ray to the right has been
shifted by the reflection at the bottom of the film. But it has also
travelled farther than the other ray.
If the rows happen to be in phase, the marchers will all line up, and
the light will constructively interfere. It will appear twice
as bright as a single ray, since both rays are combined.
If the rows are completely out of phase, the light will destructively
interfere. The tops of the waves of one ray will fill in the troughs
of the second ray, and all we have is flat, with no waves. No waves
means no light, and the rays disappear.
Somewhere in between those two extremes, we will get some light, but not
as much as two ray's worth.
What is important to notice at this time is that there are two things
we can do to adjust the phase of the rays, to make them either constructively
or destructively interfere at our command.
The first thing we can do is to change the angle at which the light hits
the film. If the light comes in at a shallower angle, then the ray that
enters the film will travel in a longer path in the film, and therefore be
slowed down more than before, and comes out the top a little later.
The other thing we can do is to change the thickness of the film. If the
film is thicker, then the ray that travels inside the film has farther to
go, and again comes out of the top a little later.
White light is composed of waves that have many different wavelengths.
Different wavelengths are seen as different colors by our eyes.
Different wavelengths also travel at different speeds in a refractive material
like our film. This means that the ray on the right will be delayed more
in some colors than in others. So while one color may experience constructive
interference and be bright, other colors will be dimmer or completely gone.
Now we have all the pieces we need to understand the color patterns in the film.
At the outside edges, the film is thinnest. The film gets thicker towards
the middle. Since thicker film delays the light more than thinner film,
and some colors are delayed more than others, some colors will be bright,
and all the others not so bright, for a particular thickness of film.
One thing to notice in the photos above is that the rainbow colors appear
in rings. The outermost edge of the film is usually colorless. This is
because the film there is often a single molecule thick, and is thinner
than a wavelength of visible light. Inside of that edge, the first
ring of colors shows where the thickness of the film is first in the
range for making colors.
The other, inner rings are seen because the film is now two times as
thick as necessary to show colors. The waves of light are now lining
up where one ray has fallen more than a full wavelength behind the other.
This can continue for several rings. As the rings become more numerous,
the ones caused by very thick layers overlap one another, and eventually
they all combine into white light, and no rings are seen. This is why
we only see the rings in thin films.
Calculating the thickness and color
Below is a simple little calculator that will tell you the thickness of the film for each color of light you see when the light strikes the film at an angle you choose.- Science Toys
- Magnetism
- Electromagnetism
- Electrochemistry
- Radio
- Thermodynamics
- Aerodynamics
- Light and optics
- Simple laser communicator
- Make your own 3D pictures
- Making permanent rainbows.
- A solar powered marshmallow roaster
- Make a spectroscope from a CD.
- The impossible kaleidoscope
- Make a solar hotdog cooker
- Exploring invisible light
- A high resolution spectrograph.
- Time-lapse photography.
- High speed photography.
- Stacking photos for high depth of field.
- Biology
- Mathematics
- Computers and Electronics
Some of my other web sites:

Send mail to Simon Quellen Field via [email protected]