Both the fructose slide we just made and the wet mount slide made using just water, are not permanent slides. The cover slip will move if it is touched. If you use oil immersion, there is no way to clean the slide afterwards.
The next slides we make will be permanent slides. We will also use two different techniques for making homemade well slides, where there is a little more depth under the cover slip, so things don't get crushed.
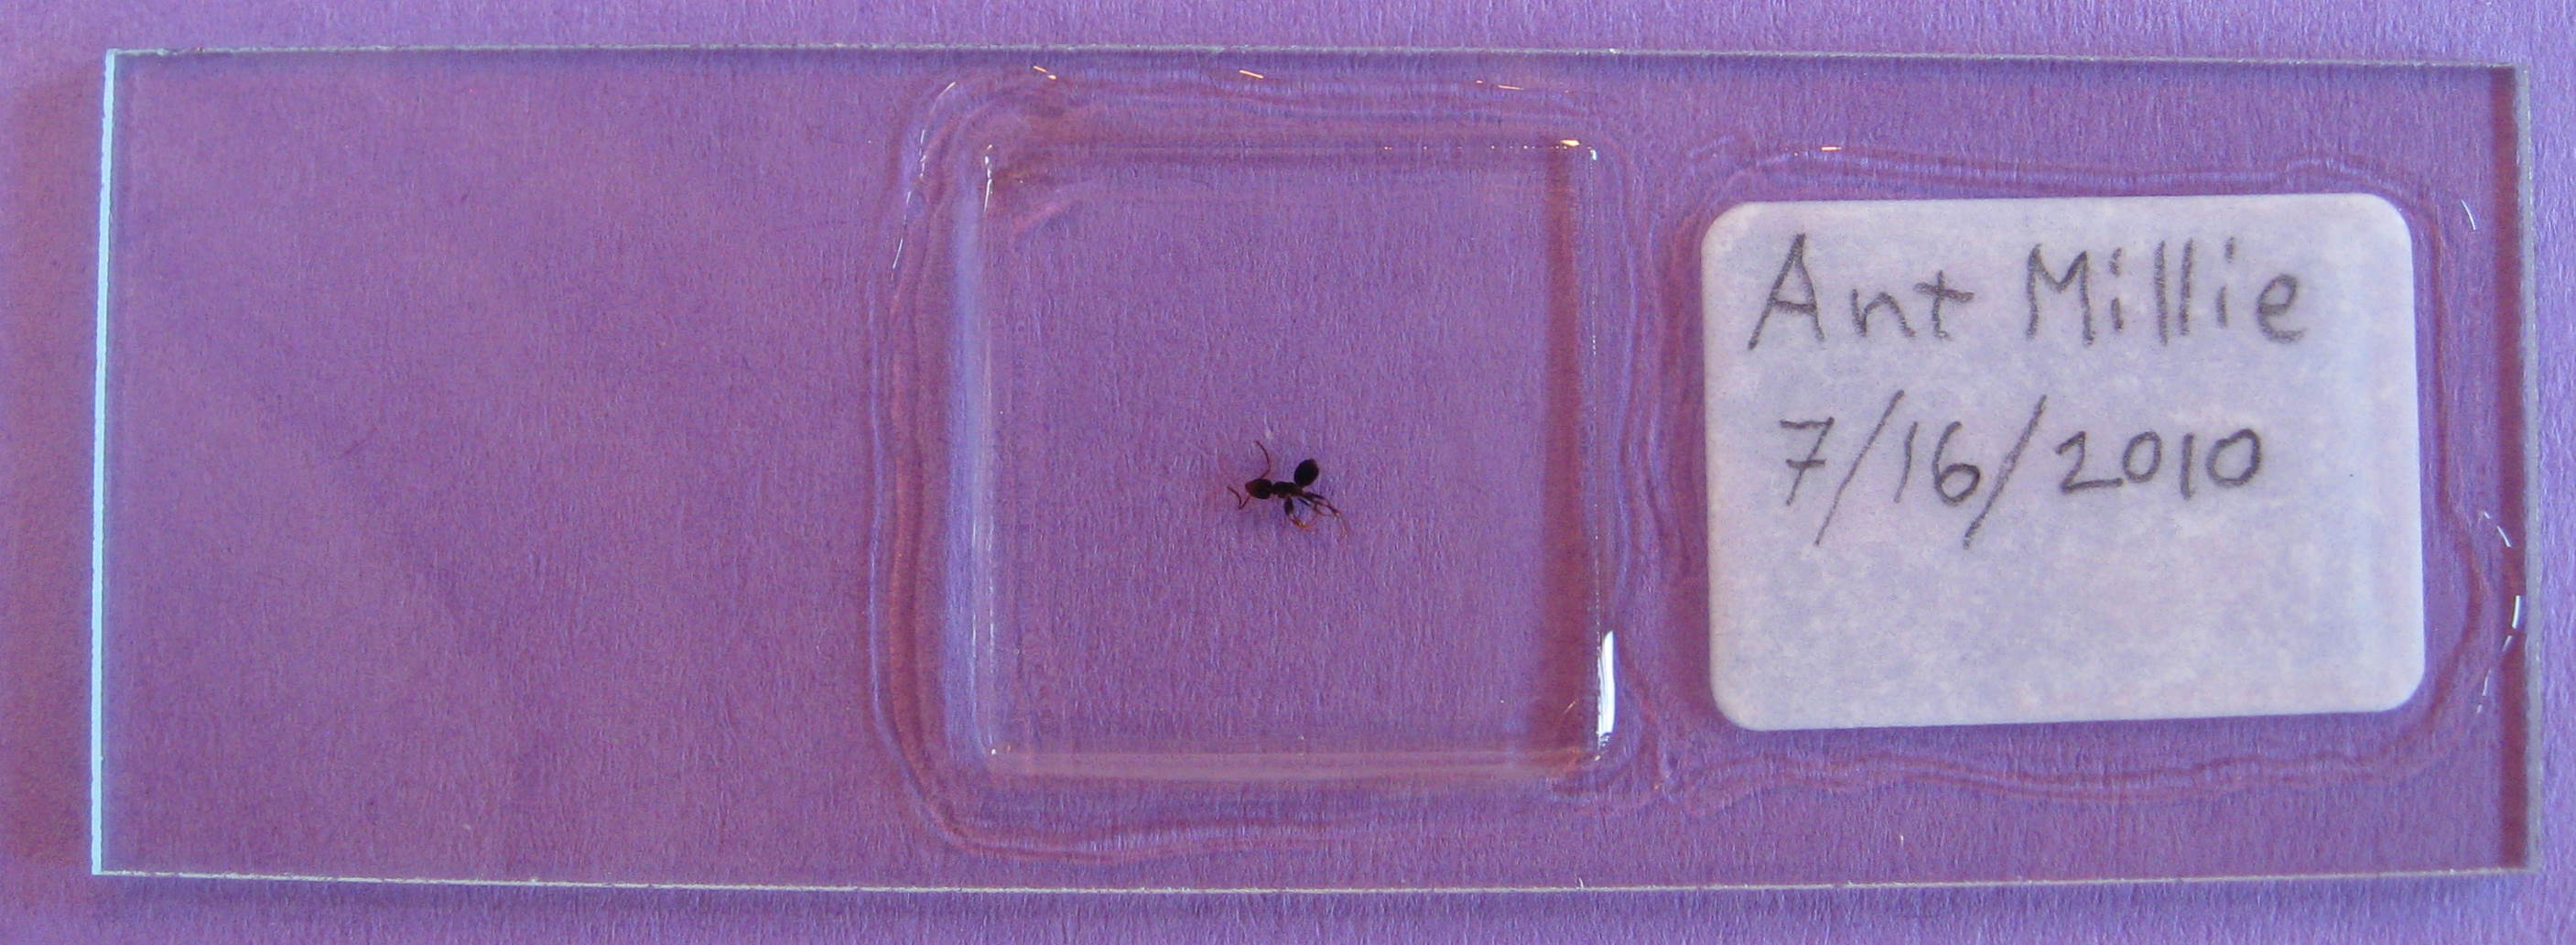
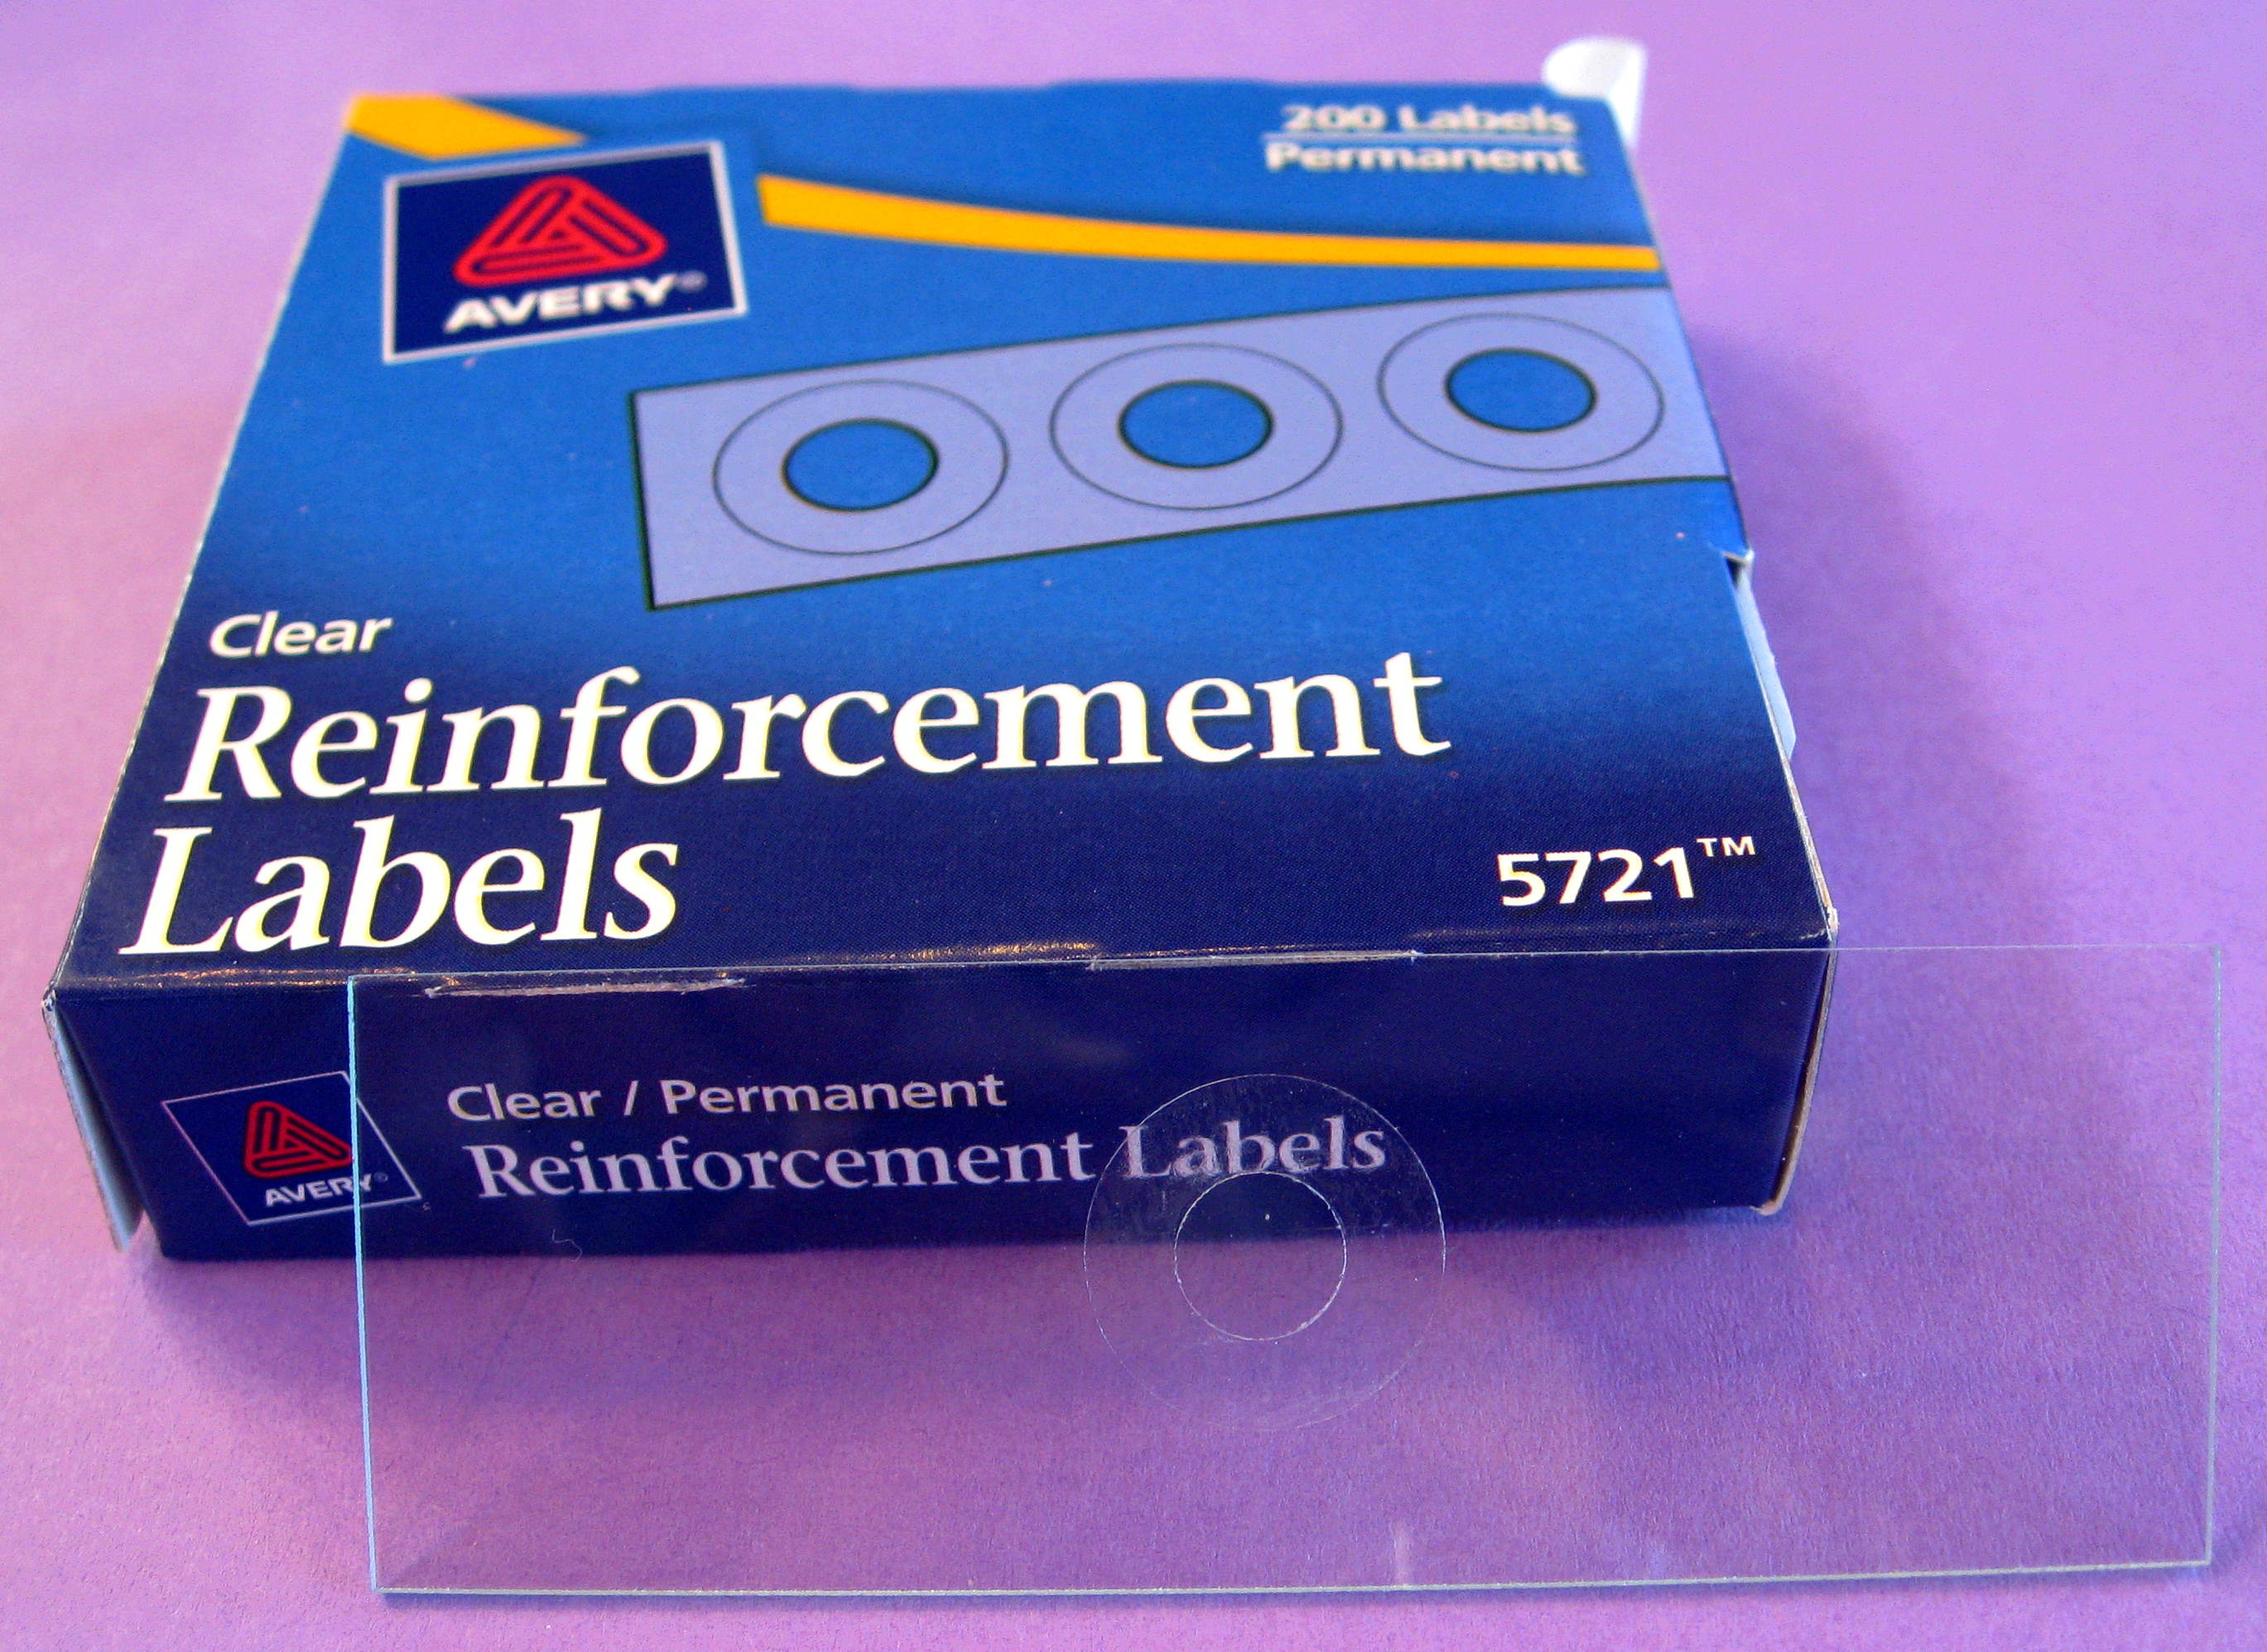
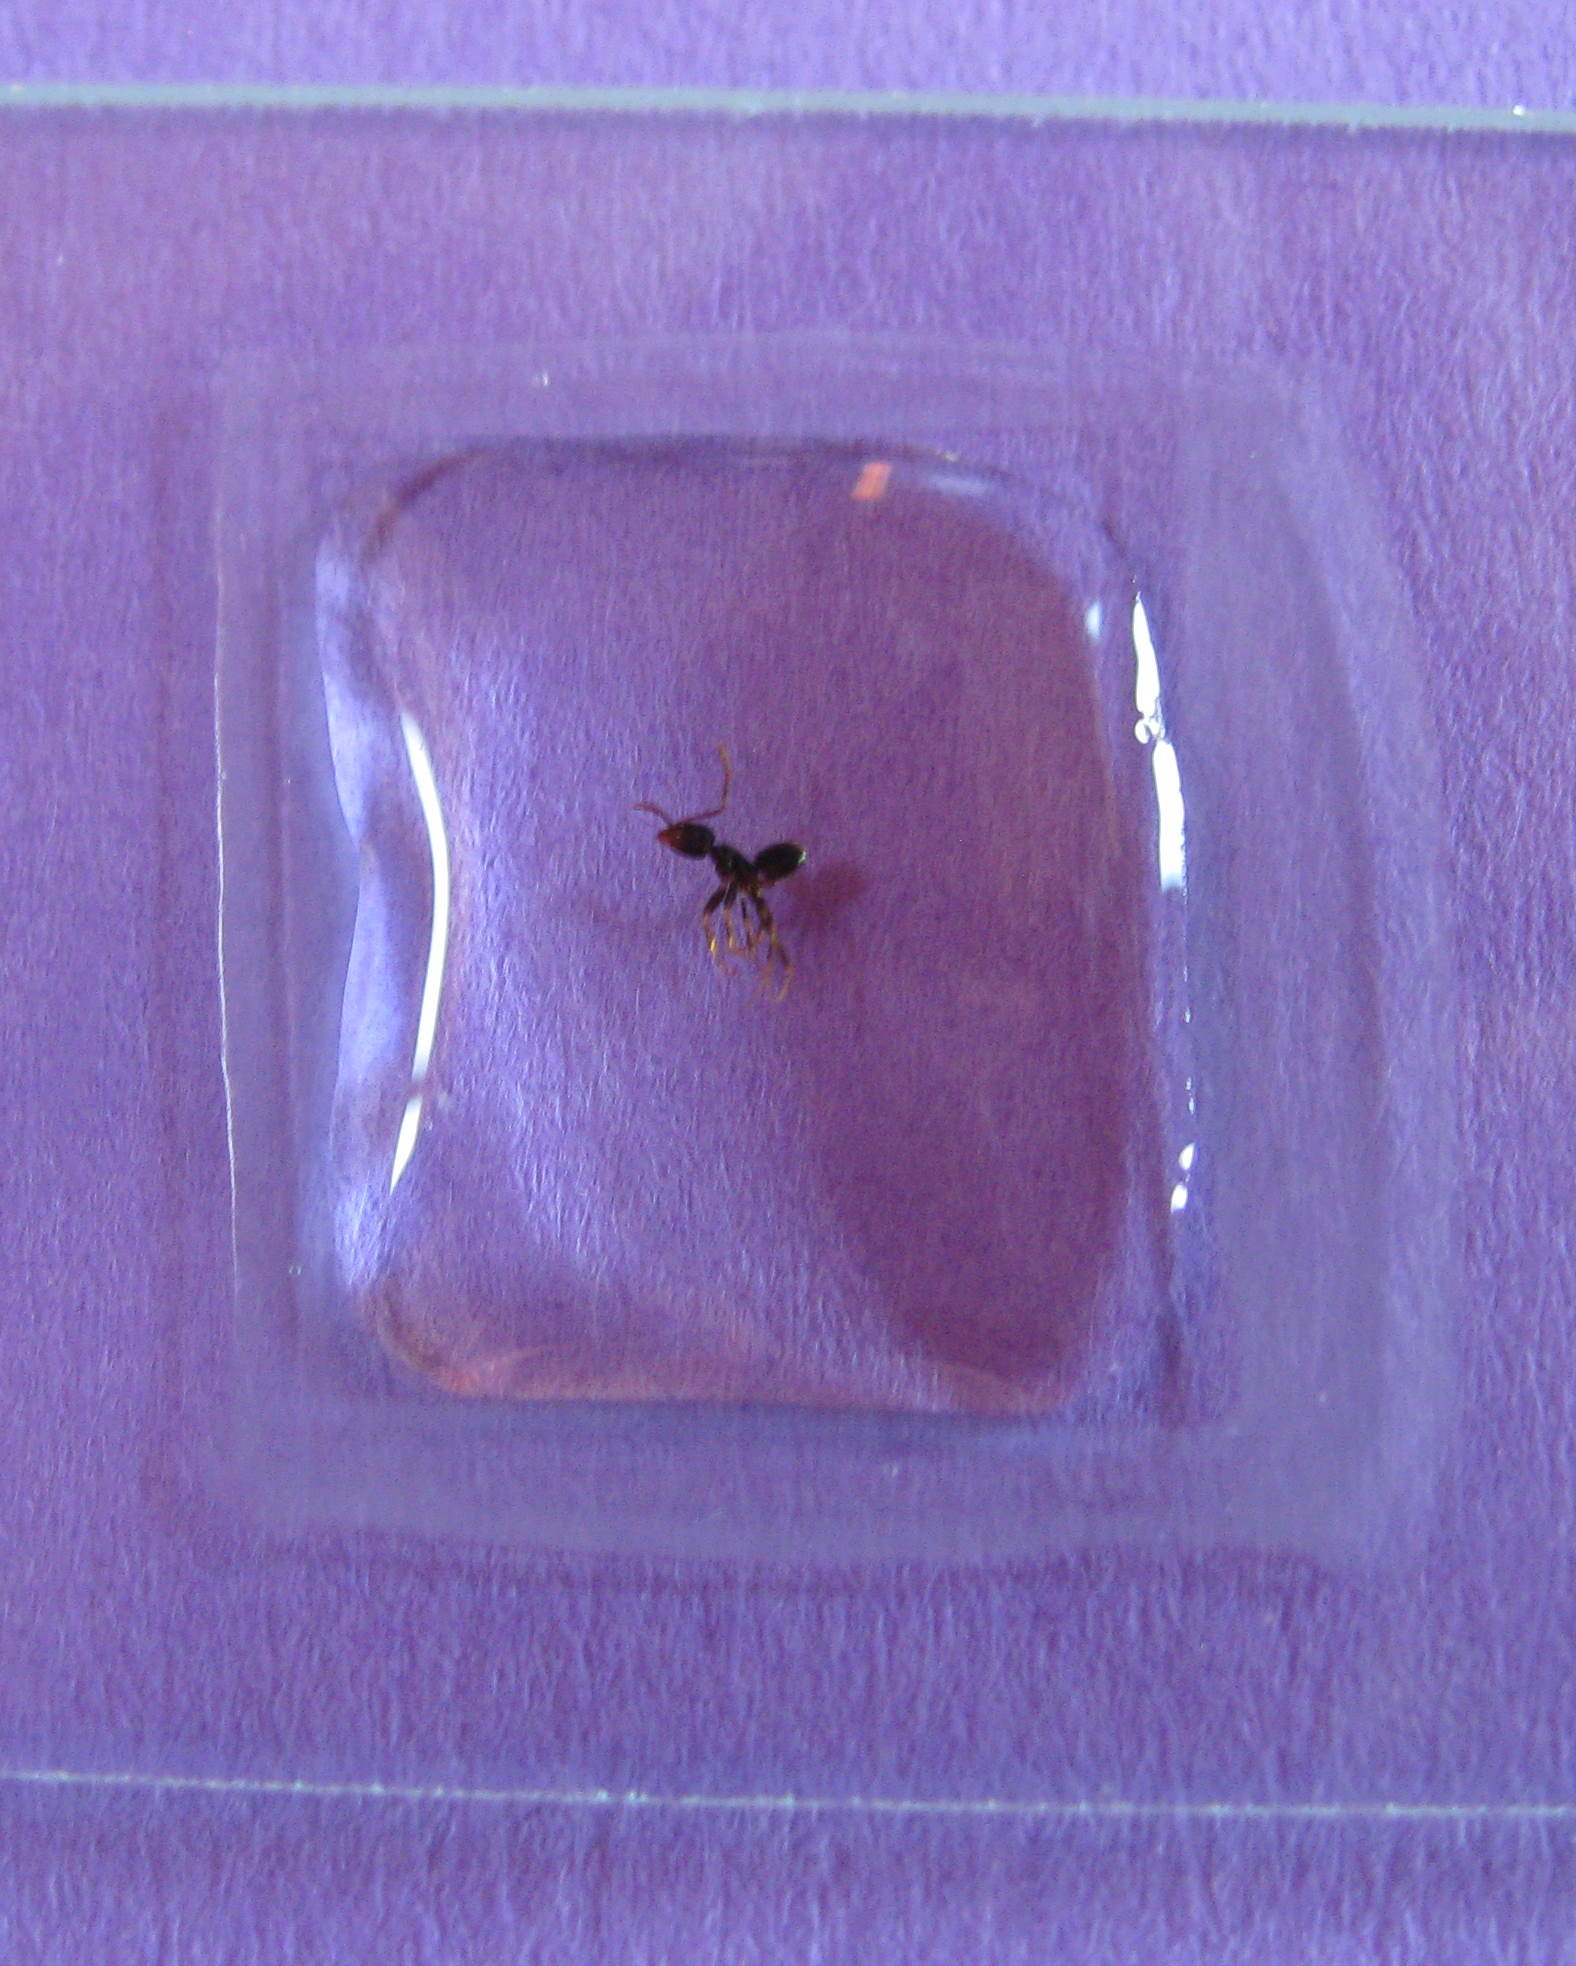
The first way is convenient and simple. We used circular reinforcements made for loose-leaf notebook paper. These come in white and clear, and we will try one of each.
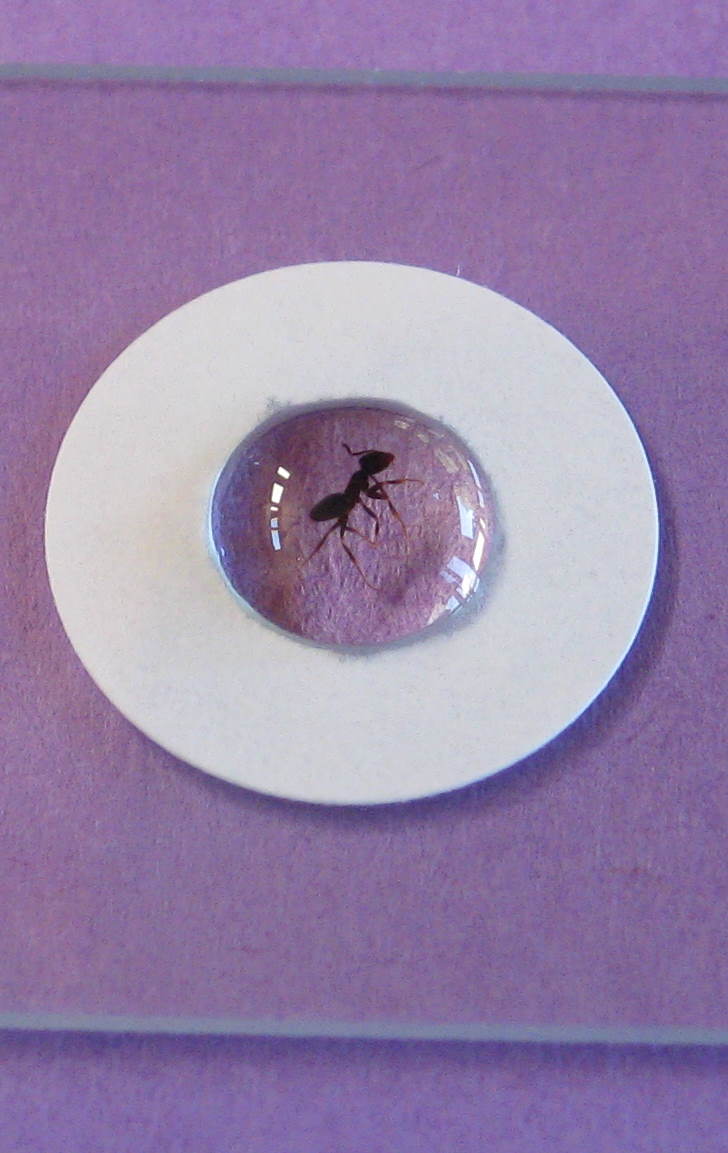
We put the reinforcement in the center of the slide. Then we put the ant inside it, followed by a drop of fructose solution.
Now we want to place the cover slip on top as before, but this time we will seal all around the edges with fingernail polish to prevent the slide from moving, and trap the fructose inside for eternity.
When the cover slip is on, we first place a dab of nail polish on two opposite corners, and let those dabs dry completely before we do anything else. This will lock the cover slip into place.
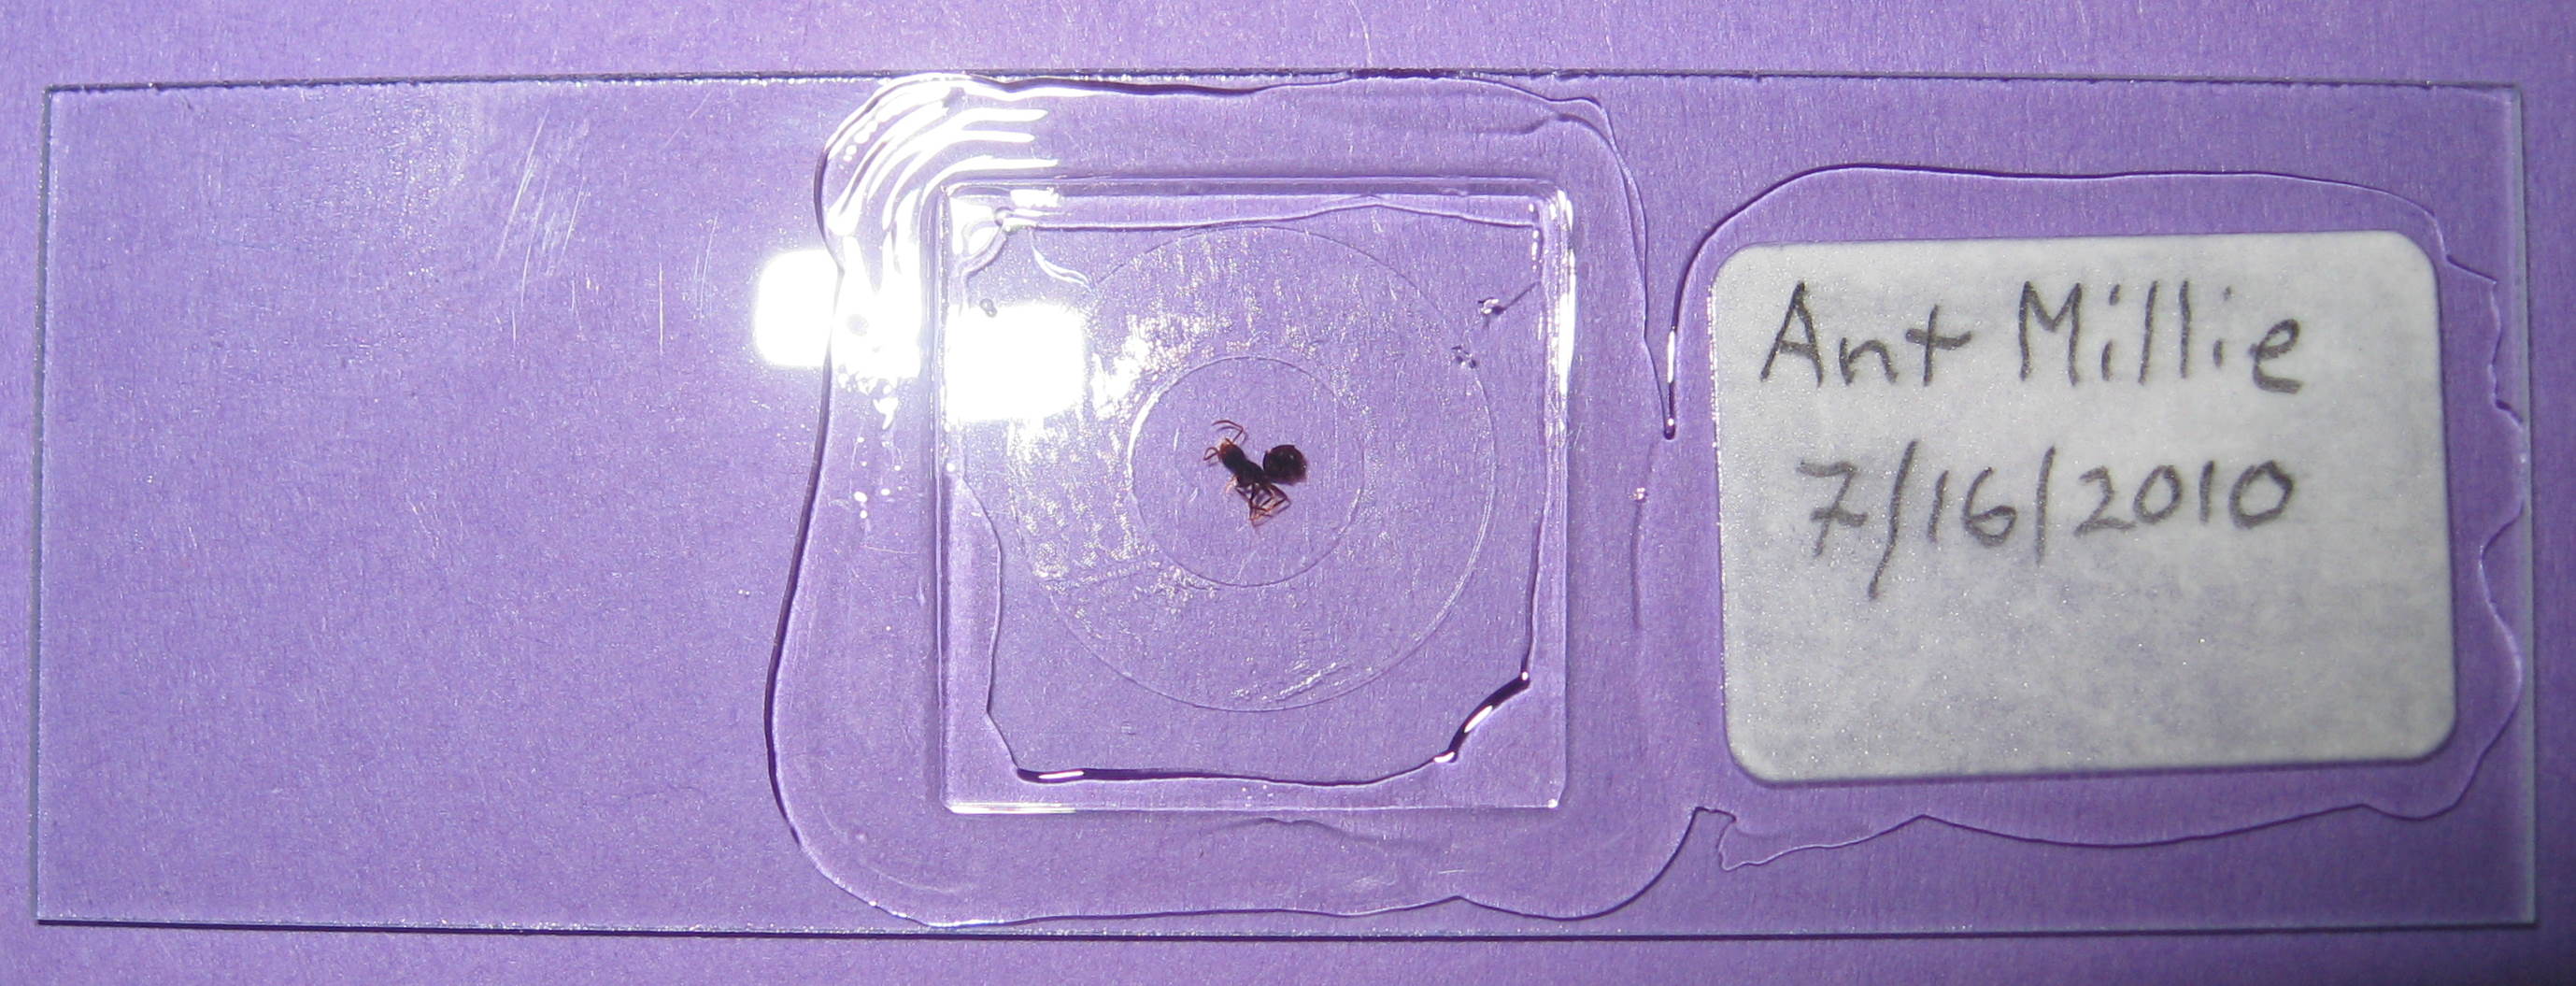
Finally, we paint all of the edges with nail polish, let it dry completely, and give it another coat. Don't get any nail polish on the top of the slide inside the reinforcement — we need to have that clear and flat to see through.
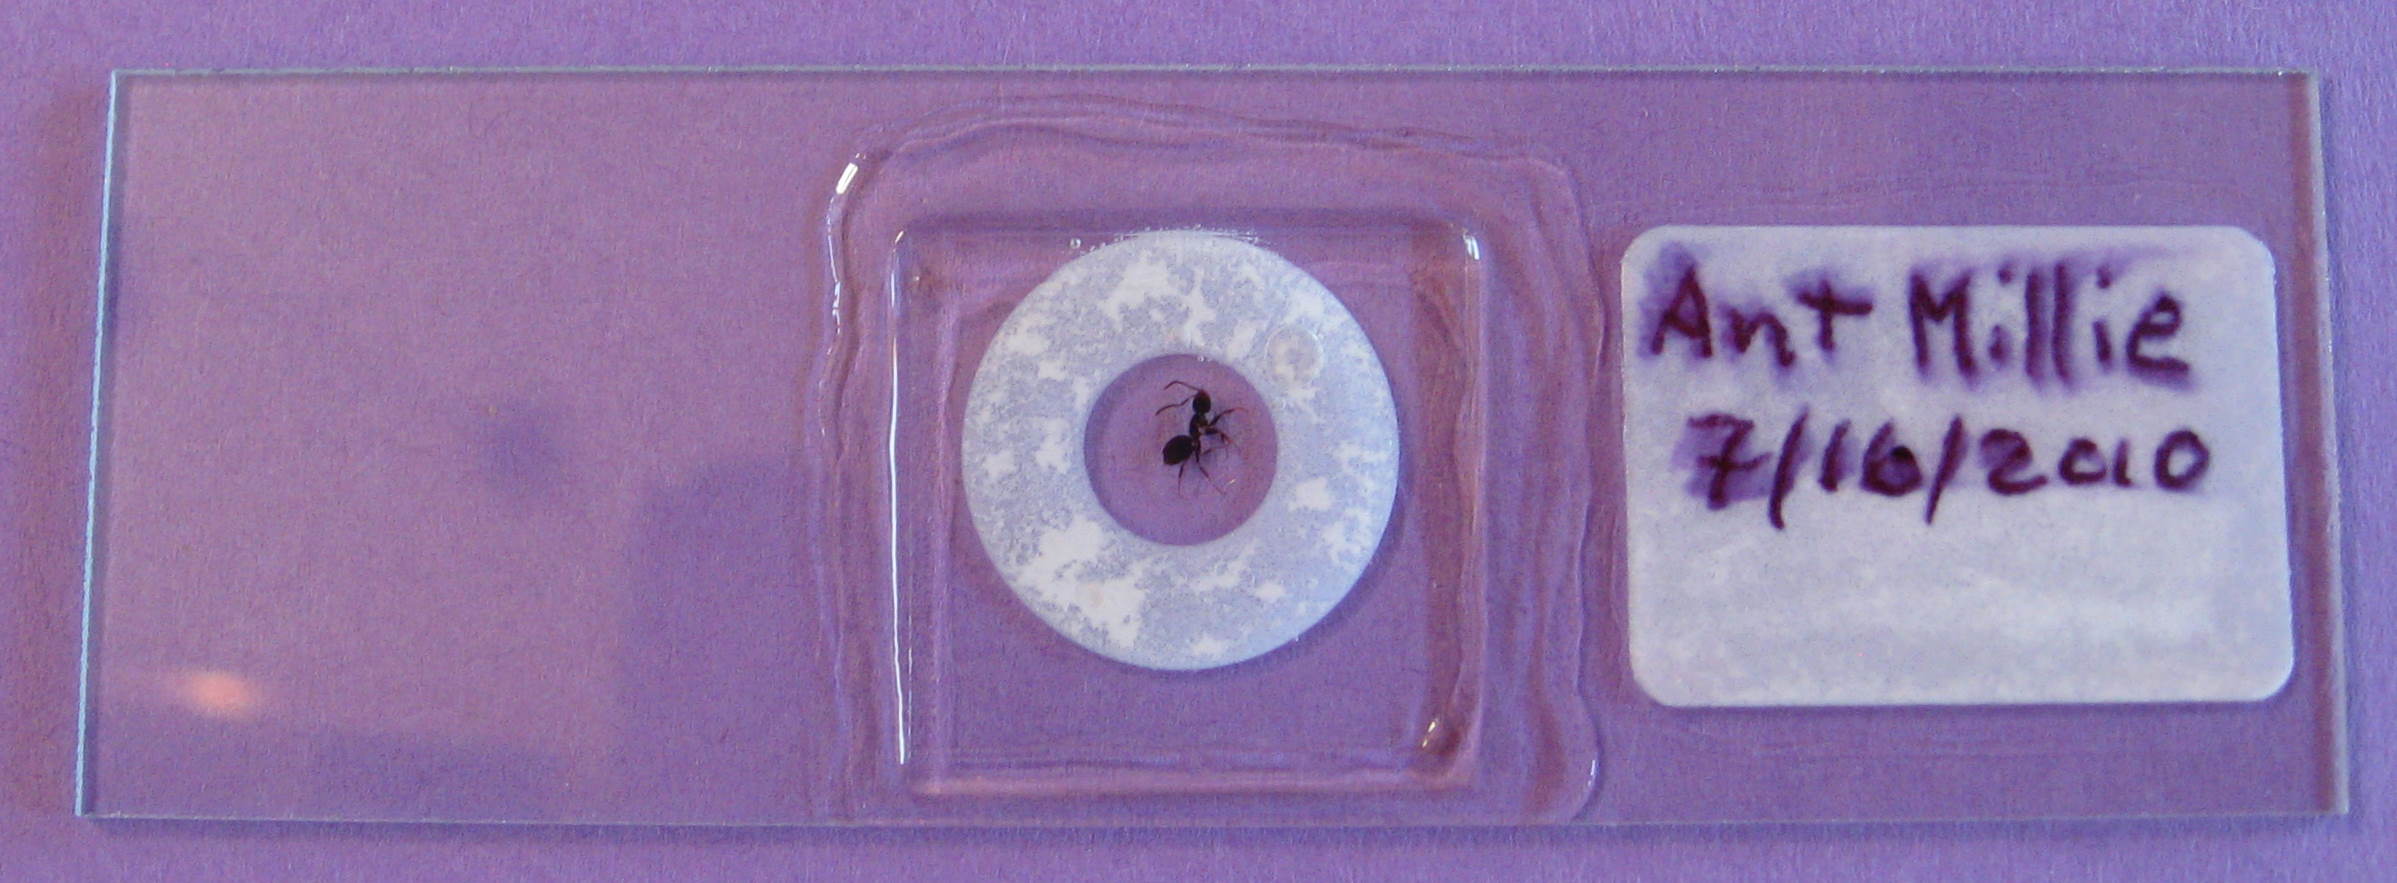
Once the nail polish on the cover slip has dried, we can label the slide. I used ink at first, and then decided to protect the label from washing by giving it a coat of nail polish. The resulting smeared ink made me switch to pencil for the remaining labels, since the idea of protecting them from wash water is a good one.
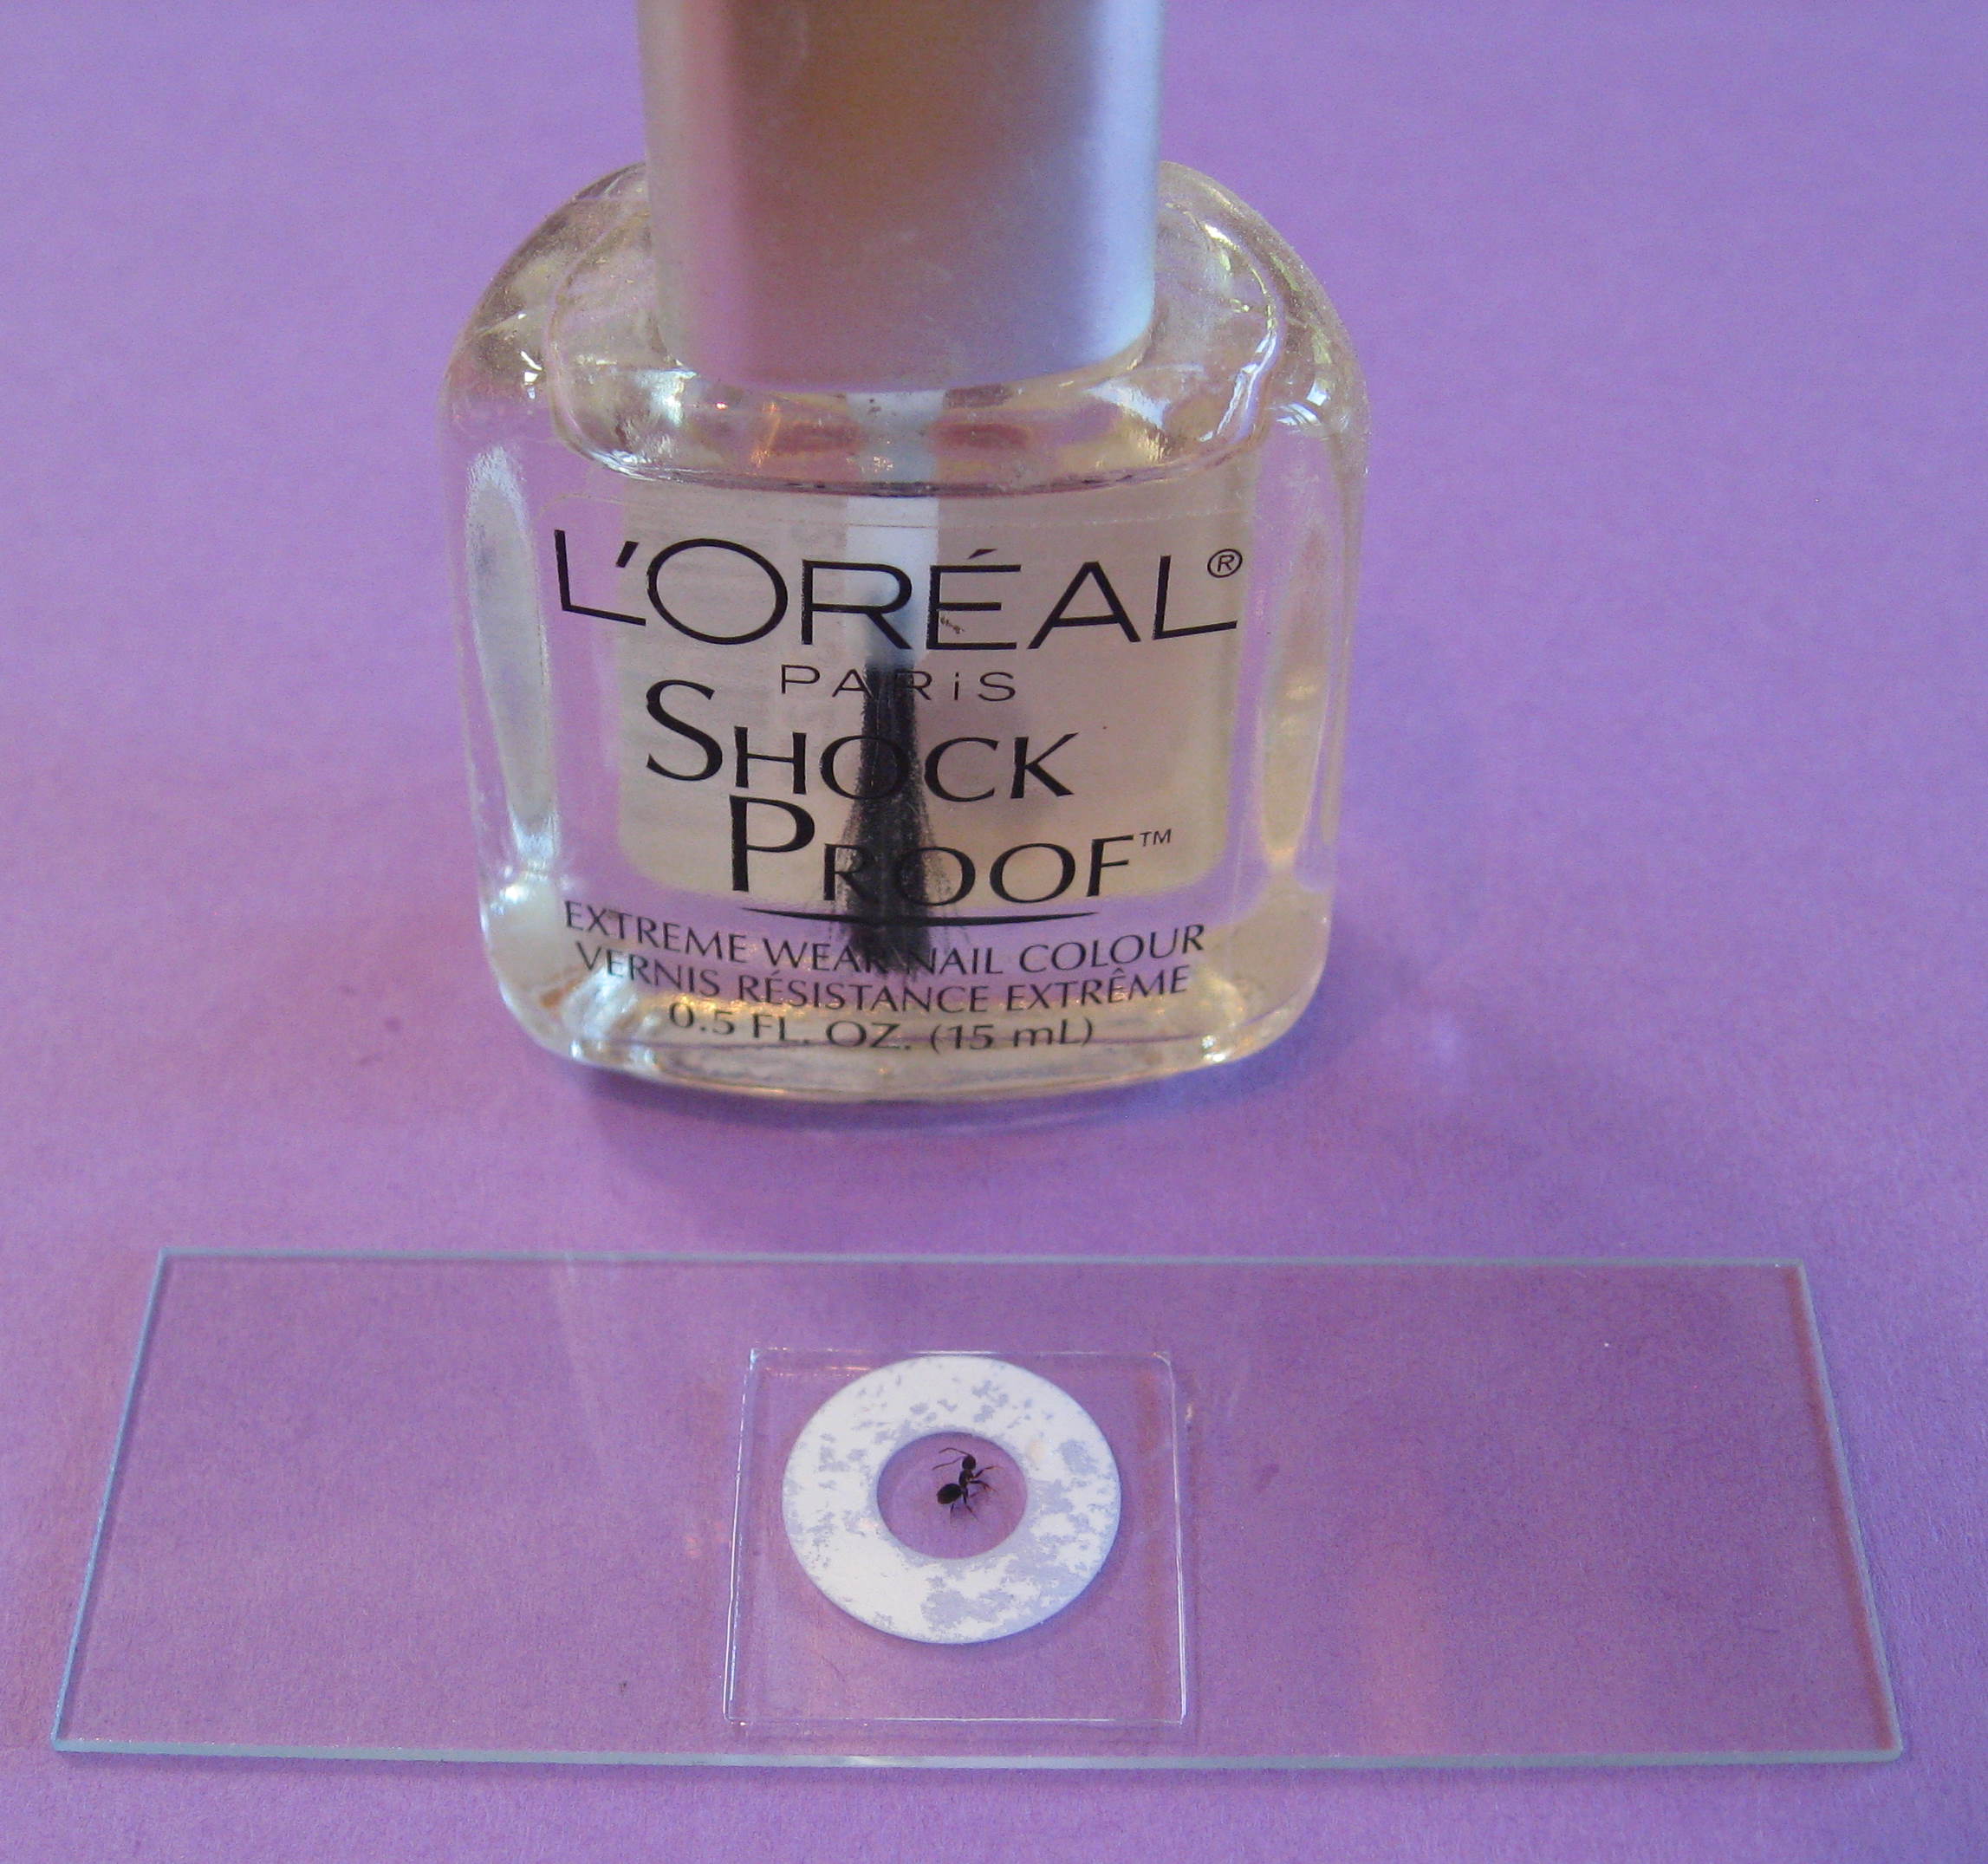
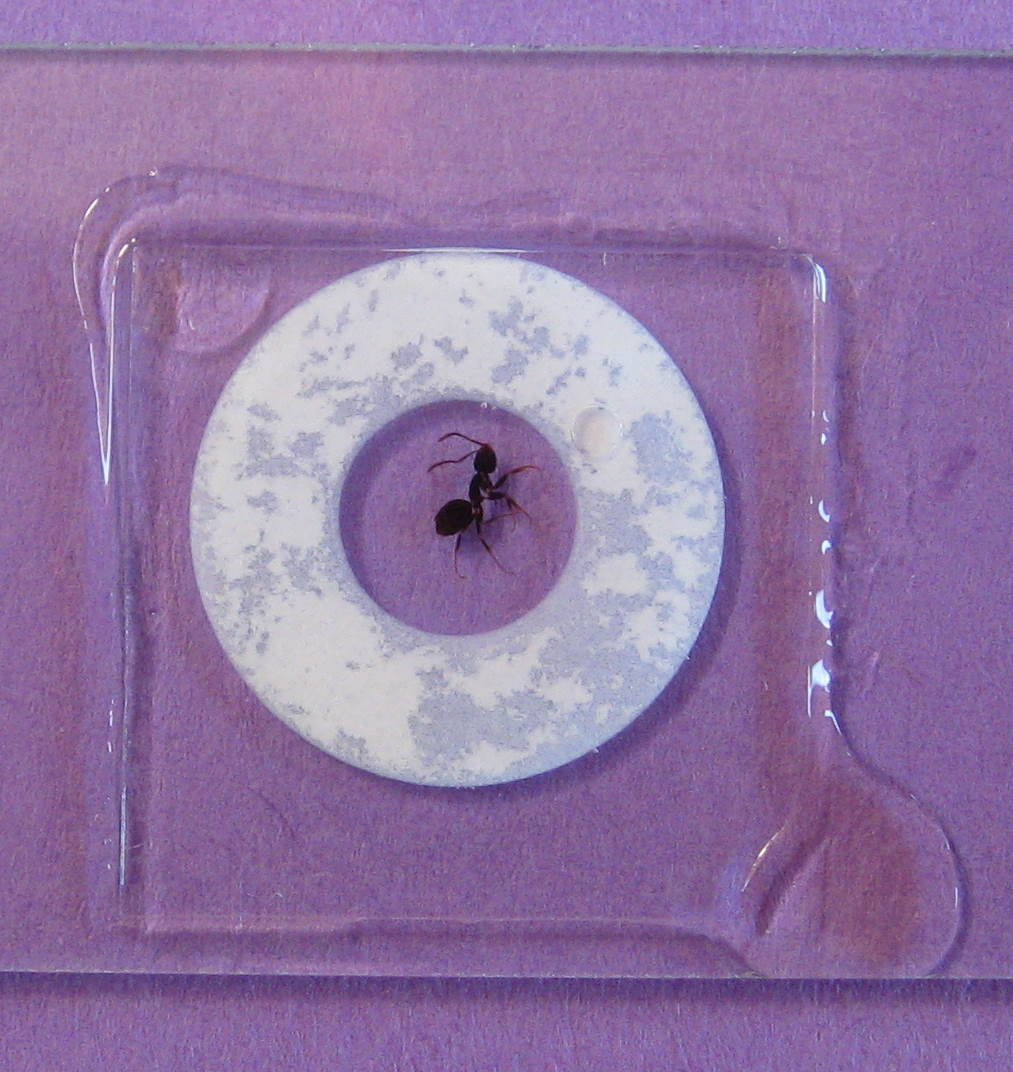
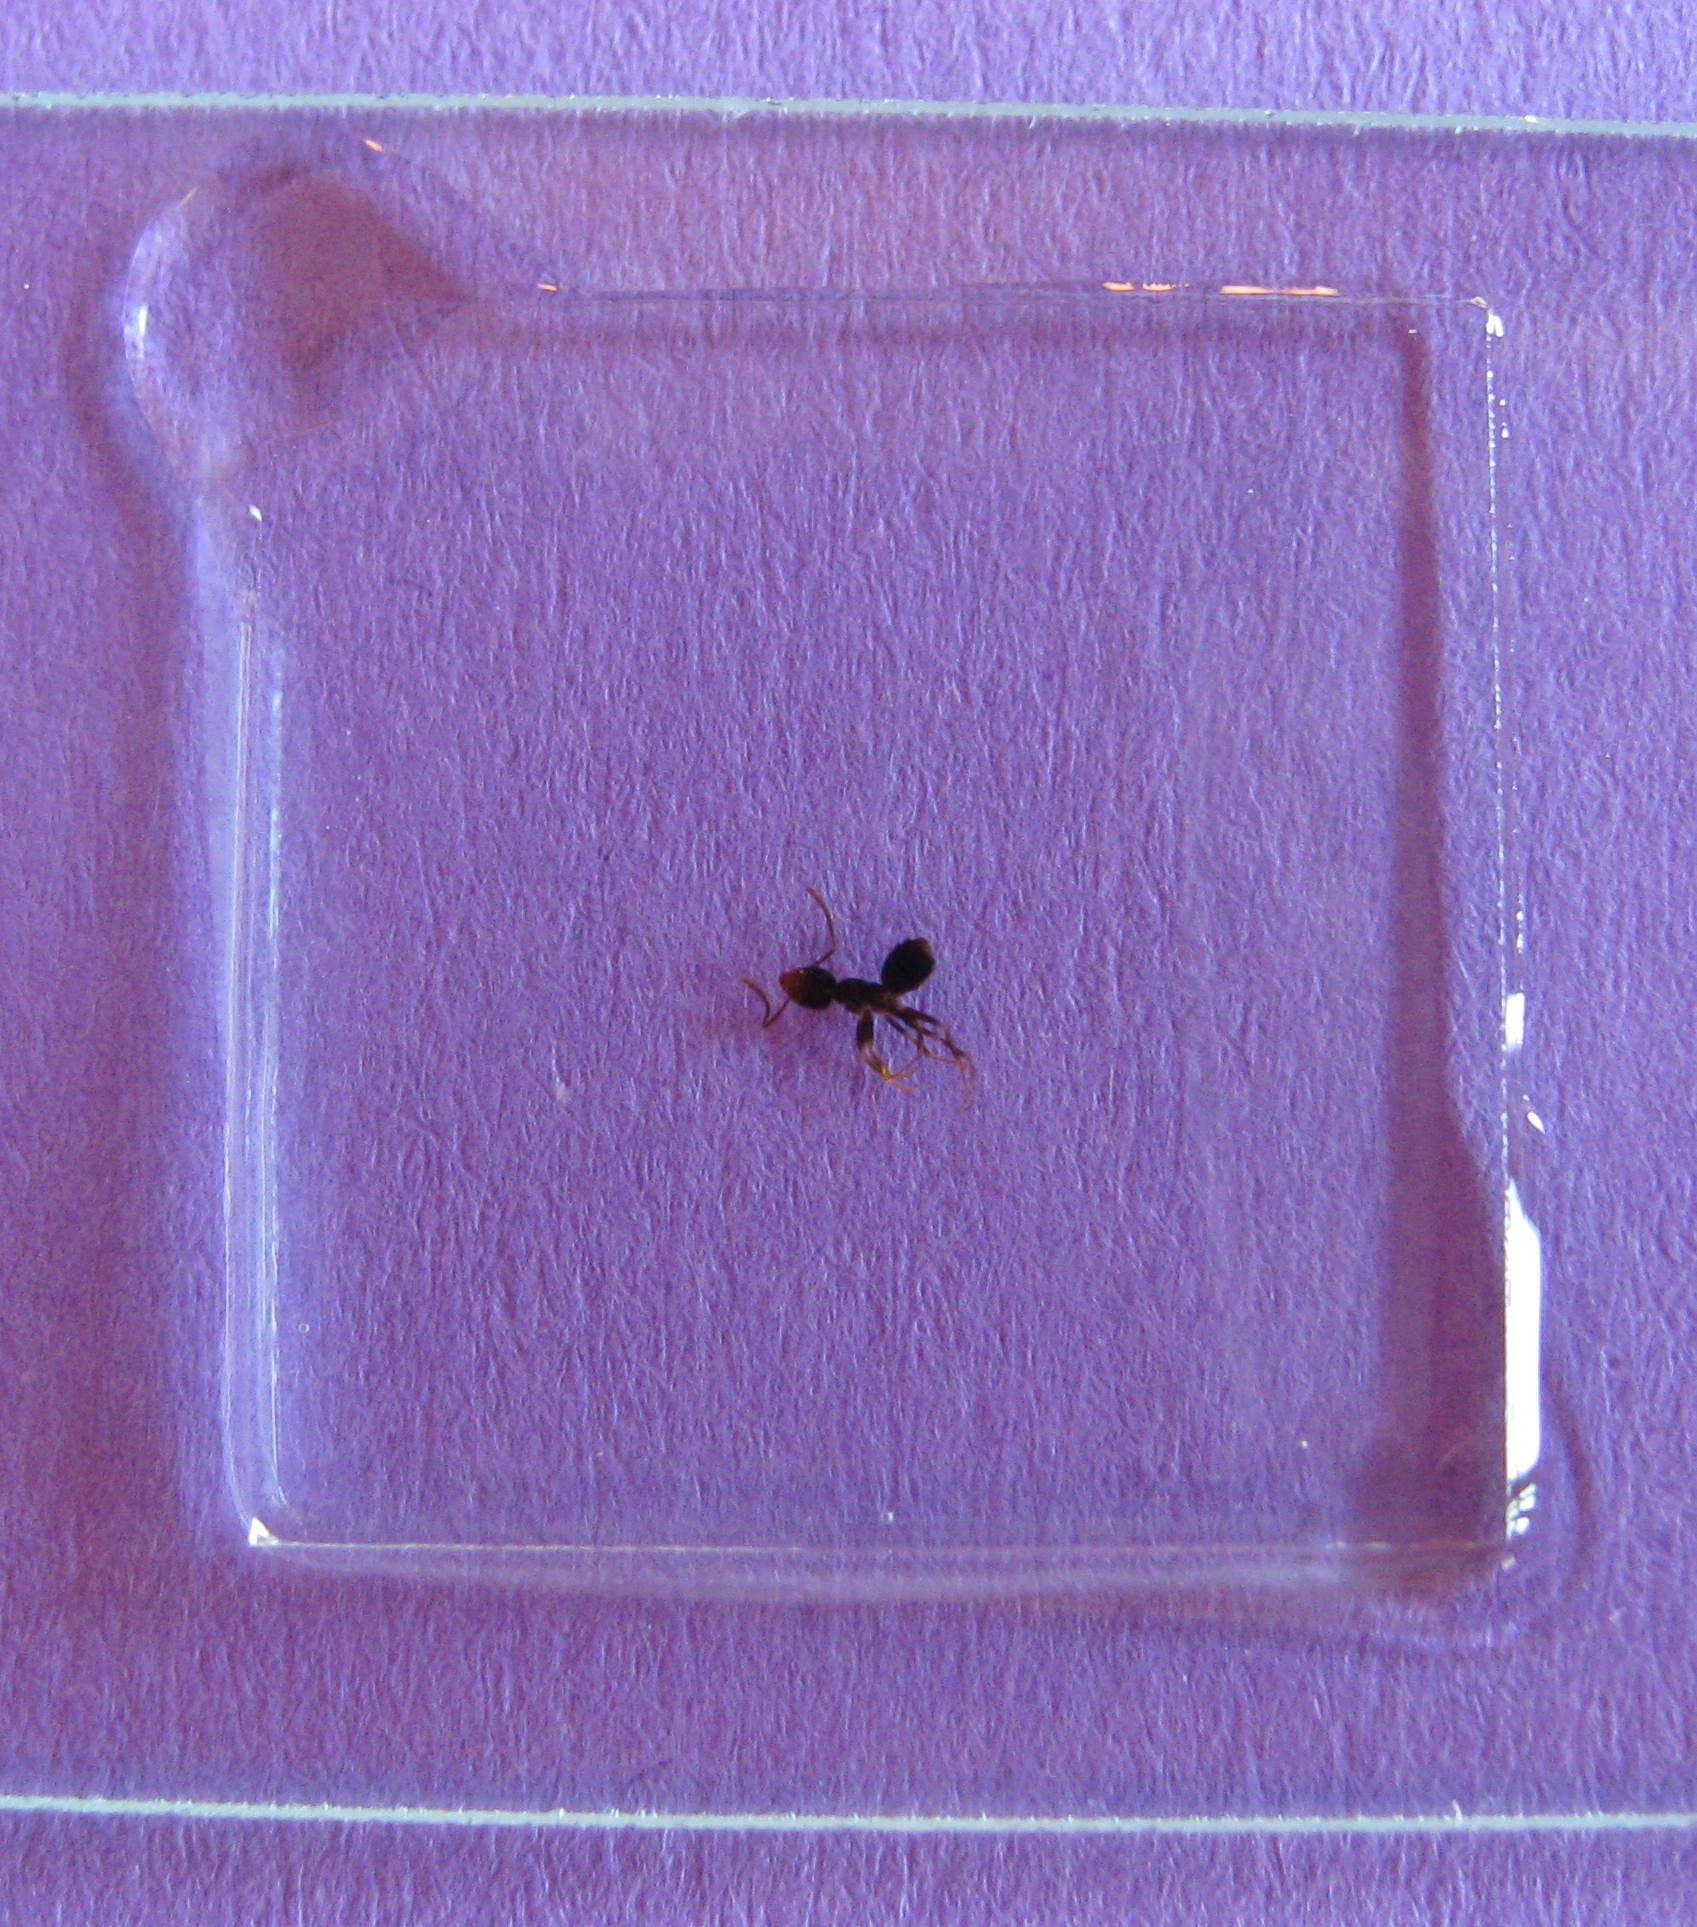
Using clear reinforcements, the procedure is the same.
We start by placing the reinforcement in the center of the slide.
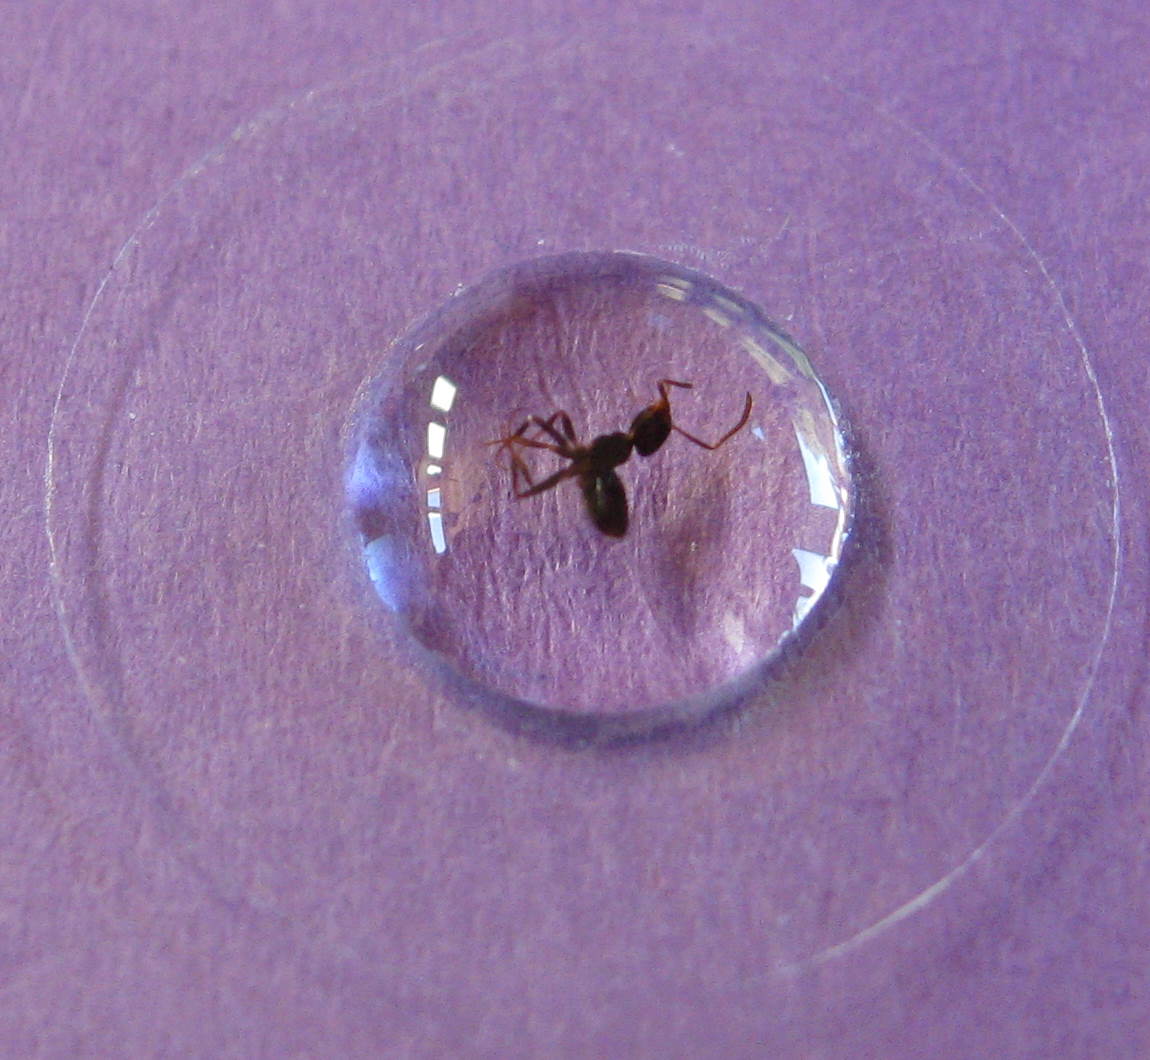
We place the ant on the slide in the center of the clear reinforcement and cover with a drop of fructose solution, then the cover slip, the dabs at the corners, the edges, and finally the label and its coat of polish.
The other way to make permanent well slides is to use glue such as Elmer's White Glue (also known as PVA glue because it is made of polyvinyl alcohol) to paint a square wall the size of the cover slip onto the slide. When this wall dries, it will hold the drop of fructose in place as the cover slip is placed on it.
You could use a fine paint brush to make the walls, but I find it is much faster to stamp them out with a piece of thin cardboard.
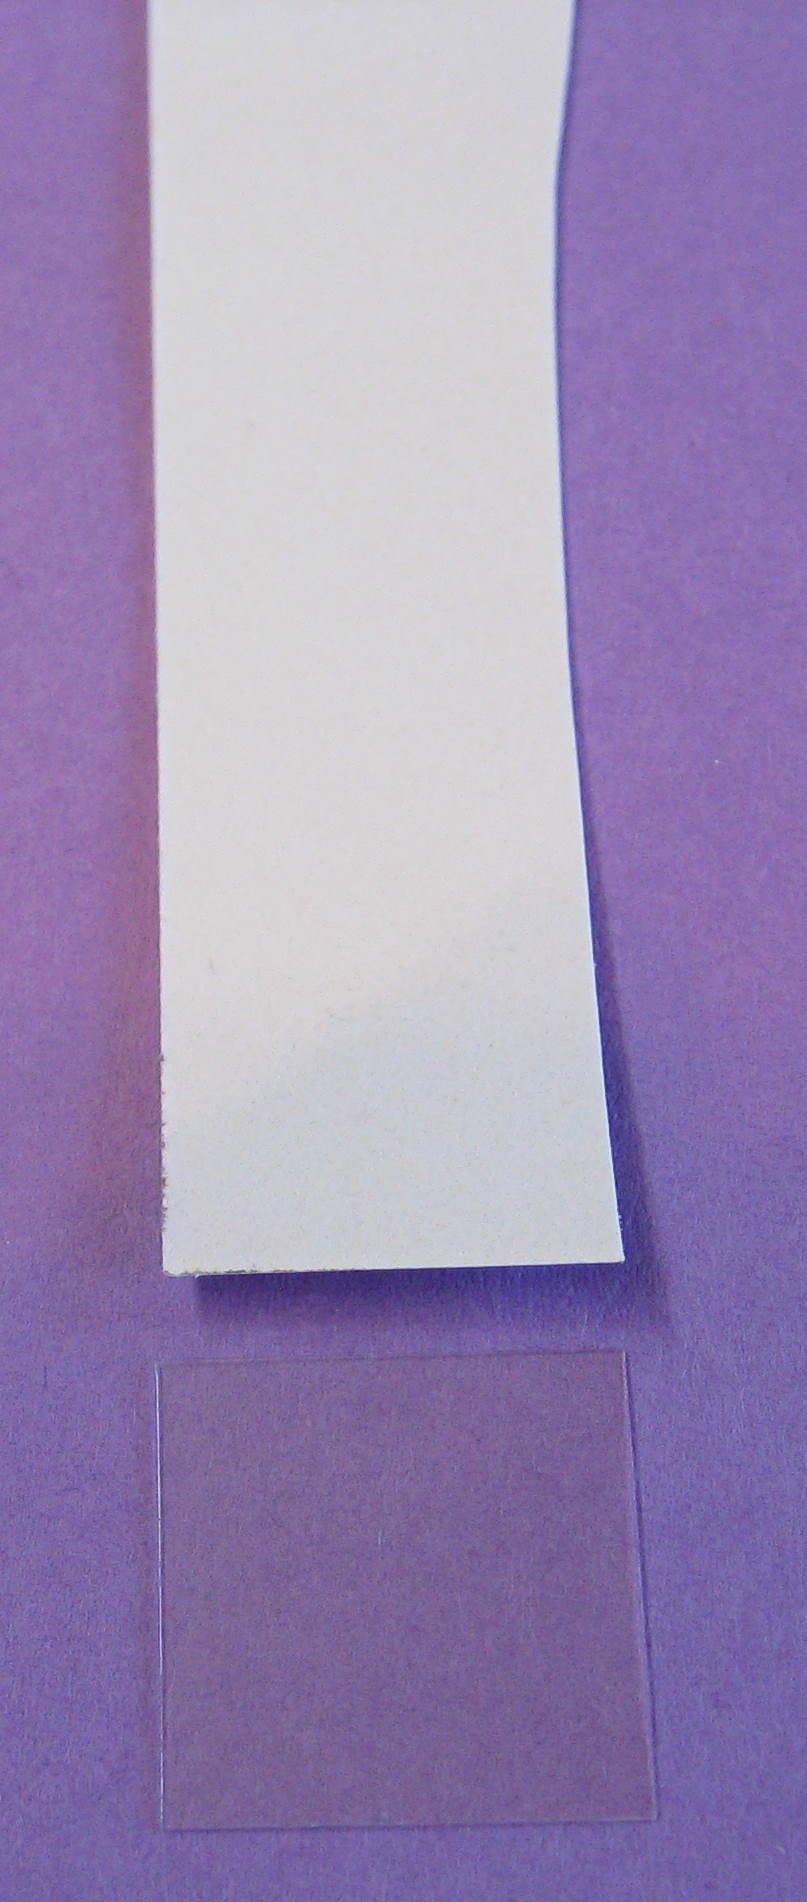
We start by cutting a strip of card that is just a little bit narrower than the cover slip. I used a 3 by 5 card, but a business card or similar heavy paper will work fine.
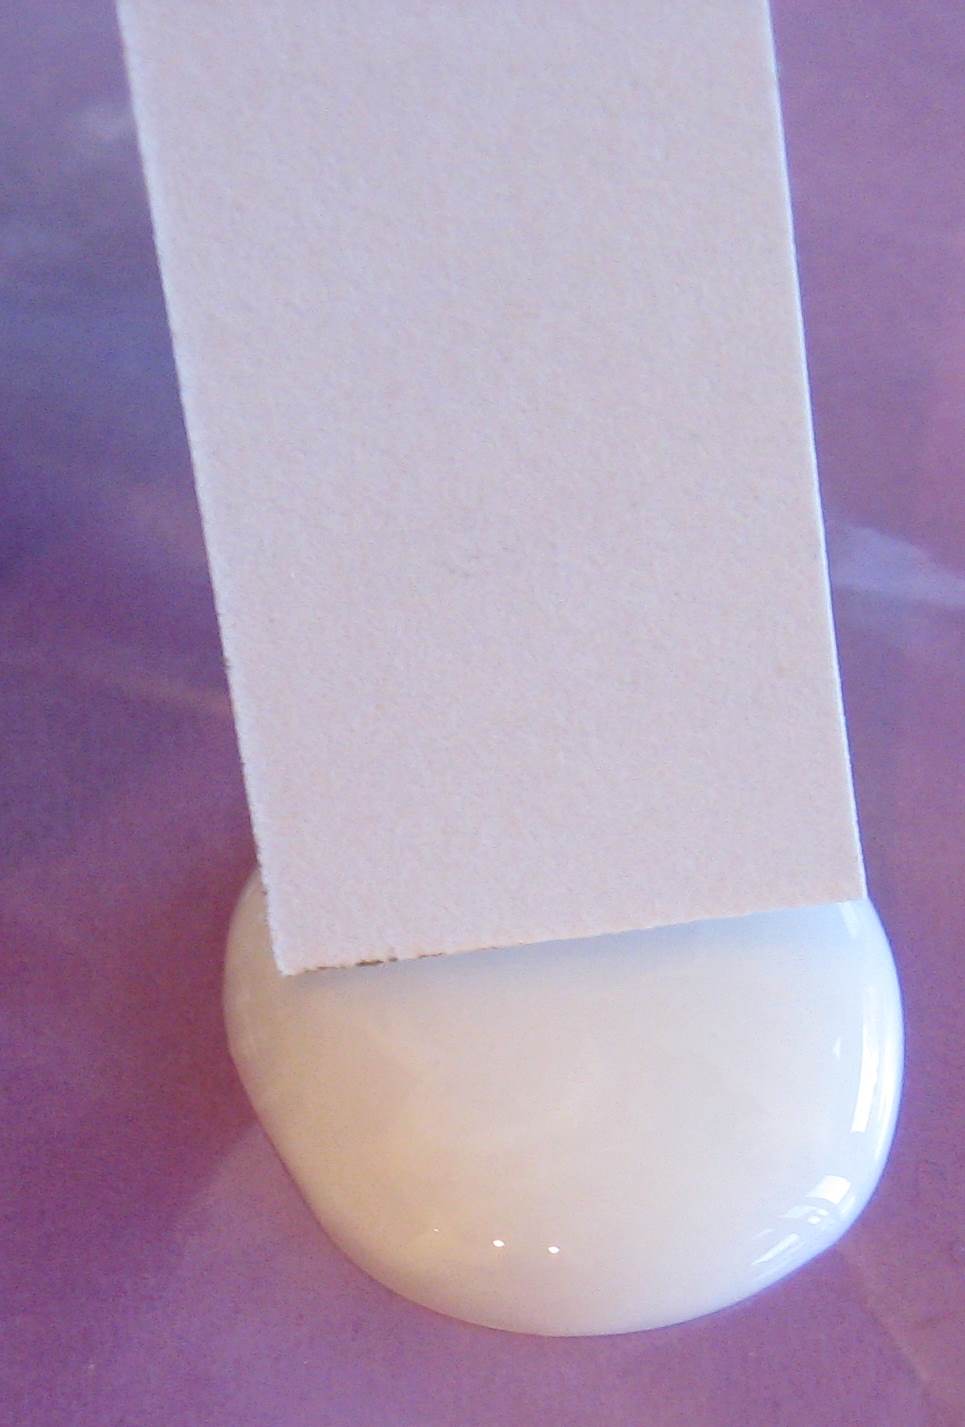
We dip the end of the stamp in a puddle of glue. Just wet the very end, since we only want a tiny bit of glue.
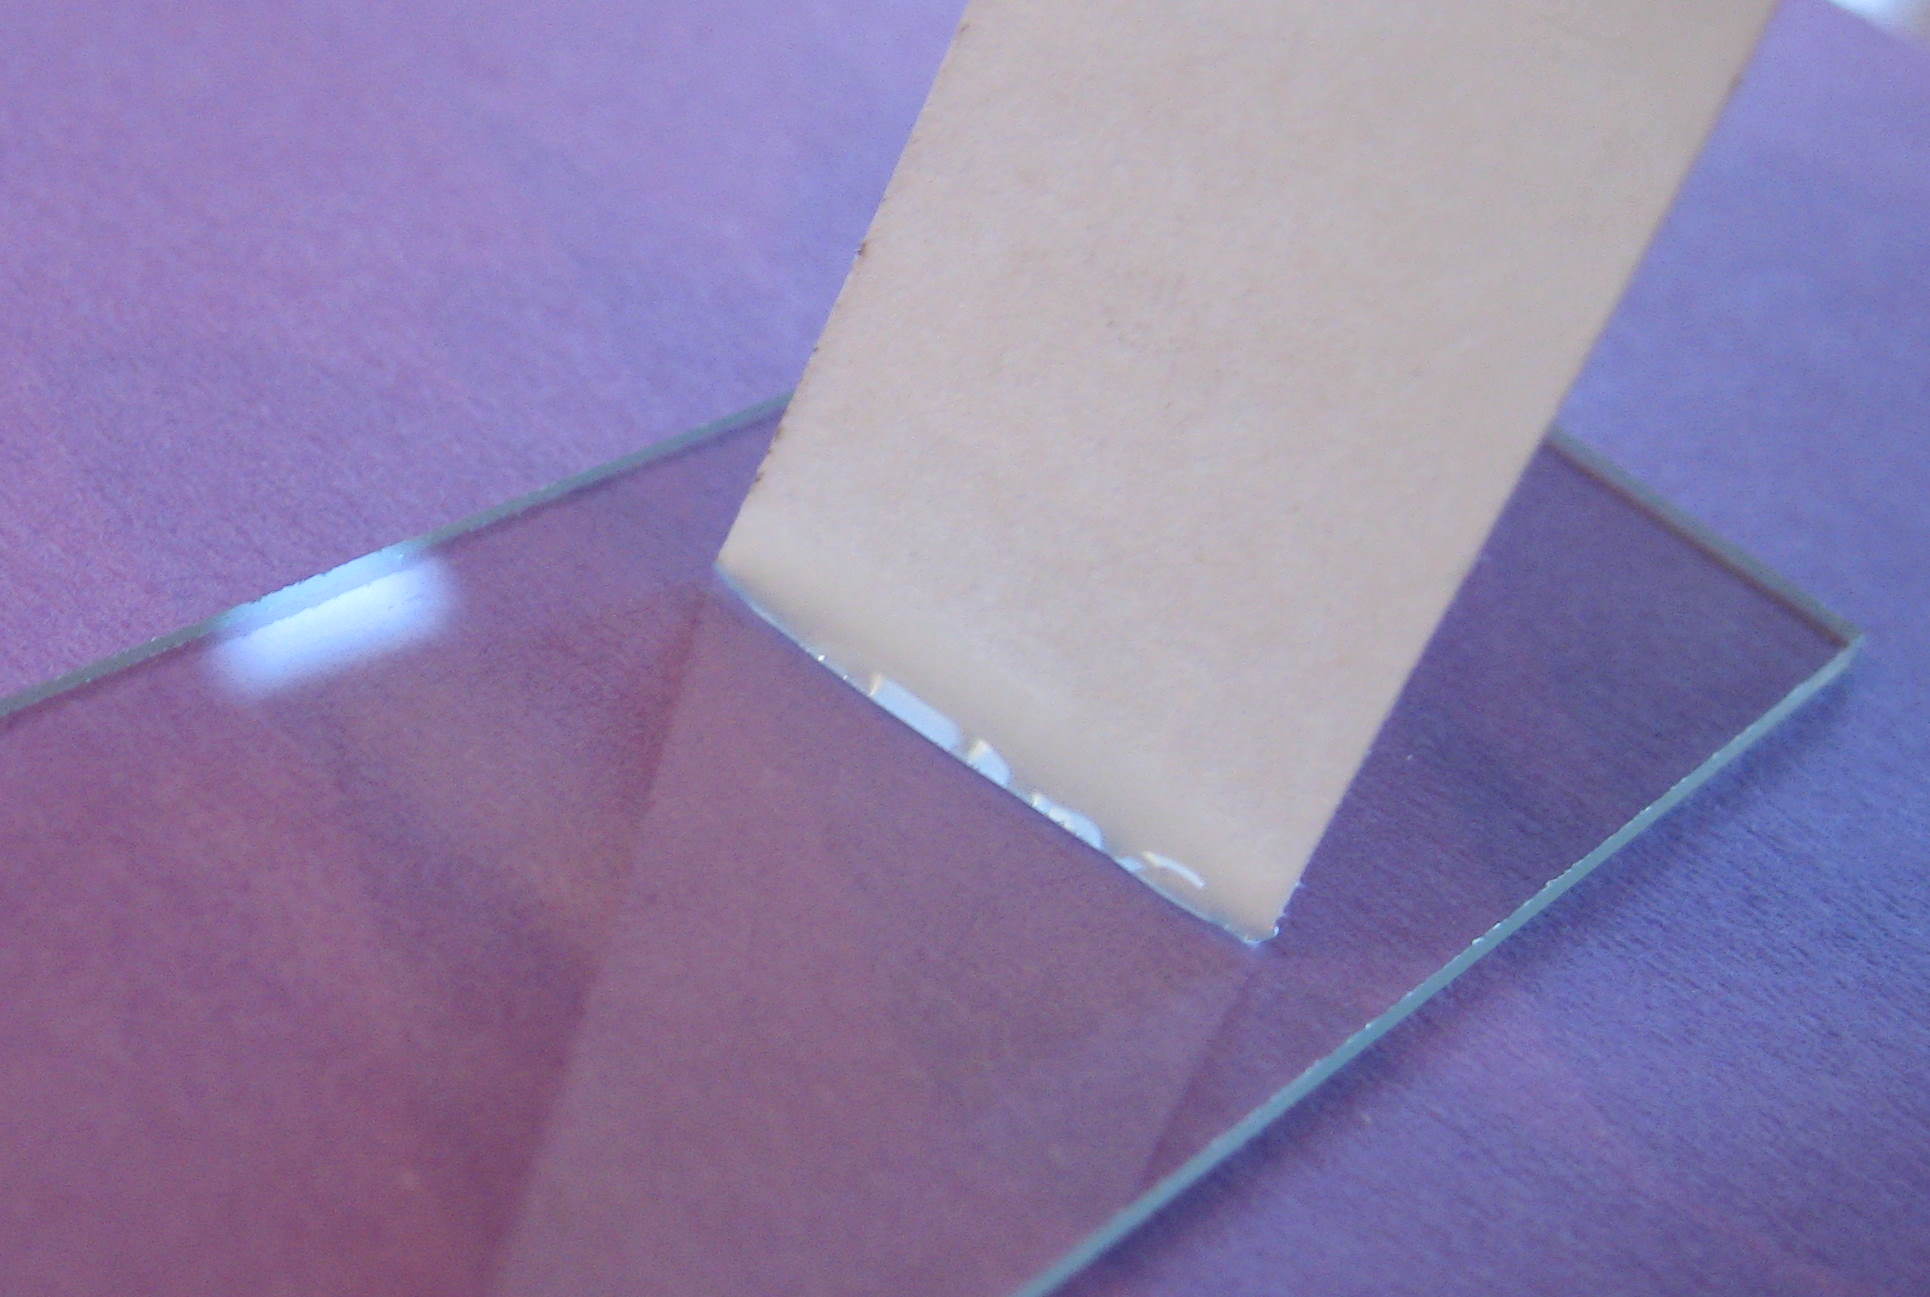
Now touch the glue to the slide. Since this will be the right side of a square, we touch just to the right of the center of the slide. Next we do the top of the square, then the bottom, and finally the left side. You can probably do all four sides without needing to wet the stamp with glue again.
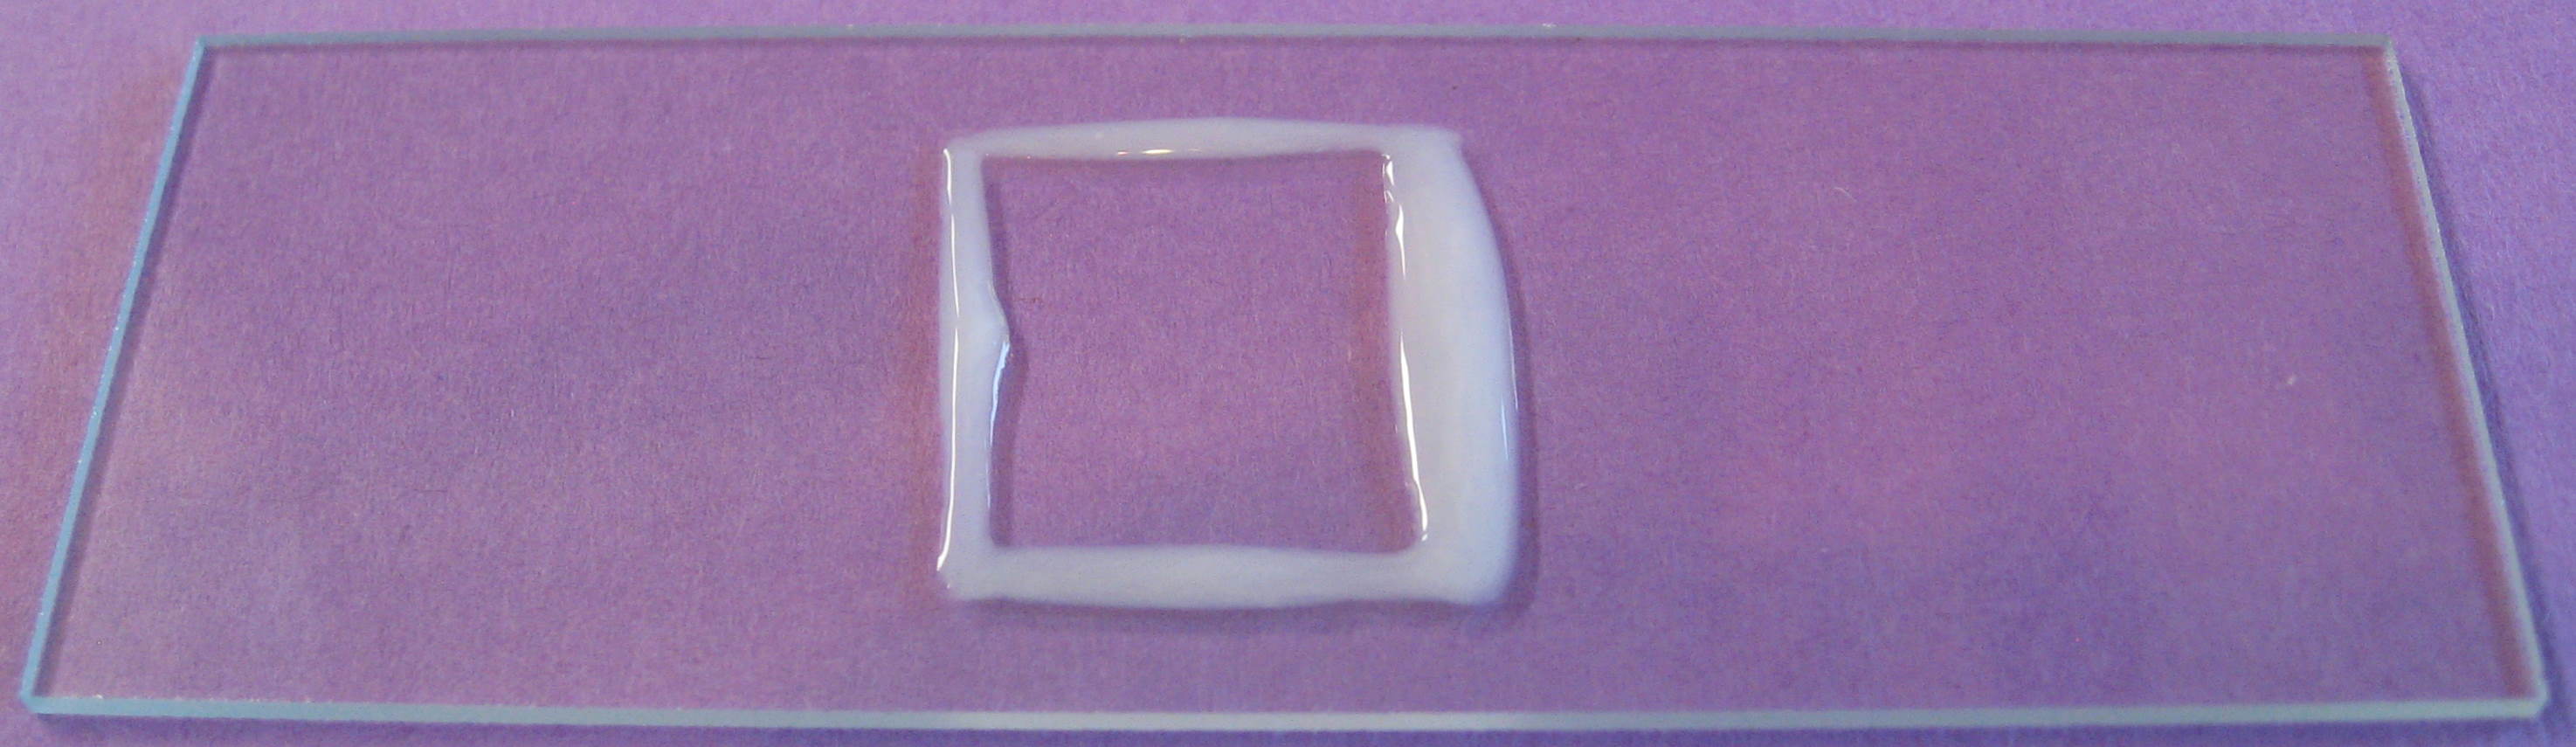
When the glue dries, it is almost transparent. The drop of fructose solution stays inside the walls.
We now place the cover slip on top, starting at the left side and lowering it to the right, so that no bubbles are trapped. As before, we dab two corners with nail polish and let them dry before we seal all of the edges with nail polish.
Lastly, we label the slide, and coat the label with a protective layer of nail polish.