Having a scale to tell the viewer just how big an object is can be very helpful. Often pictures of microscopic objects give no clue as to what the size actually is, or the relative size of objects in two pictures takes at different magnifications.
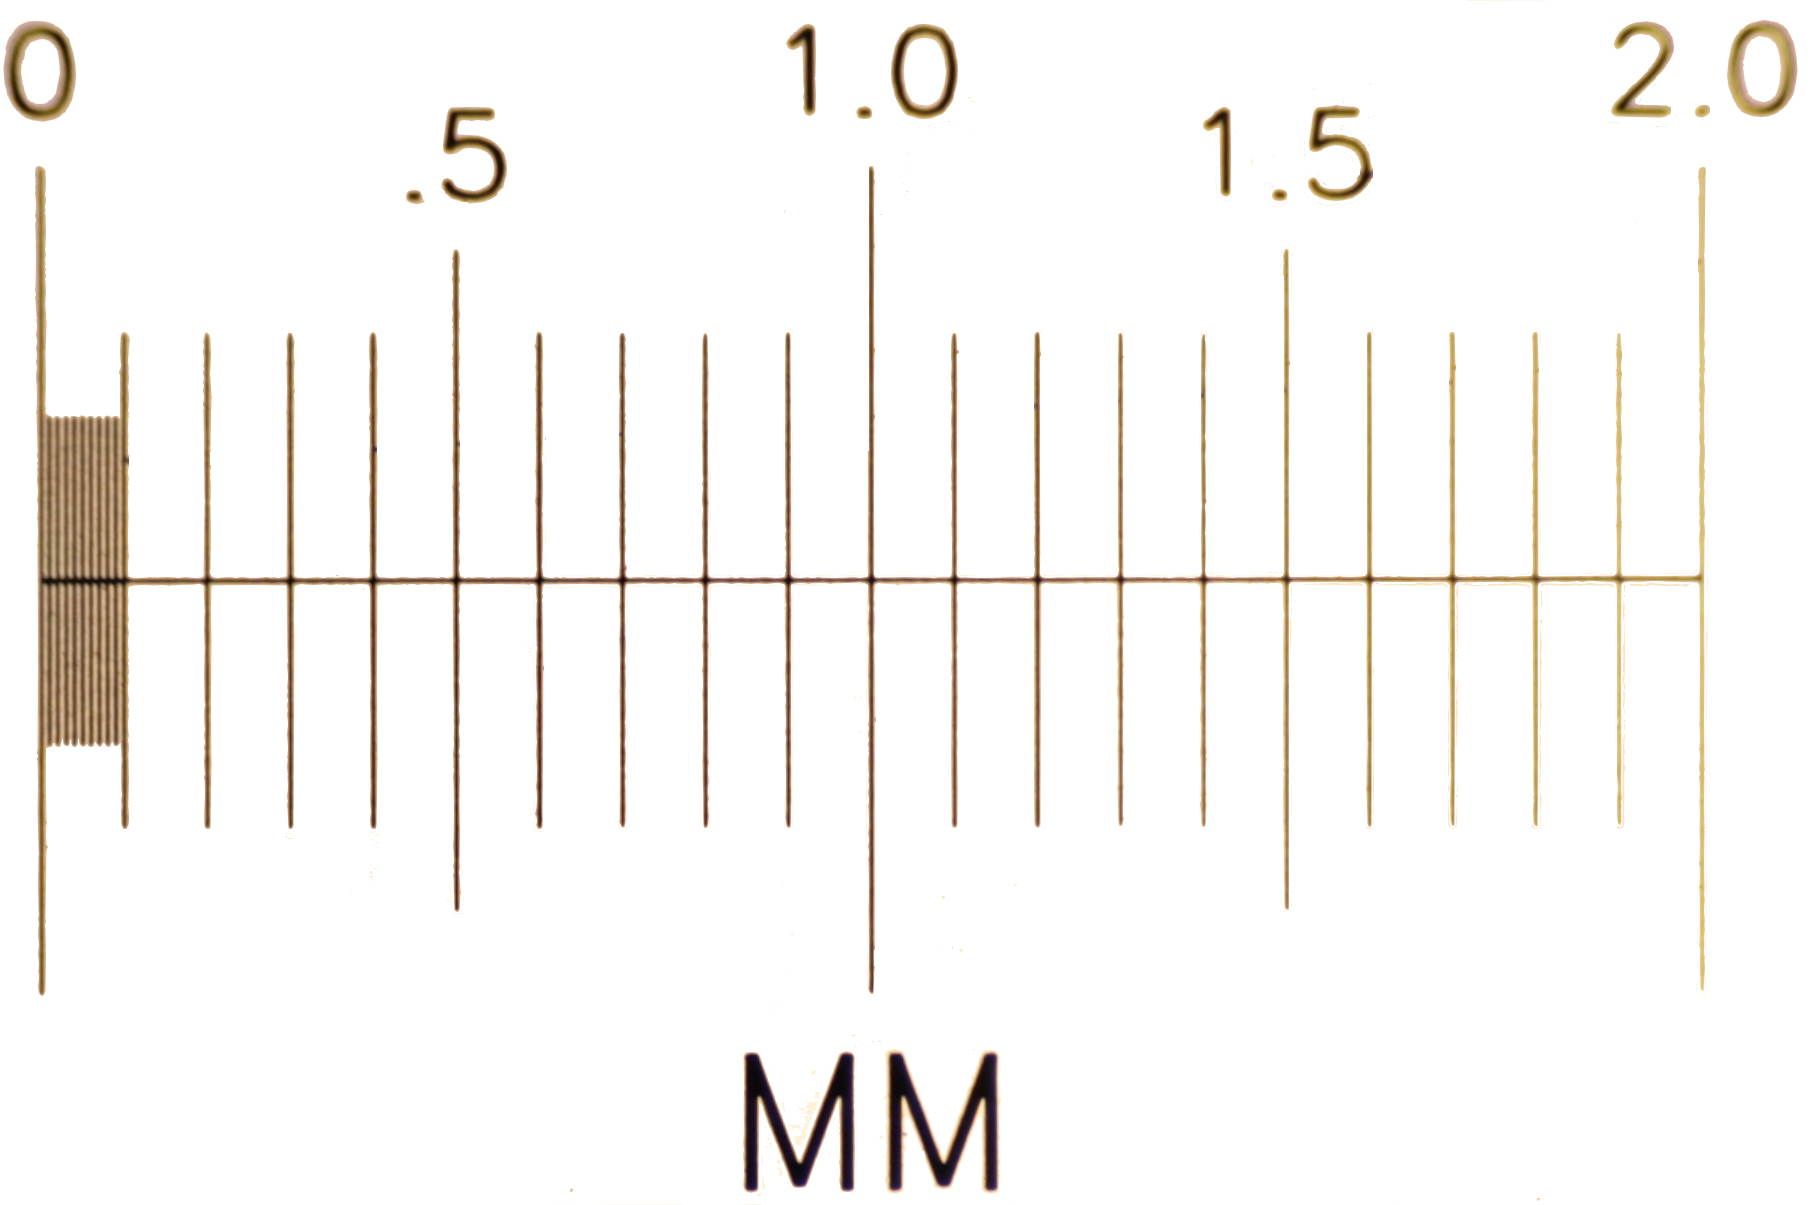
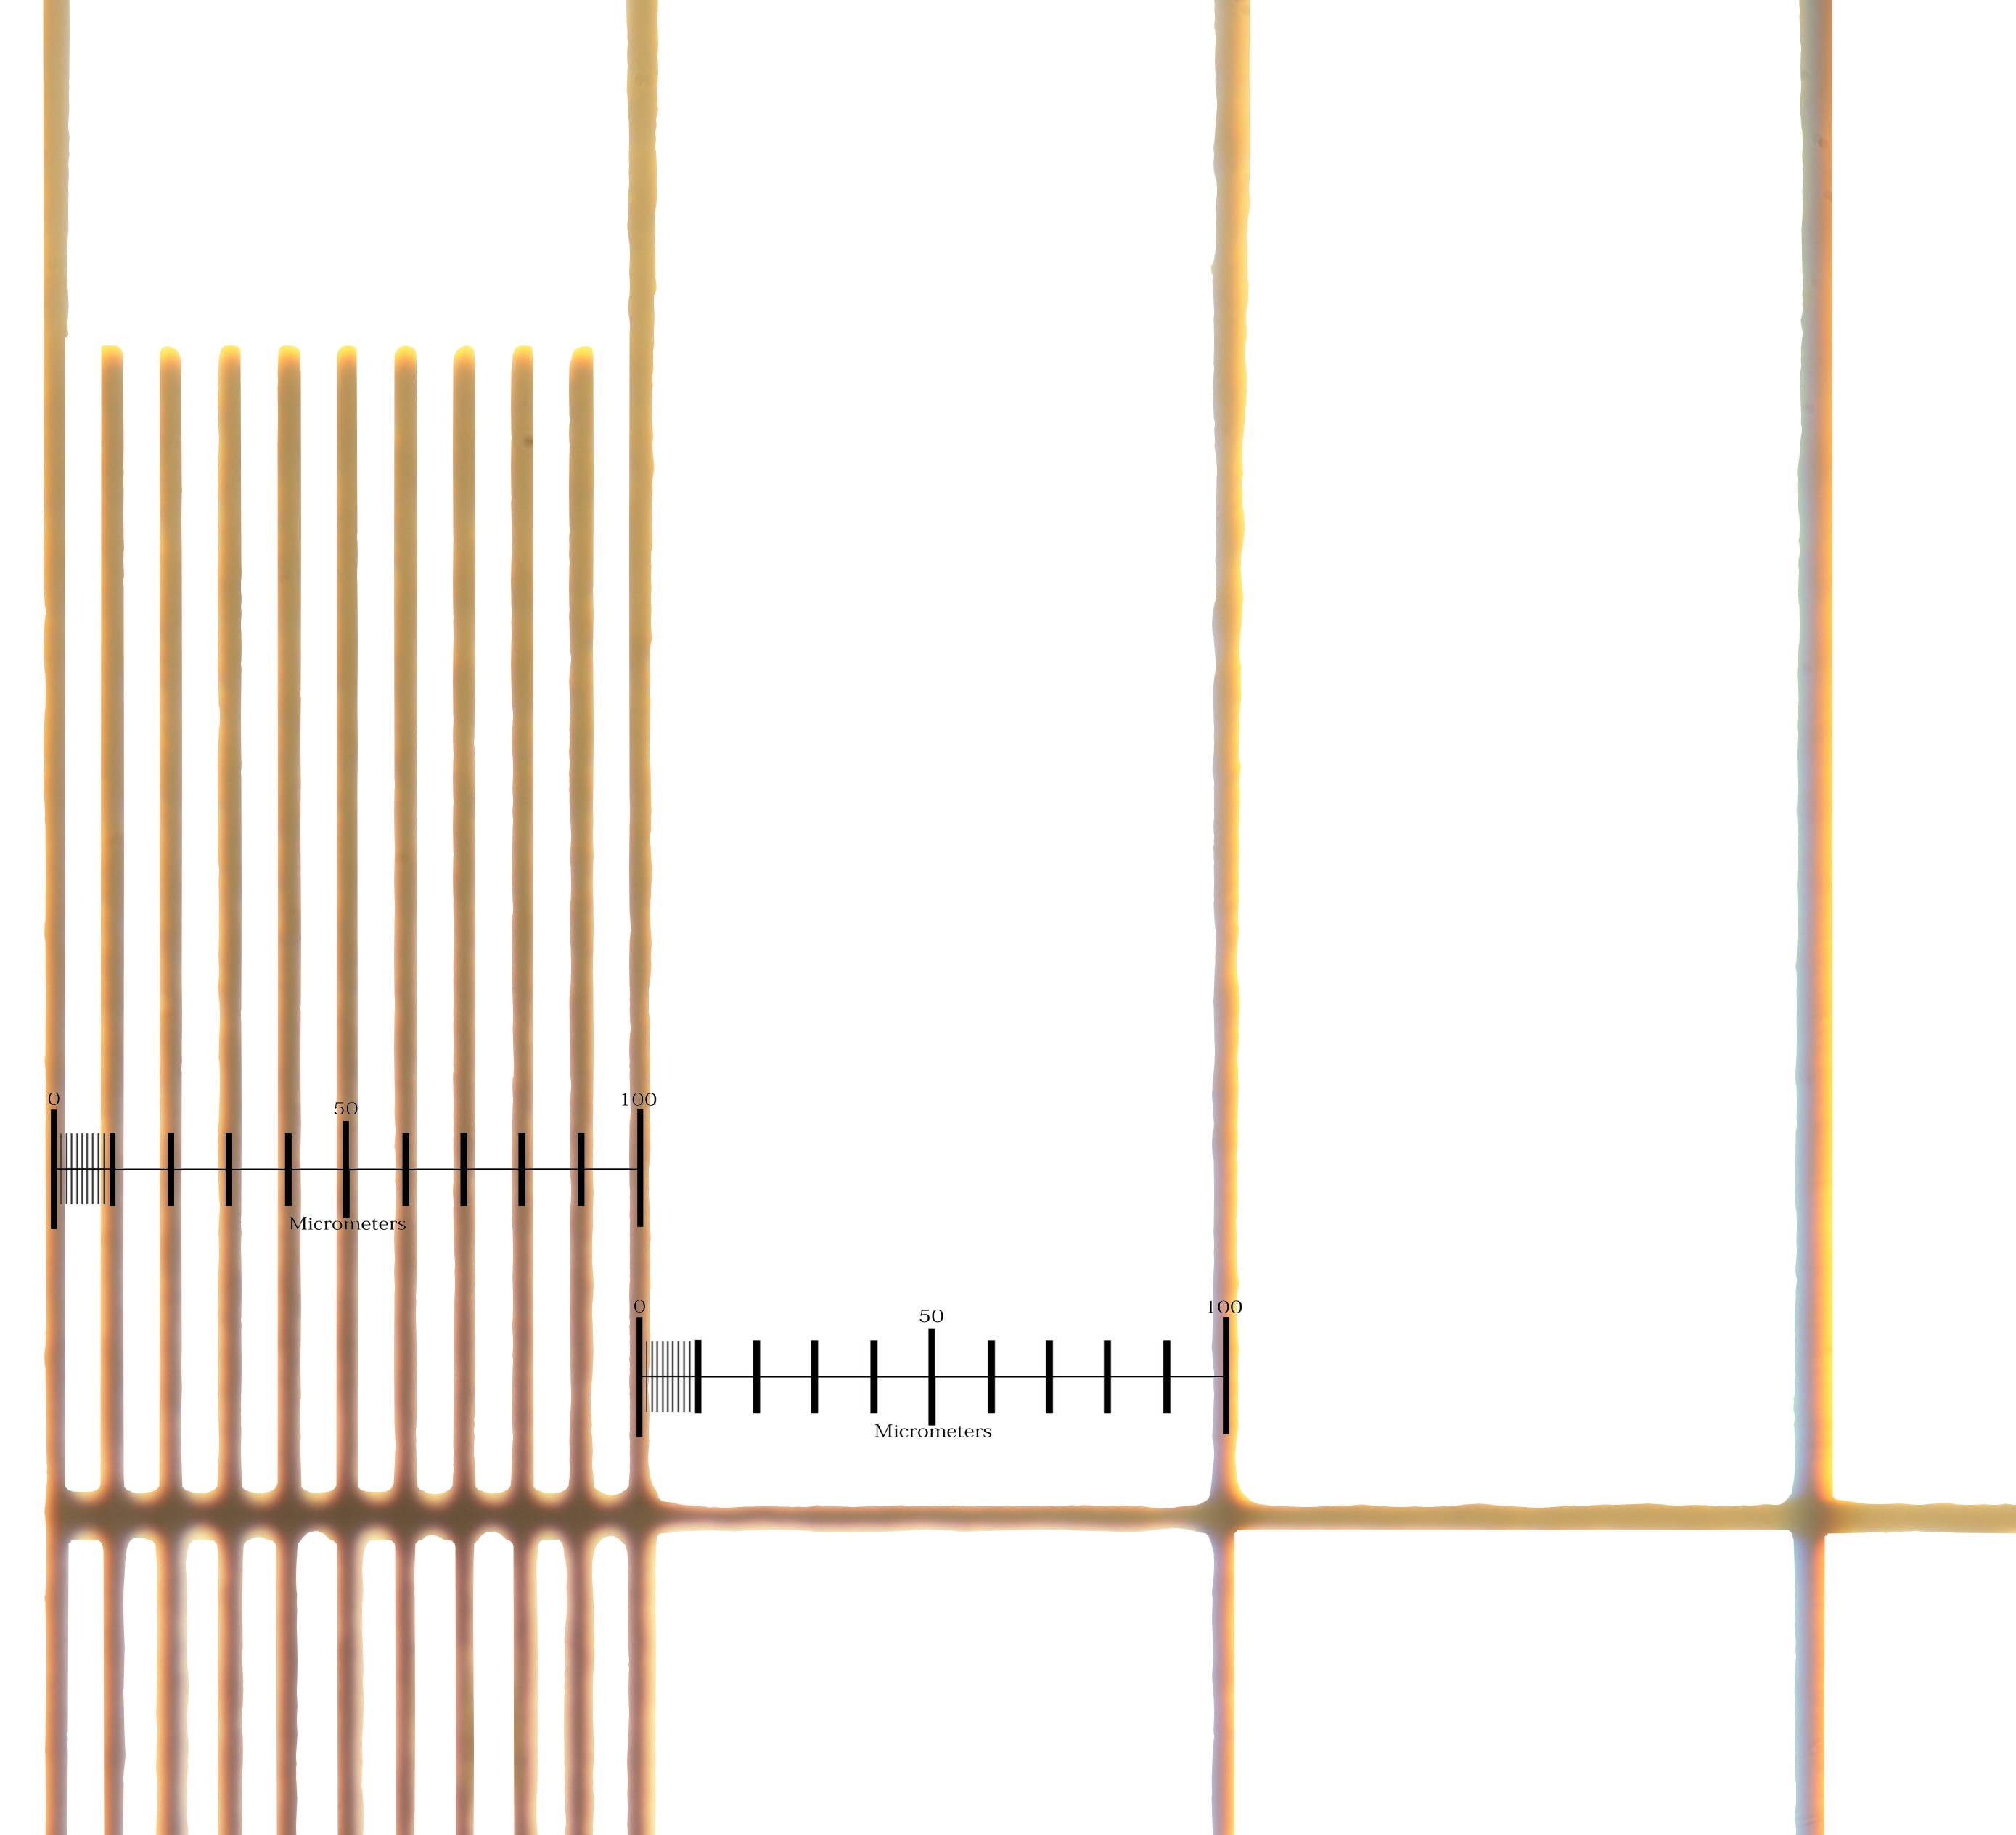
Adding a nice scale is actually fairly easy. First, you need to take a photograph of something whose size you know to some precision. A good thing to use is a stage micrometer. This is a little scale on a microscope slide with rulings on it like a ruler. They can be bought for $20 or less where microscopes and accessories are sold.
(Click on any of the images to see them in full size.)
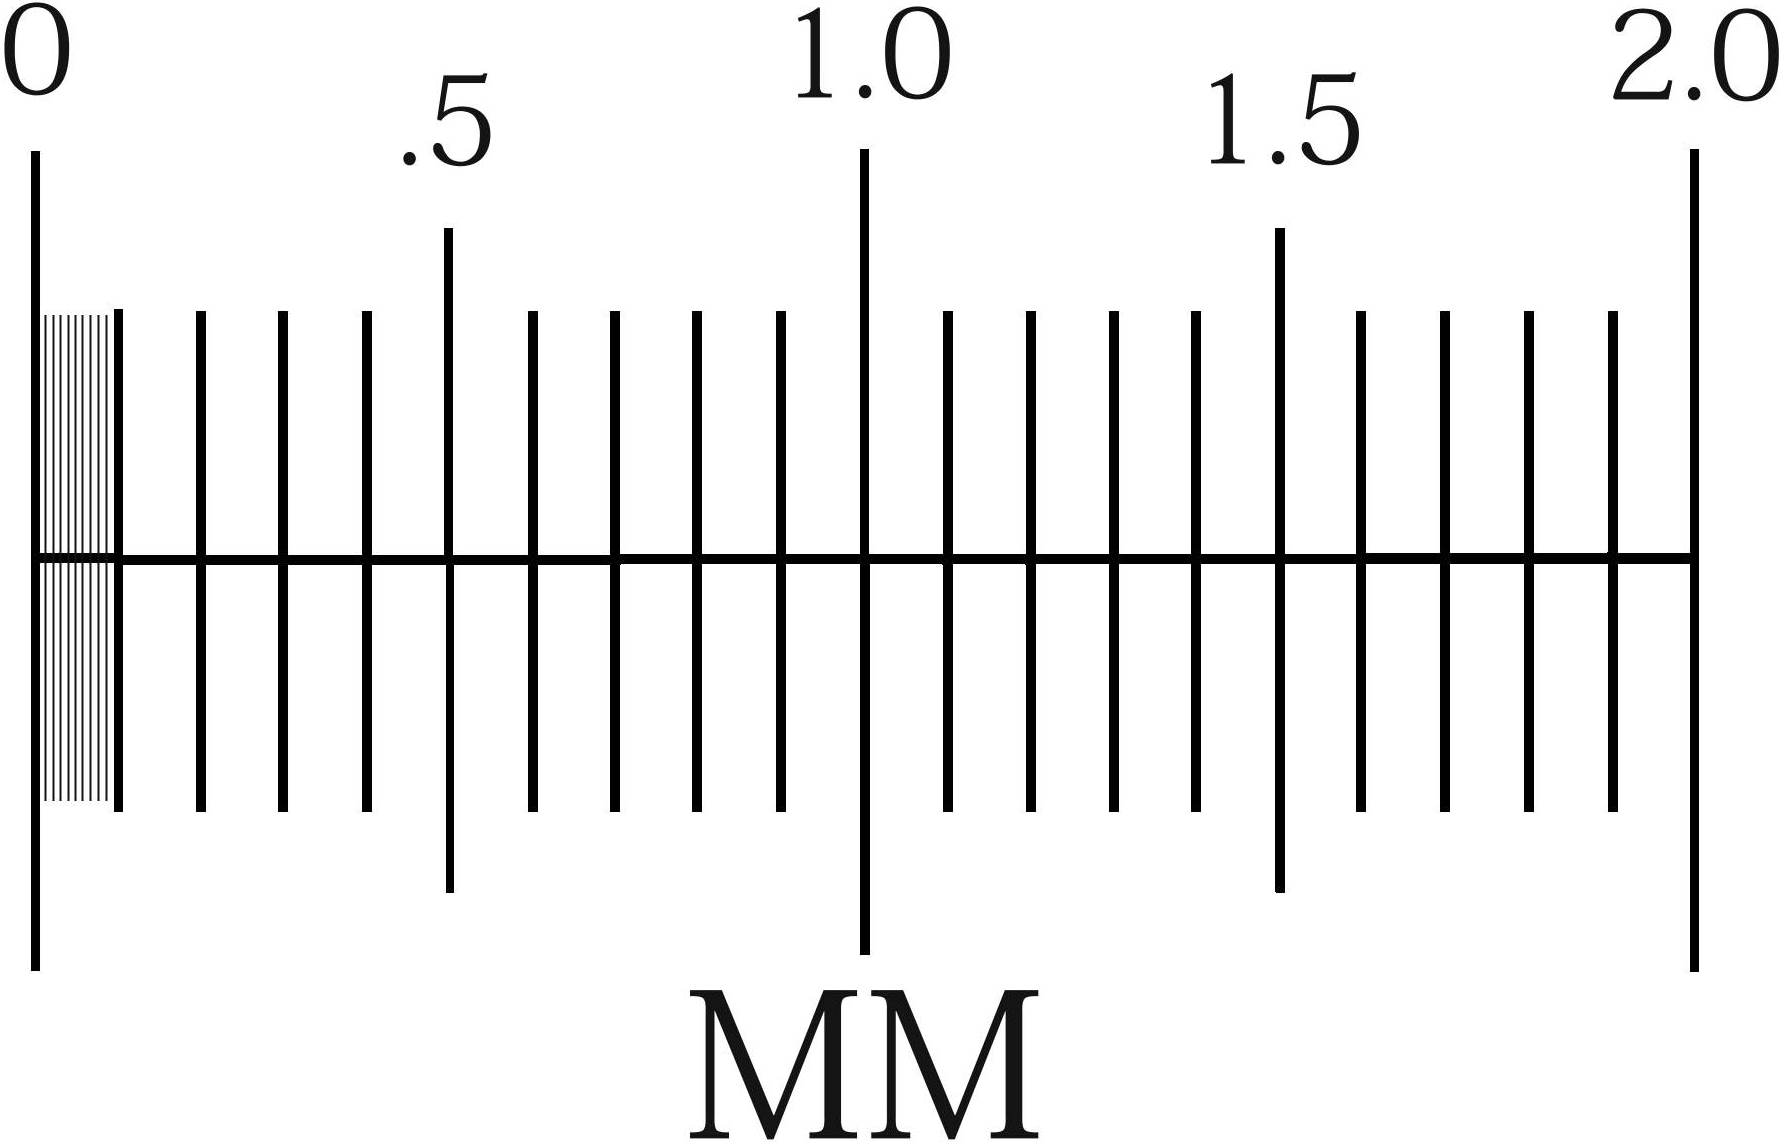
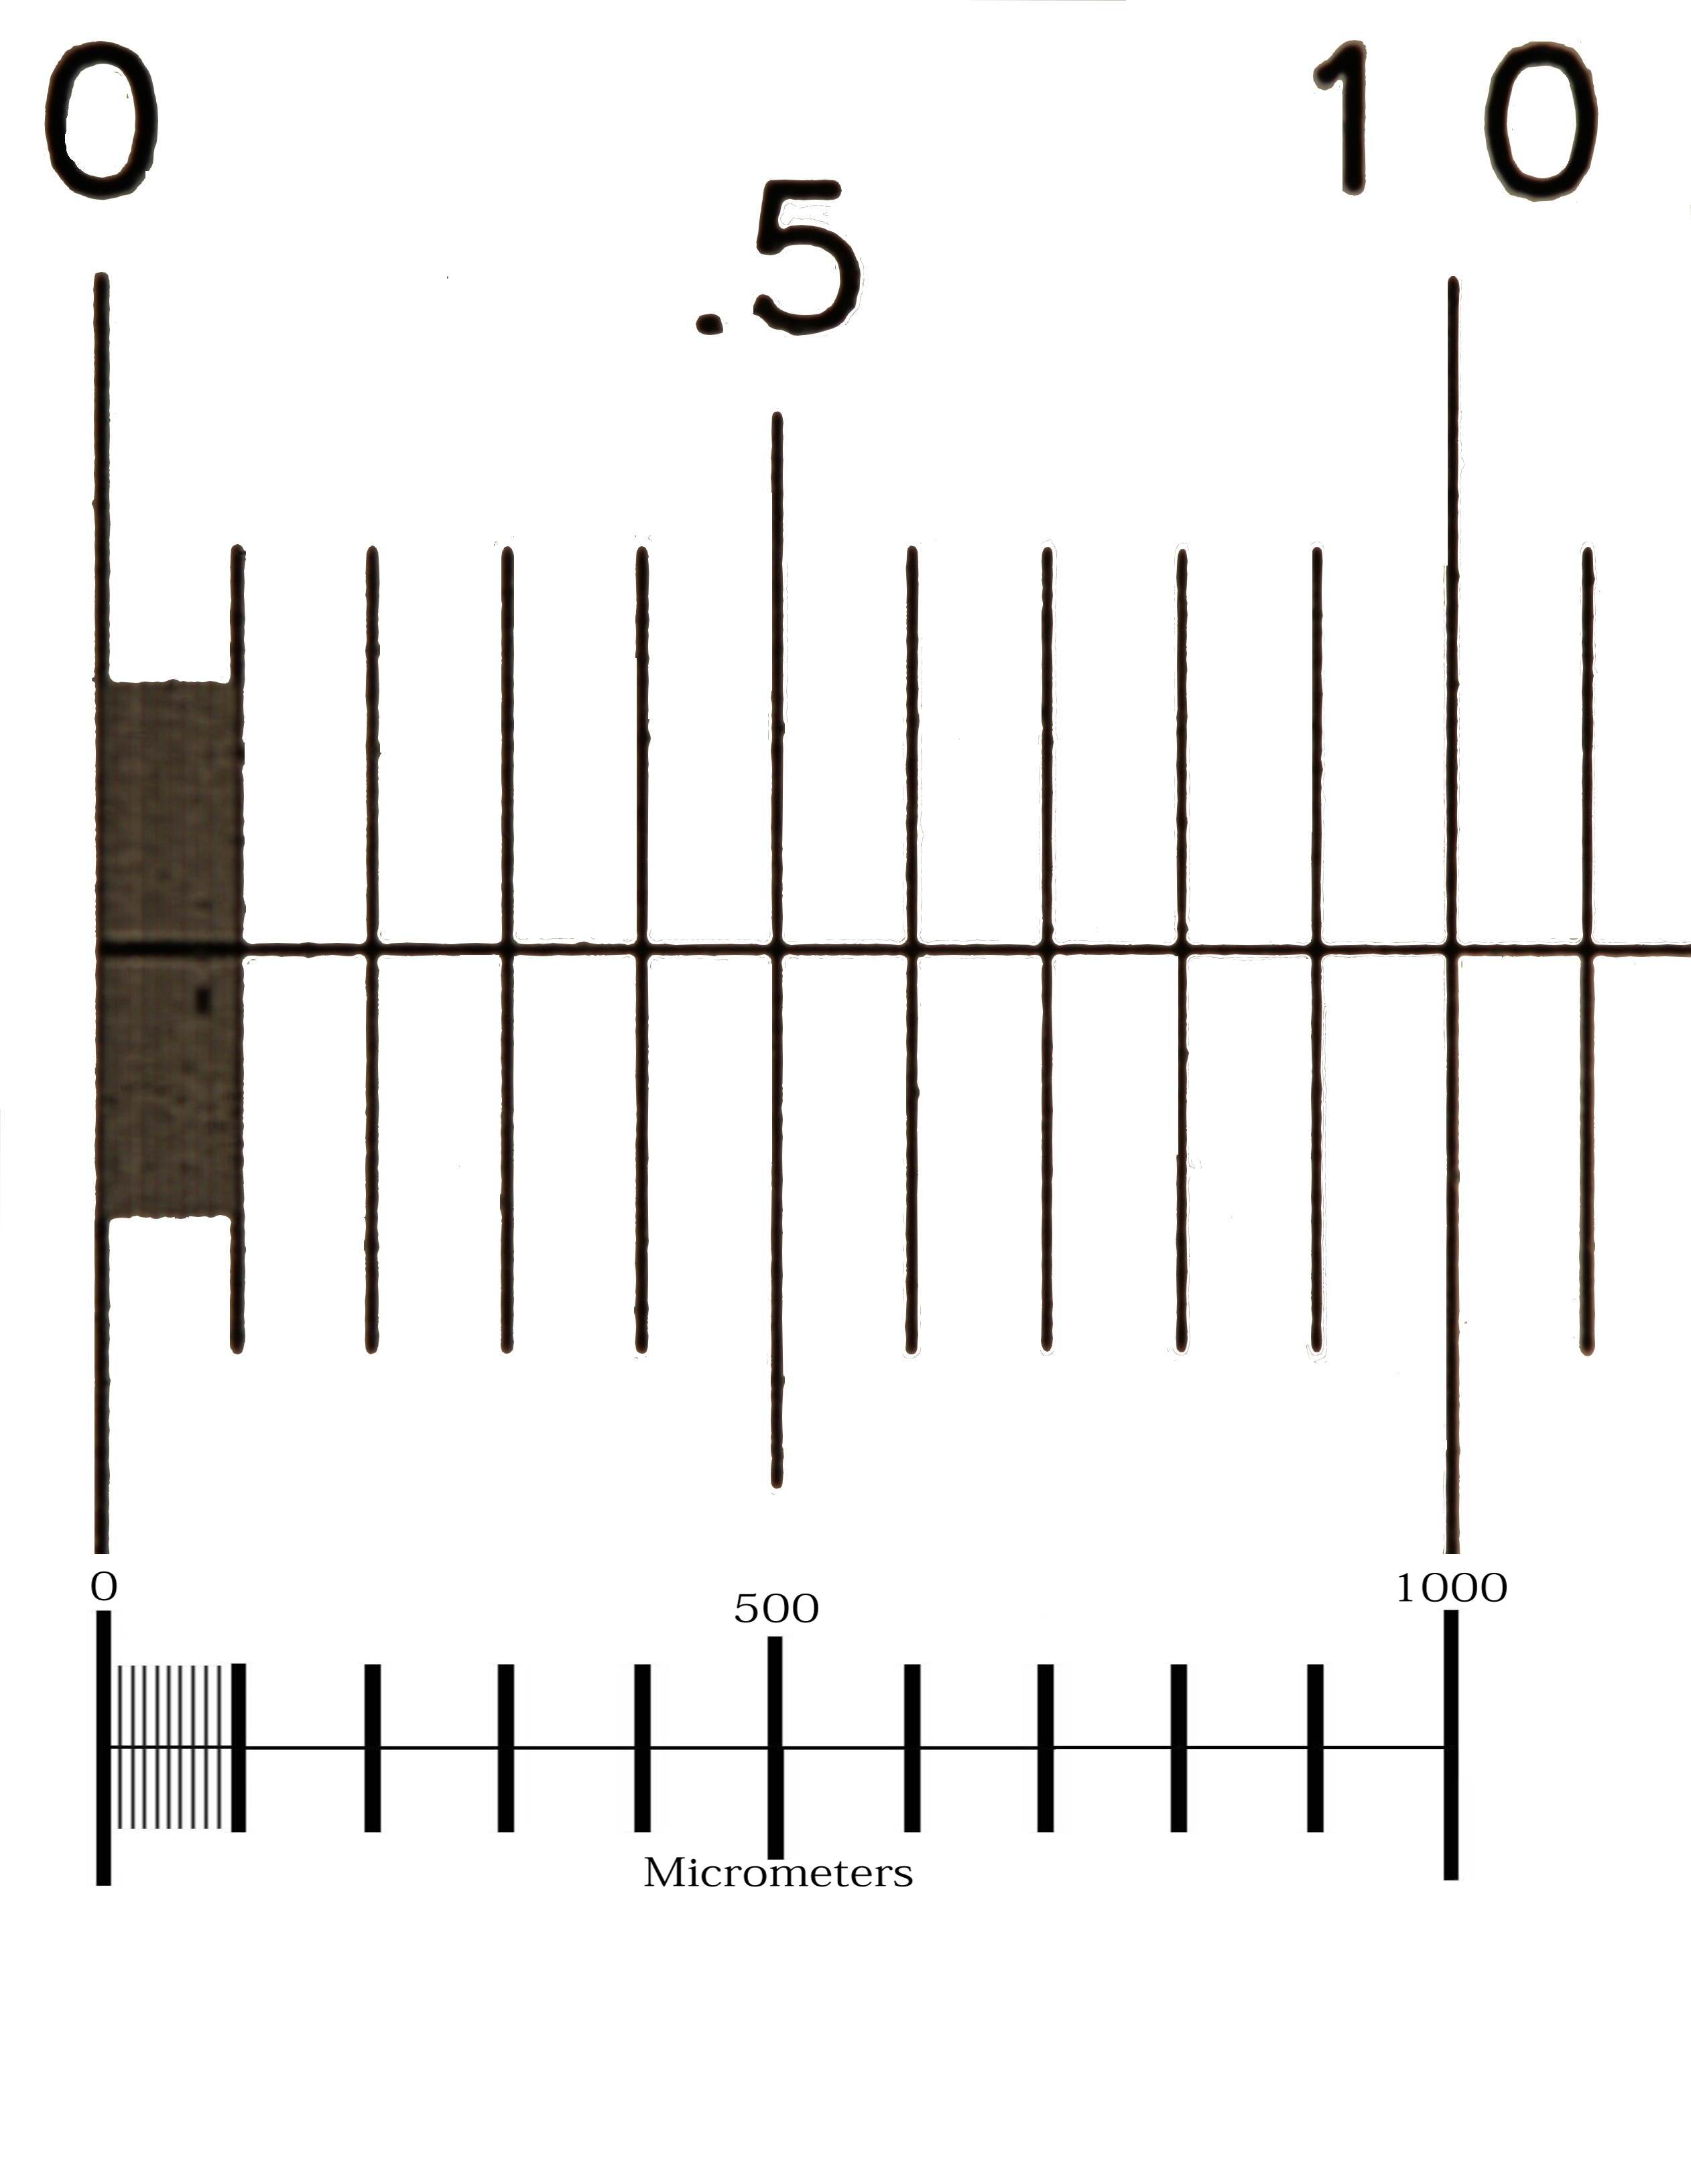
You could just copy and paste this image onto any image taken with the same magnification. Or, you can make your own nice clean scale, and use a photo editing program to rescale it to be the same size as the photo of the micrometer scale:
Now we can do this for every combination of objective and eyepiece we have, so that we can place the right scale on every photo.
We can also make a nice looking scale this way for higher magnifications by resizing it to match one of the smaller divisions on the stage micrometer, and changing the labels.
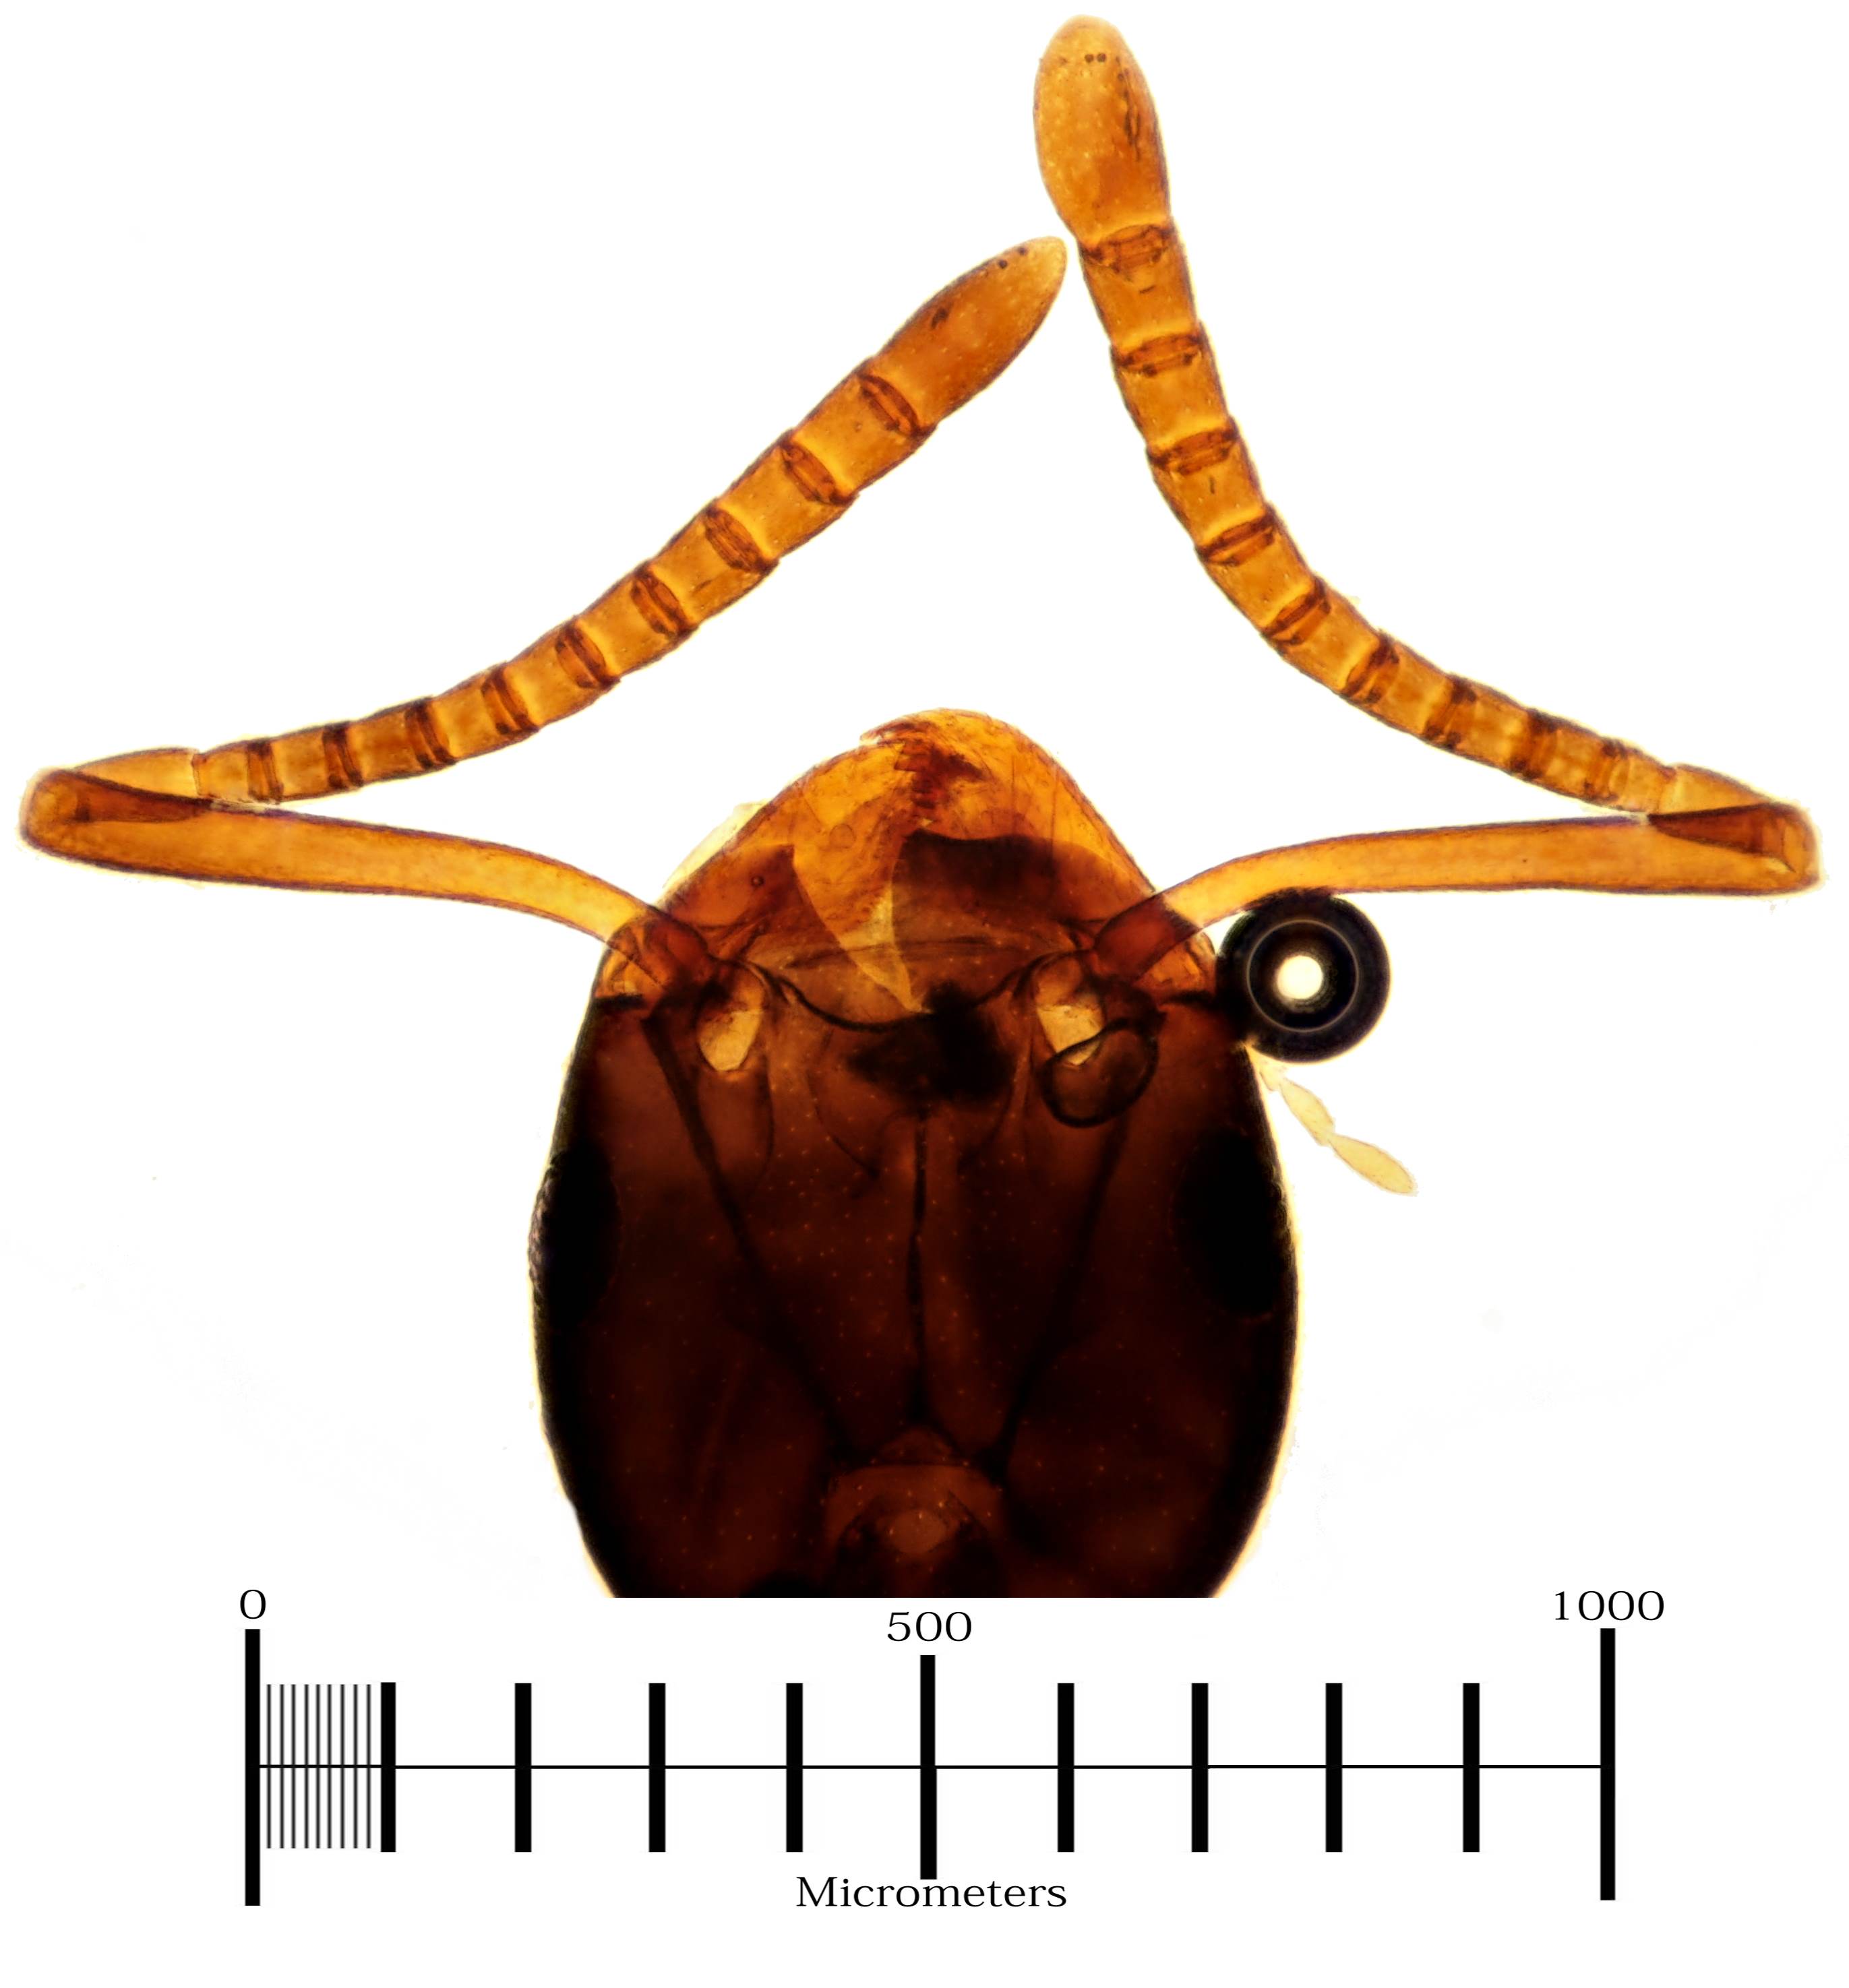
Now we can add this scale to a 10x closeup of Ant Millie's head:
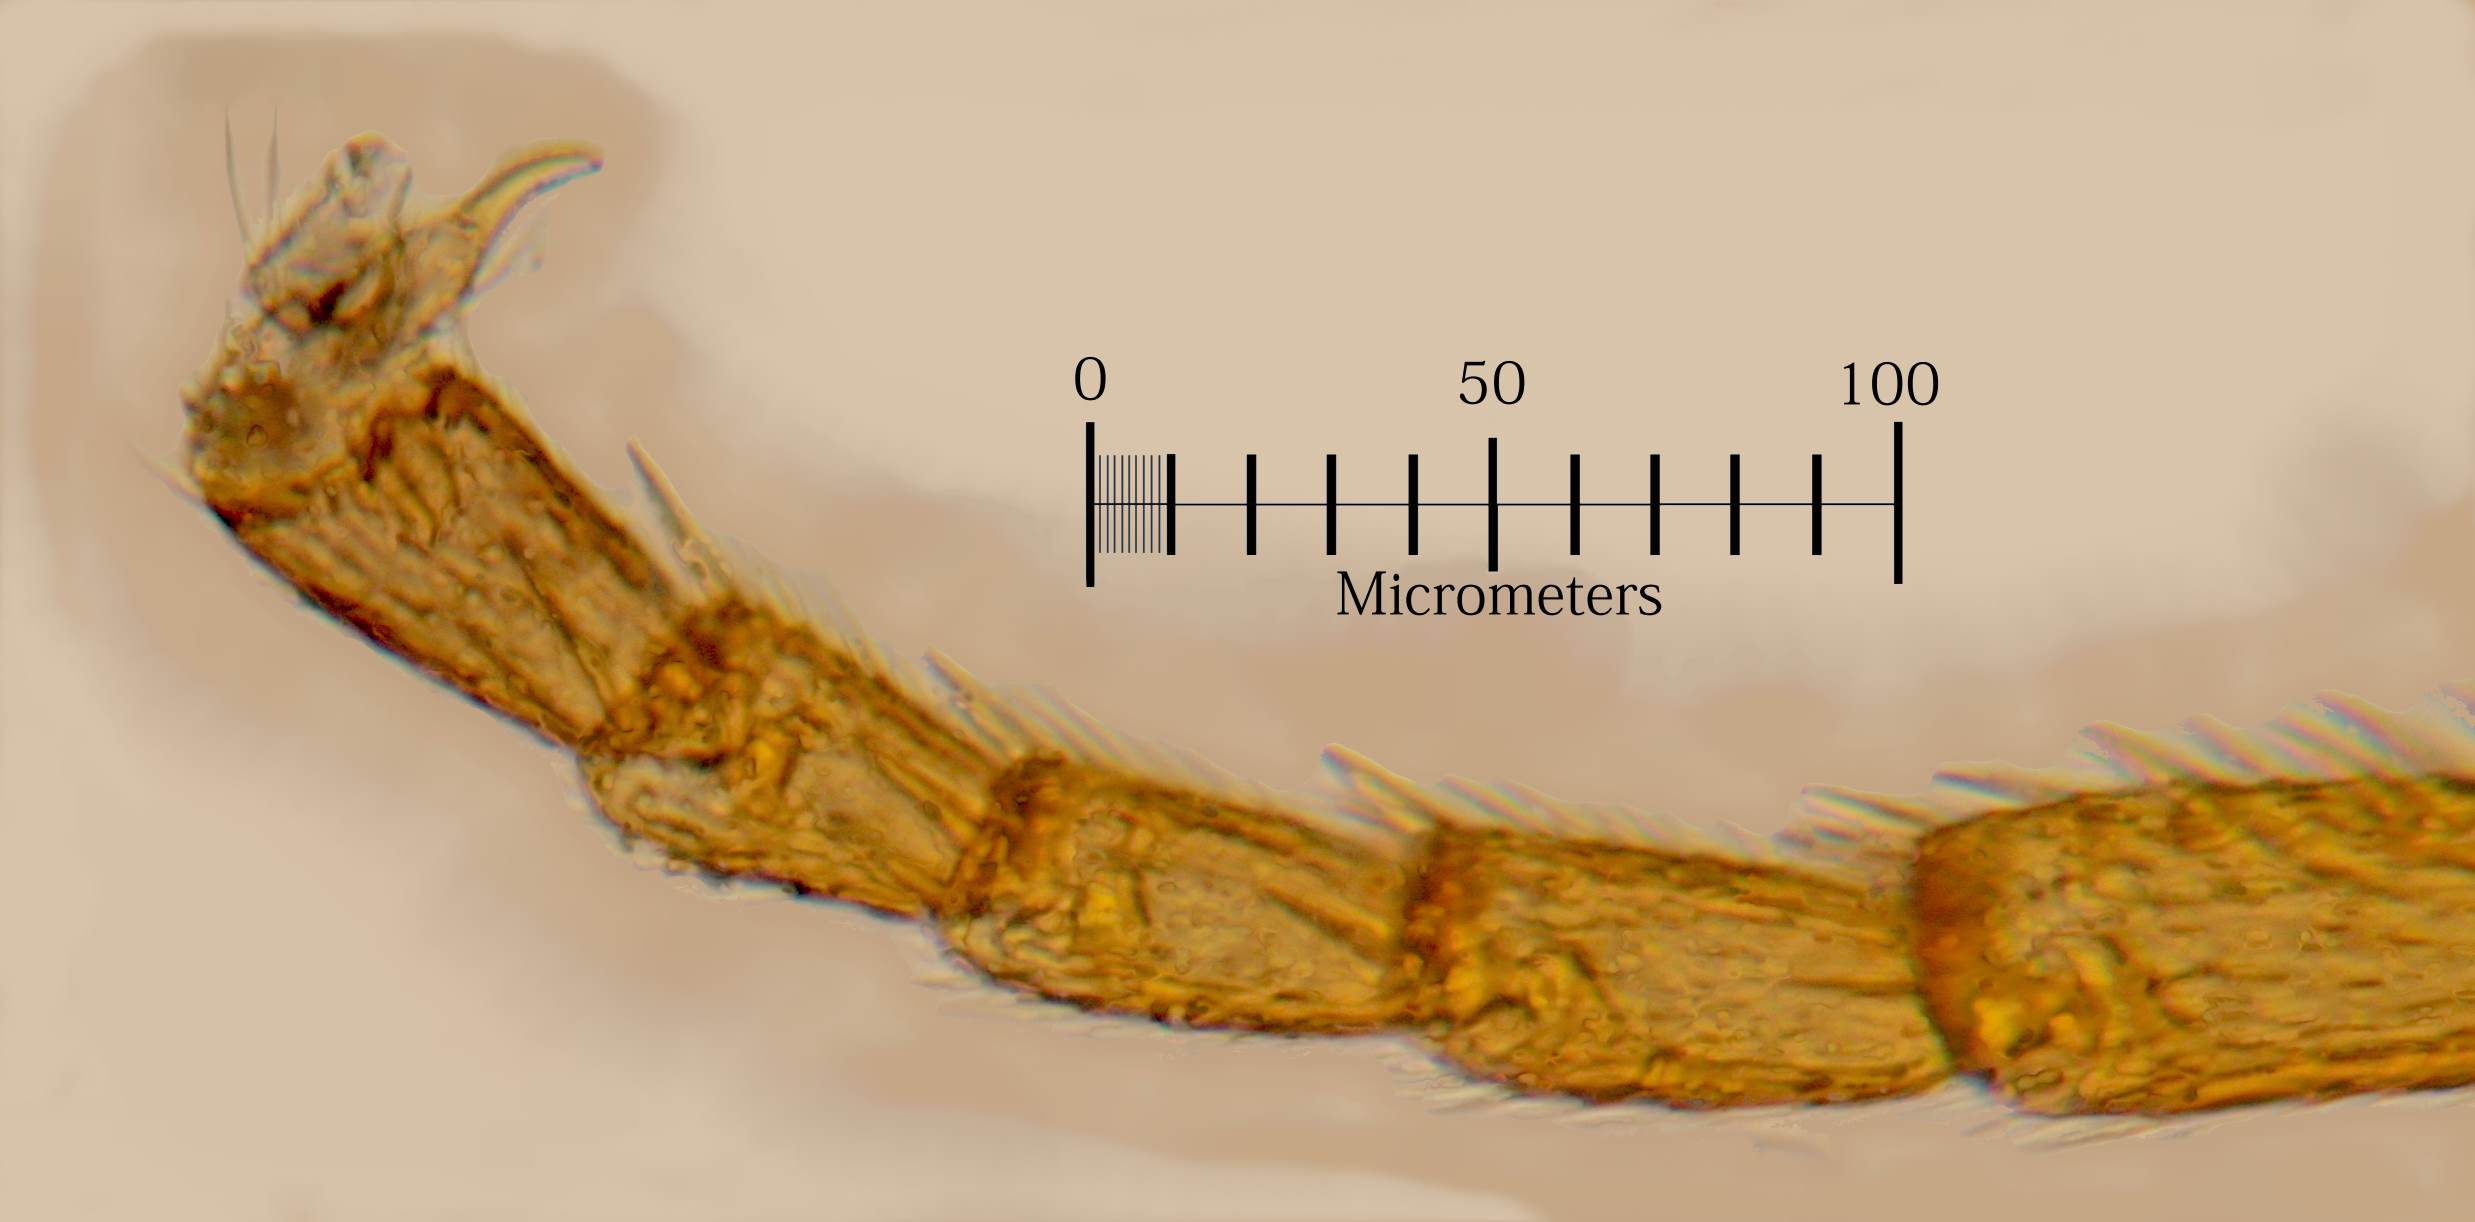
Going further, at 40x our micrometer scale looks like this after we paste on our overlay:
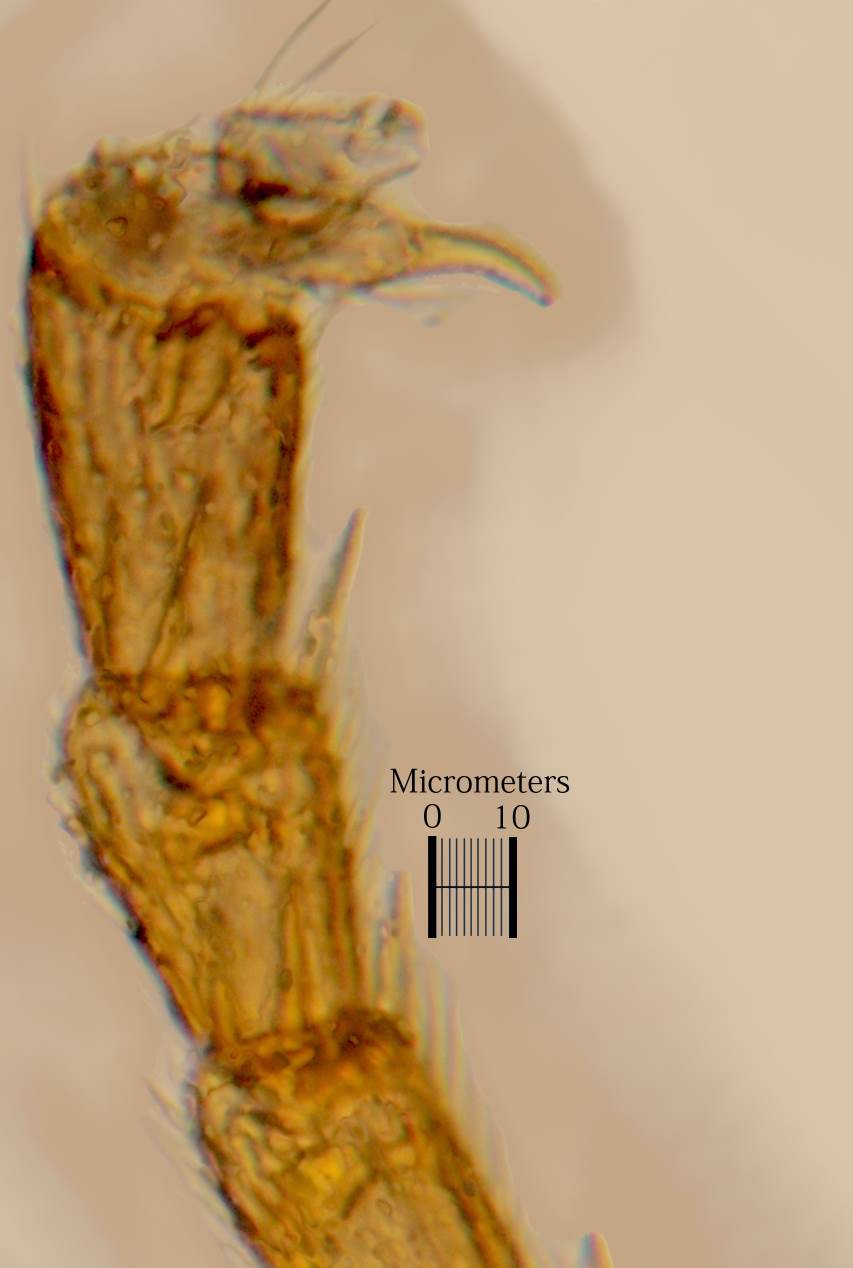
With our 40x objective, Ant Millie's foot is a nice subject. We can see the tiny claw at the end of it that lets her walk on the ceiling by grabbing onto very tiny imperfections in the surface.
Scales are particularly good for pointing out the size of certain objects in the image that you want to draw attention to and note the size of. In the photo below, we want to note that with our 40x objective, we have no trouble resolving two hairs on Millie's leg that are separated by only 3 micrometers:
Our theoretical best resolution with the NA 0.65 40x objective is 0.516 micrometers.
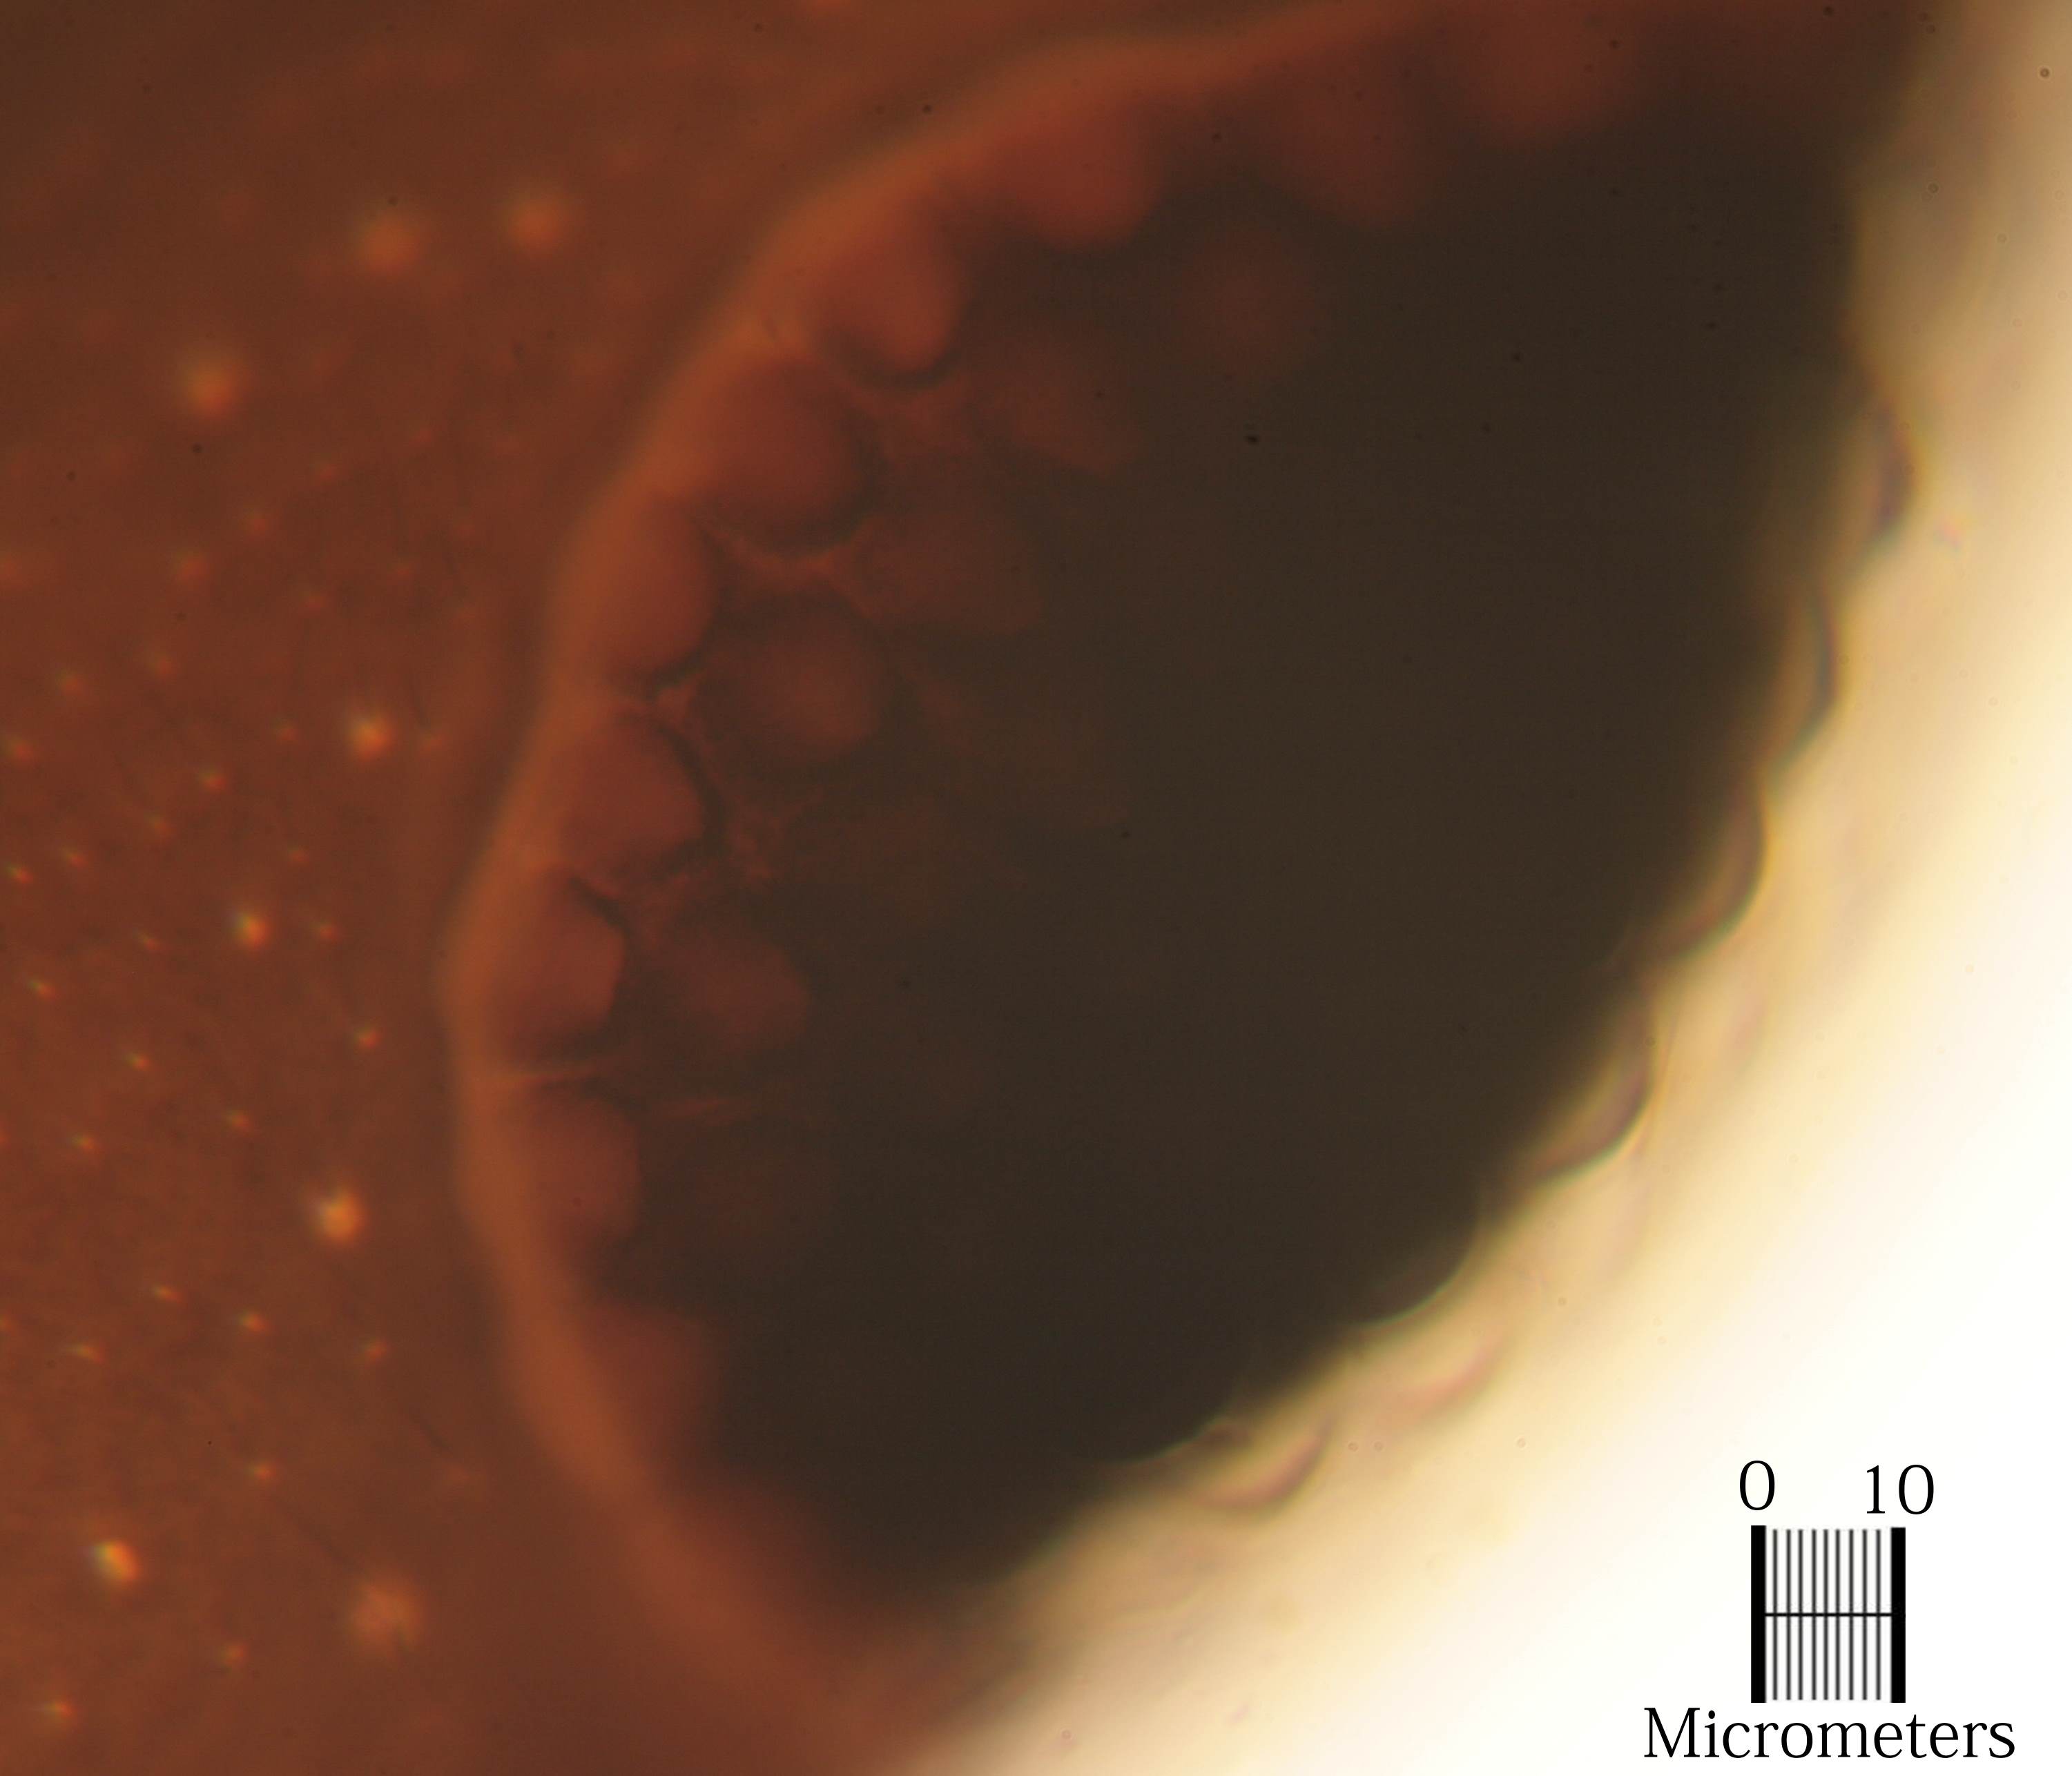
Our last objective is a 100x oil immersion objective. Our oil immersion condenser has an NA of 1.25, so we won't get all of the benefit of our NA 1.30 objective, but we will get pretty close. Our calculated maximum resolution is 0.2684 micrometers:
We can see pores in the exoskeleton that appear to be about 1 to 2 microns wide, and some larger pores that look to be 3 to 5 microns wide. Next to them are hairs that look like they are about a quarter micrometer wide, spaced at about 4 to 5 micrometers apart.
Her individual simple eyes (the bubble-like structures in the larger compound eye) look to be about 8 to 10 micrometers across. That's only about 14 to 18 wavelengths of green light (which has a wavelength of 0.550 micrometers).
The scale in this photo is 222 pixels wide. So each pixel is 10 micrometers divided by 222, or 45 nanometers wide (0.045 micrometers). Our theoretical best optical resolution is thus about 6 pixels. It looks to me like we are somewhere between 4 and 8 times worse than perfect, since the smallest lines I can resolve are about 24 pixels apart. So our actual resolution is about a micrometer in this image. But there are ways to improve that.
I have been talking about the objectives I used to take these photos, but not about actual magnification. This is because I am not using an eyepiece to view Ant Millie, but a computer monitor. My monitor is 65 centimeters across, and displays 2560 pixels in that span. So each pixel on my monitor is 254 microns across. Since the pixels in the image represent 45 nanometers, the magnification on my screen is 5,642 times. But some of that magnification is 'empty magnification', since our optical resolution is only a micrometer. So instead of talking about magnification, it makes more sense to talk about the resolution in the image, or simply refer to the scale.
