In this project we are going to use a strip of six NeoPixels. These are three-color LED lights (red, green, and blue) that can be programed to be any of over 16 million colors. Because each light has its own little computer in it, we can send serial data over a single wire to program each light.
The kit of parts for this project is available an our online store.
The soldering for this project is very simple. Just three wires connect the Arduino ProMini to the NeoPixel strip. We need power, ground, of course, and a third wire to carry the data.

The photo above shows the Arduino ProMini at the left, with the power, ground, and A3 holes connected to the NeoPixel strip's 5V, Ground, and DI pads, respectively.
We could have also soldered the battery connector to the ProMini's power and ground, but instead, we chose to connect it at the other end of the strip. Since the strip's power and ground are connected to the Arduino's power and ground, this is just another way to power both the computer and the LEDs.

Next, we lay out some duct tape, with the sticky side up, and stick the Arduino and the NeoPixel strip onto it. When they are all pressed down nicely, we cover it with a layer of transparent packing tape to seal everything in place.

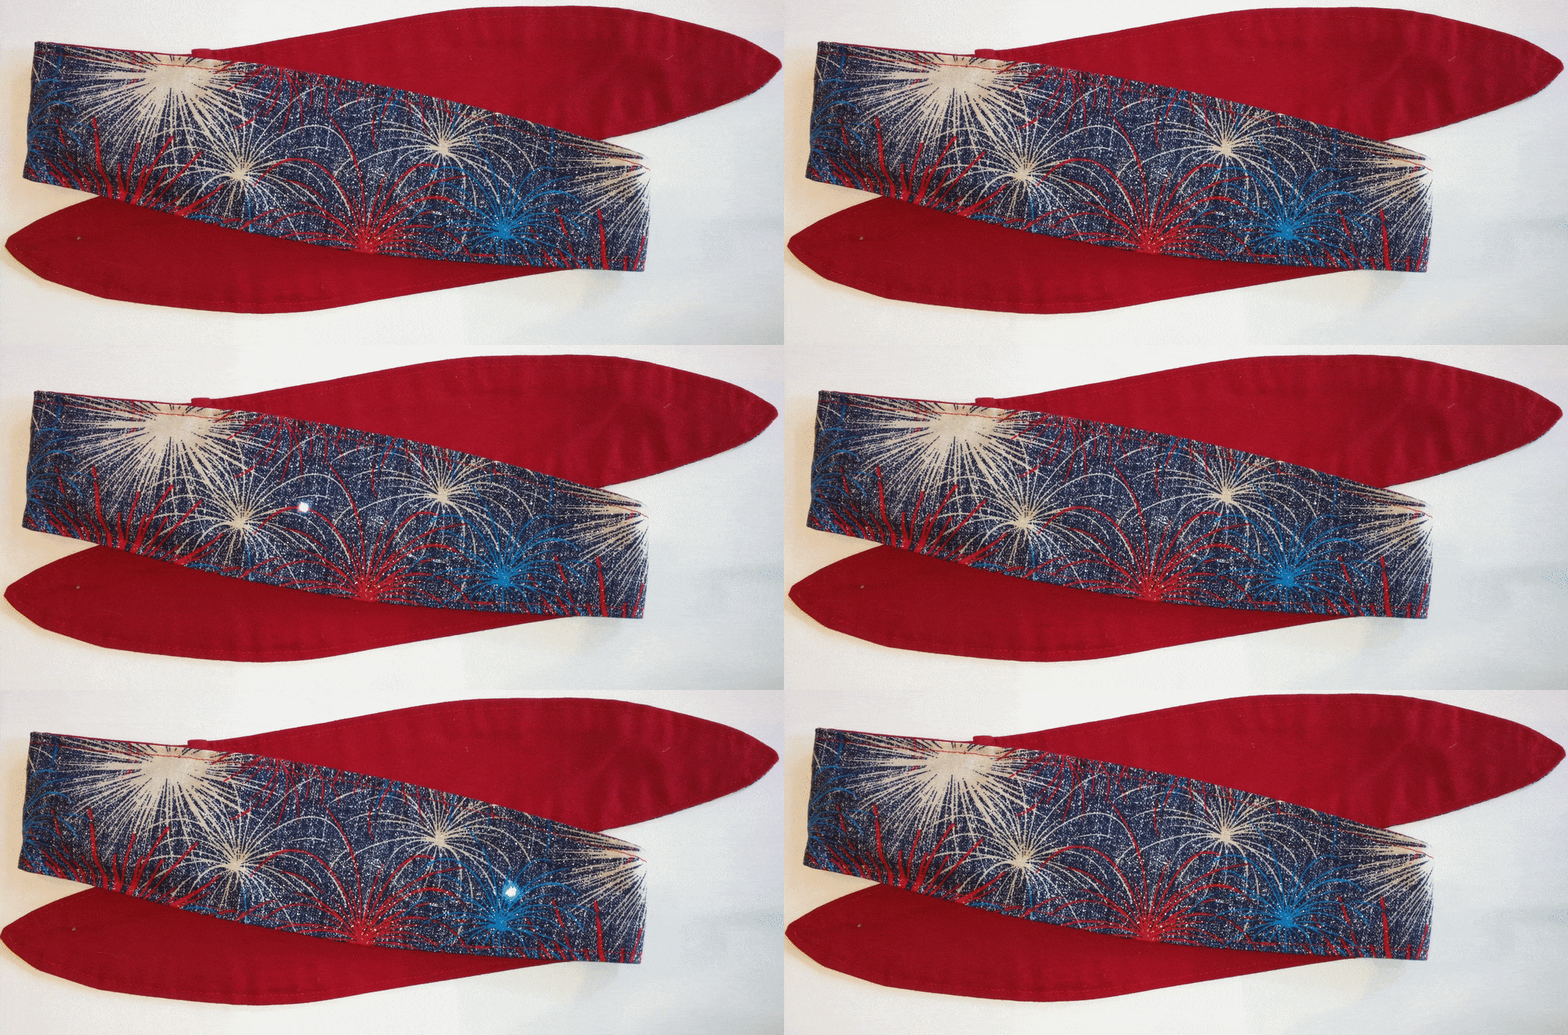
Finally, we trim off excess tape, so the whole arrangement is easy to slide into the pocket of the headband. The LEDs are bright, and shine through the fabric easily.
While the hardware part was very simple to solder, the software is more complicated, since we are controlling a set of six tiny computers from our little Arduino ProMini. But I have done all the hard parts for you, and all you need to do is paste in the program I wrote for you into the Arduino editor, and download it into the ProMini. You could instead download the RainbowHeadbandA3.ino file and open that in the Arduino editor.
We explained how to program the Arduino ProMini in a previous project, the Sparkling Belt.
The program uses the NeoPixel library from Adafruit to control the lights. I have written a couple of little classes called RgbColor and HsvColor to make it easy to change the color of the lights while keeping the brightness and saturation constant (HSV stands for Hue, Saturation, and Value (brightness)). The lights want to see values of red, green, and blue in levels from 0 to 255. We want to think in terms of colors in ranges of 0 to 255, and not be bothered with anything else. So we use the HSV color system, and convert it to RGB values to send to the NeoPixels.
Since we will be running the lights from a battery, we want the battery to last as long as possible. To save power, our setup() routine sets the unused port B to be outputs, and sets those to be low. We also disable the analog to digital converter, since we don't use it, and it is a power hog.
Lastly, we set up the watchdog timer to wake up the ProMini every quarter of a second to flash a light for just a millisecond, and then we go into deep power saving sleep mode until the watchdog timer wakes us up.
There is one optional hardware modification we can make that will save even more power. Since we are powering our headband from a 3.7 volt battery, we don't need the chip that converts 5 volts down to 3.3 volts, and we don't need the power LED to be lit all the time, wasting power. We know that the device is turned on because the other LEDs will be blinking.
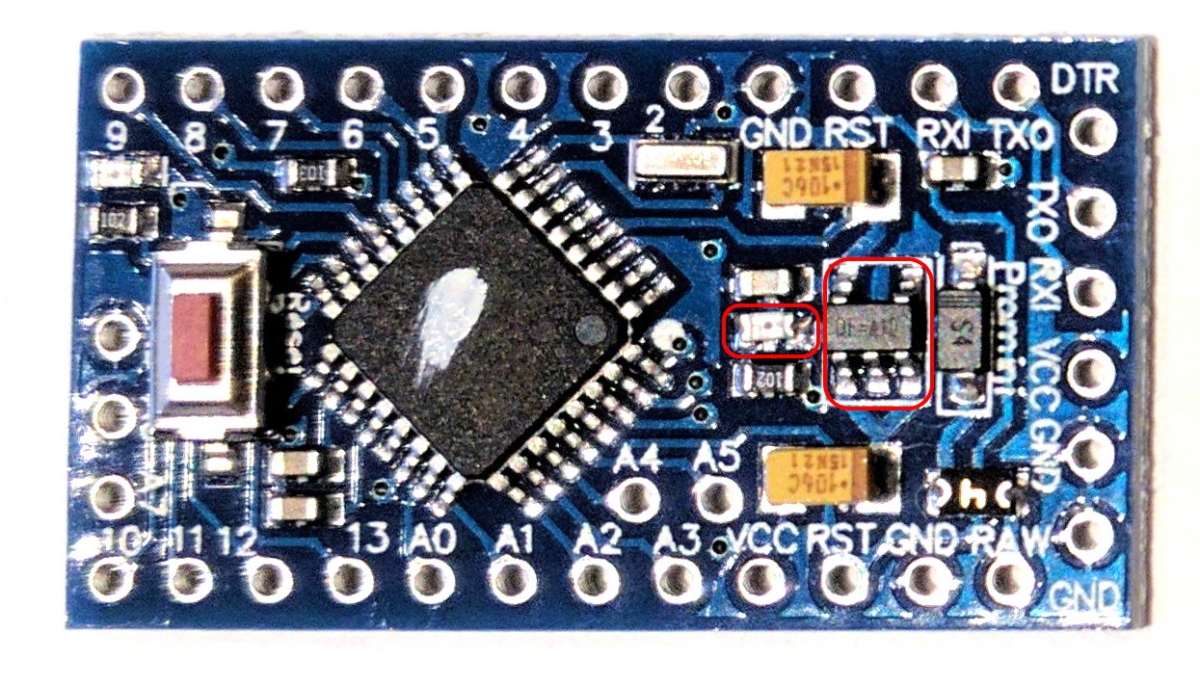
It turns out, the power chip and the LED are easy to remove from the board. You can use a pair of wire cutters to twist off the little chip with five leads, and to crush the little LED to the left of it. You could also just hold the soldering iron on them, and slide them off when their solder has melted.

The photo above shows the parts to be removed, inside red rectangles.

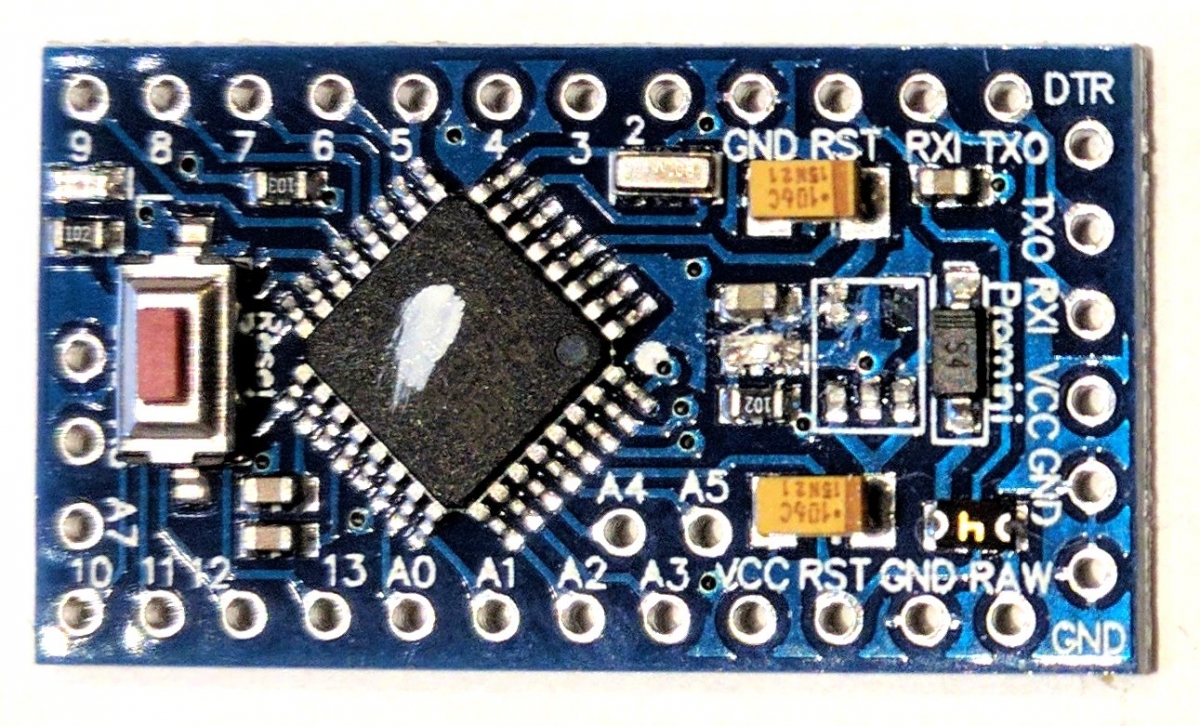
After, they are removed, the board looks like the photo above. Remember, this step is optional, but will make the battery last longer.
With all of these power saving tricks, the battery will last over 3 days on a charge.