Taking a picture of what you see under the microscope can be as simple as aiming a camera into the eyepiece of the microscope. However, there are some tricks and variations I will show you that might come in handy. If you have a camera whose lens can be removed, we can get even better results, and that will be the subject of the section after this, on DSLR photography.
A Very Cheap Webcam
The results you get will depend on the camera you have, and to how it is used. In this section, I will show you how to use successively better cameras, starting with the very cheapest digital camera I could find, a $20 webcam that can take 1.3 megapixel snapshots and 640x480 videos. Don't expect to be amazed at the quality of these photographs, but you might be impressed at what can be done with very little.
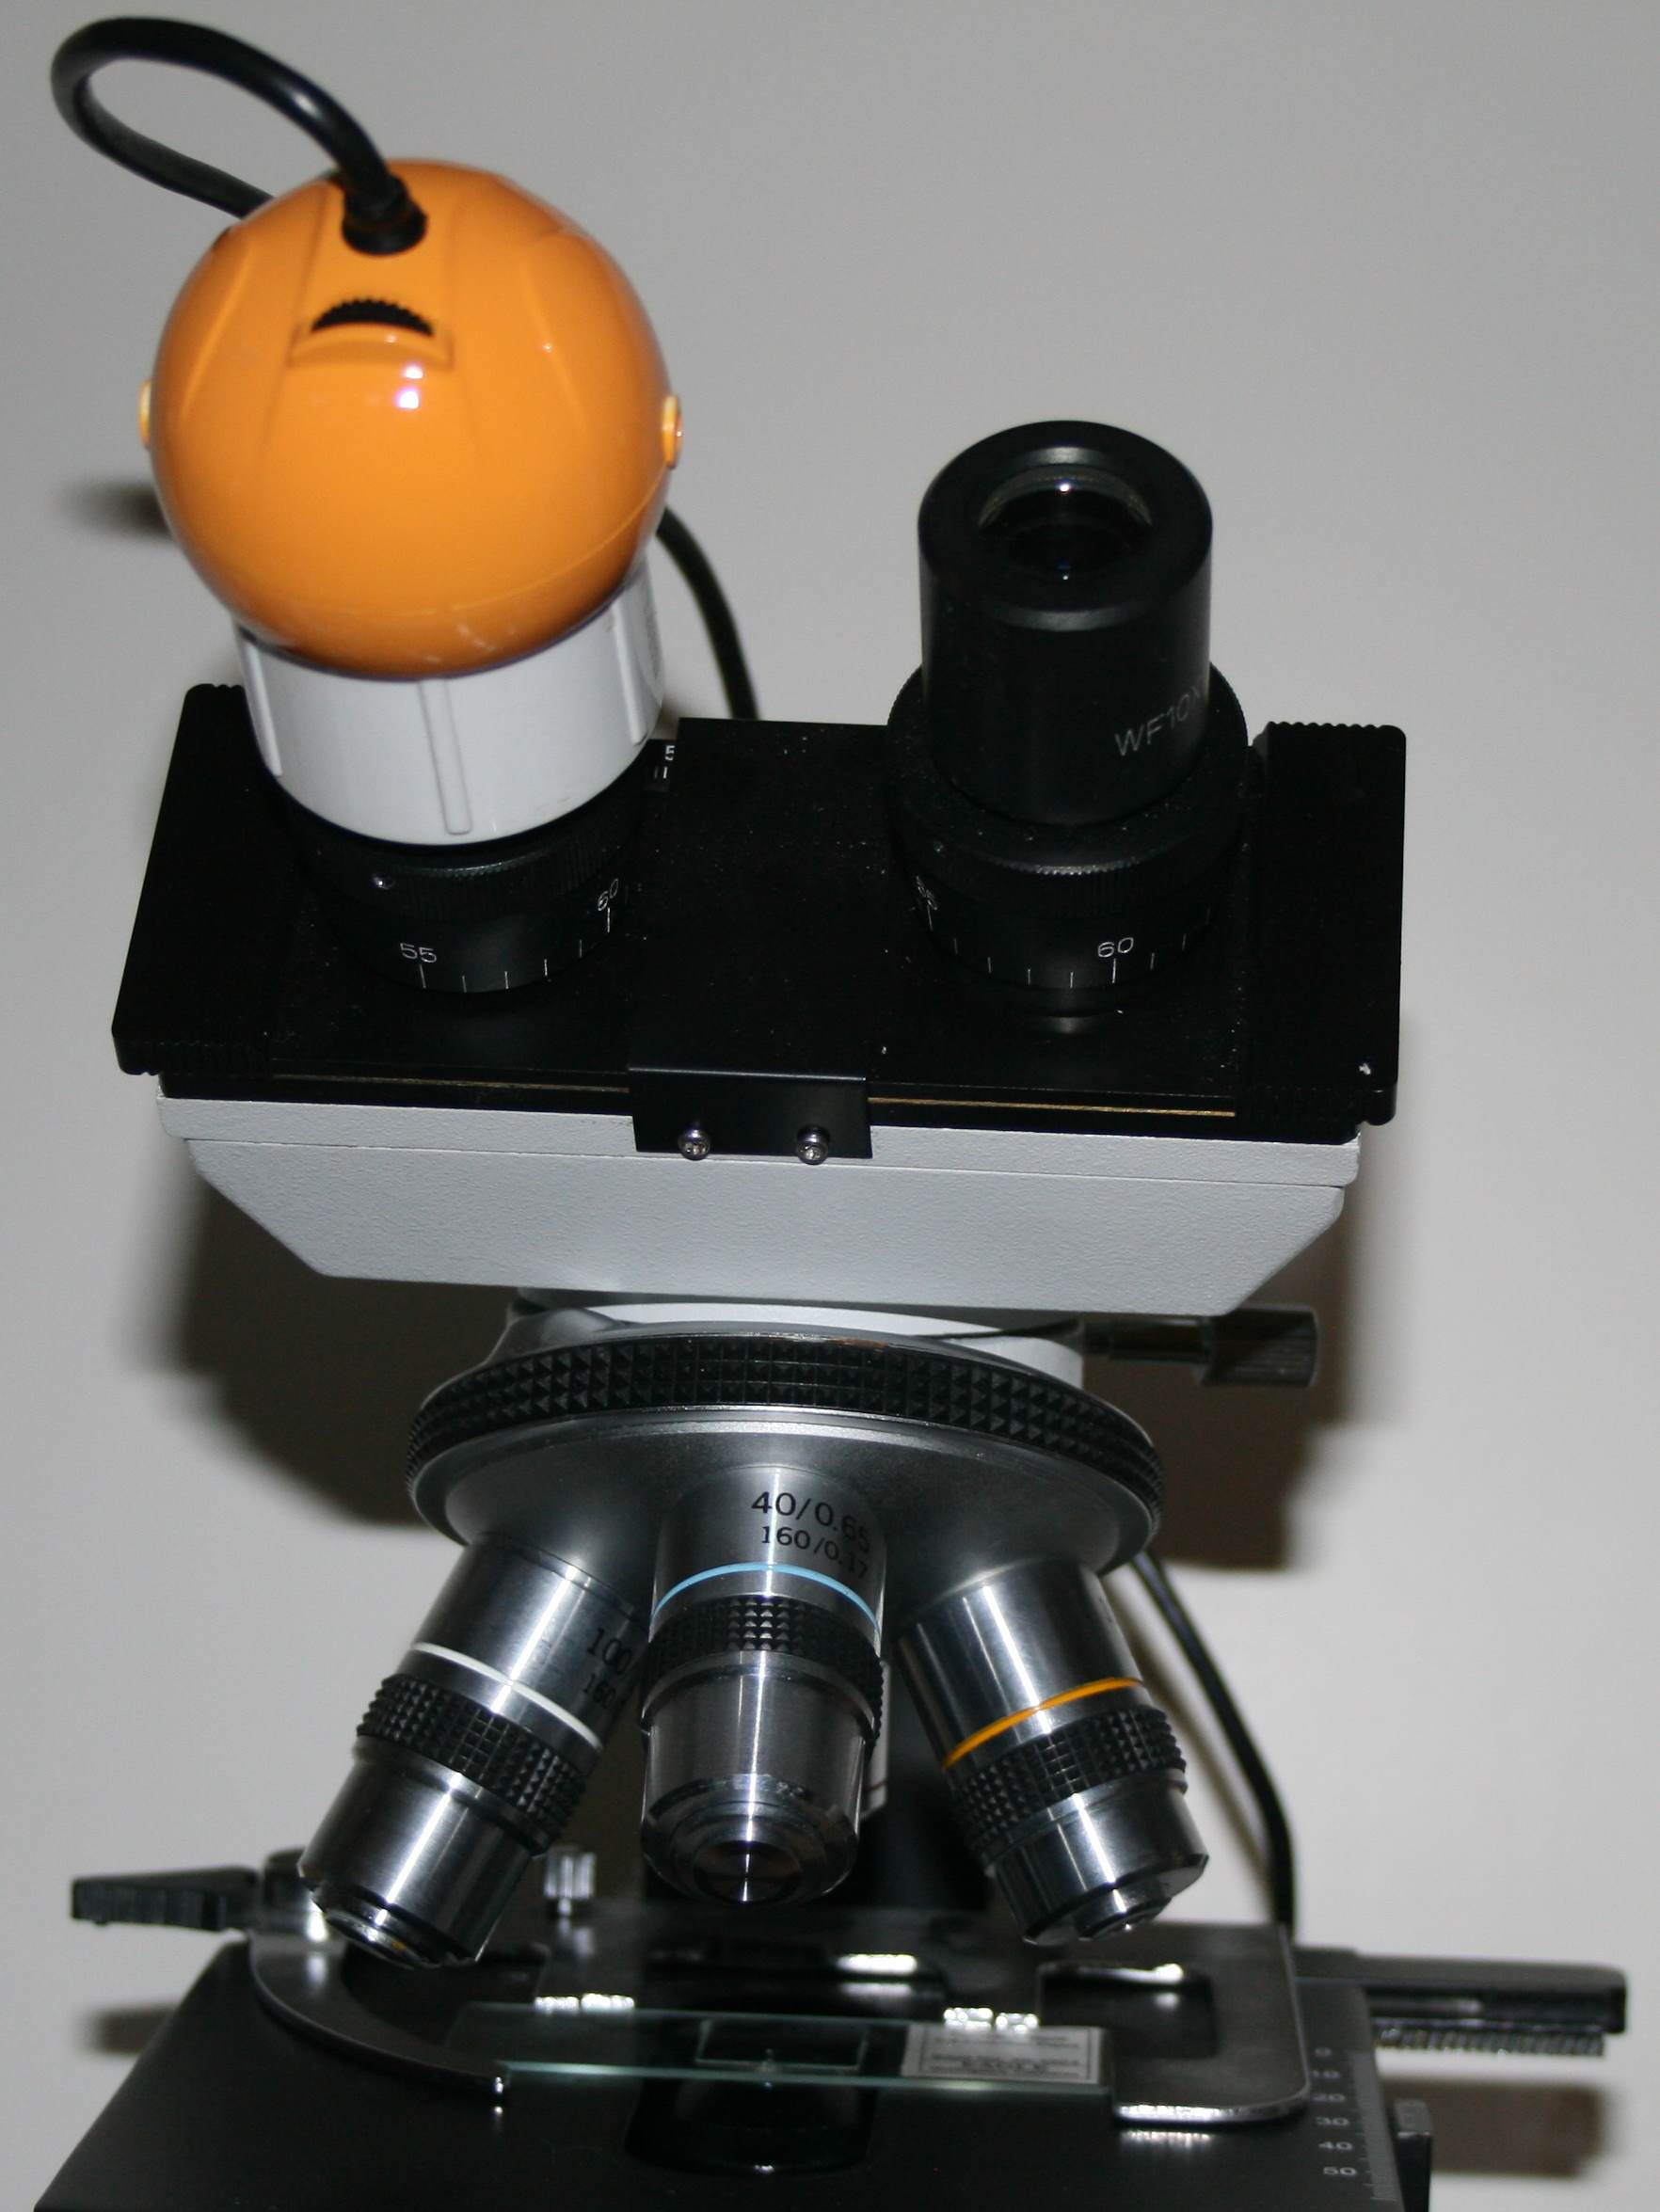
Since the webcam was inexpensive and was to be dedicated to this purpose, I had no qualms about gluing a piece of PVC pipe to it to act as a sleeve to fit over the eyepiece. You can use thin cardboard wrapped into a cylinder for this purpose if you can't find the right diameter PVC pipe (I cut a threaded fitting down to size and narrowed it using black vinyl tape on the inside).
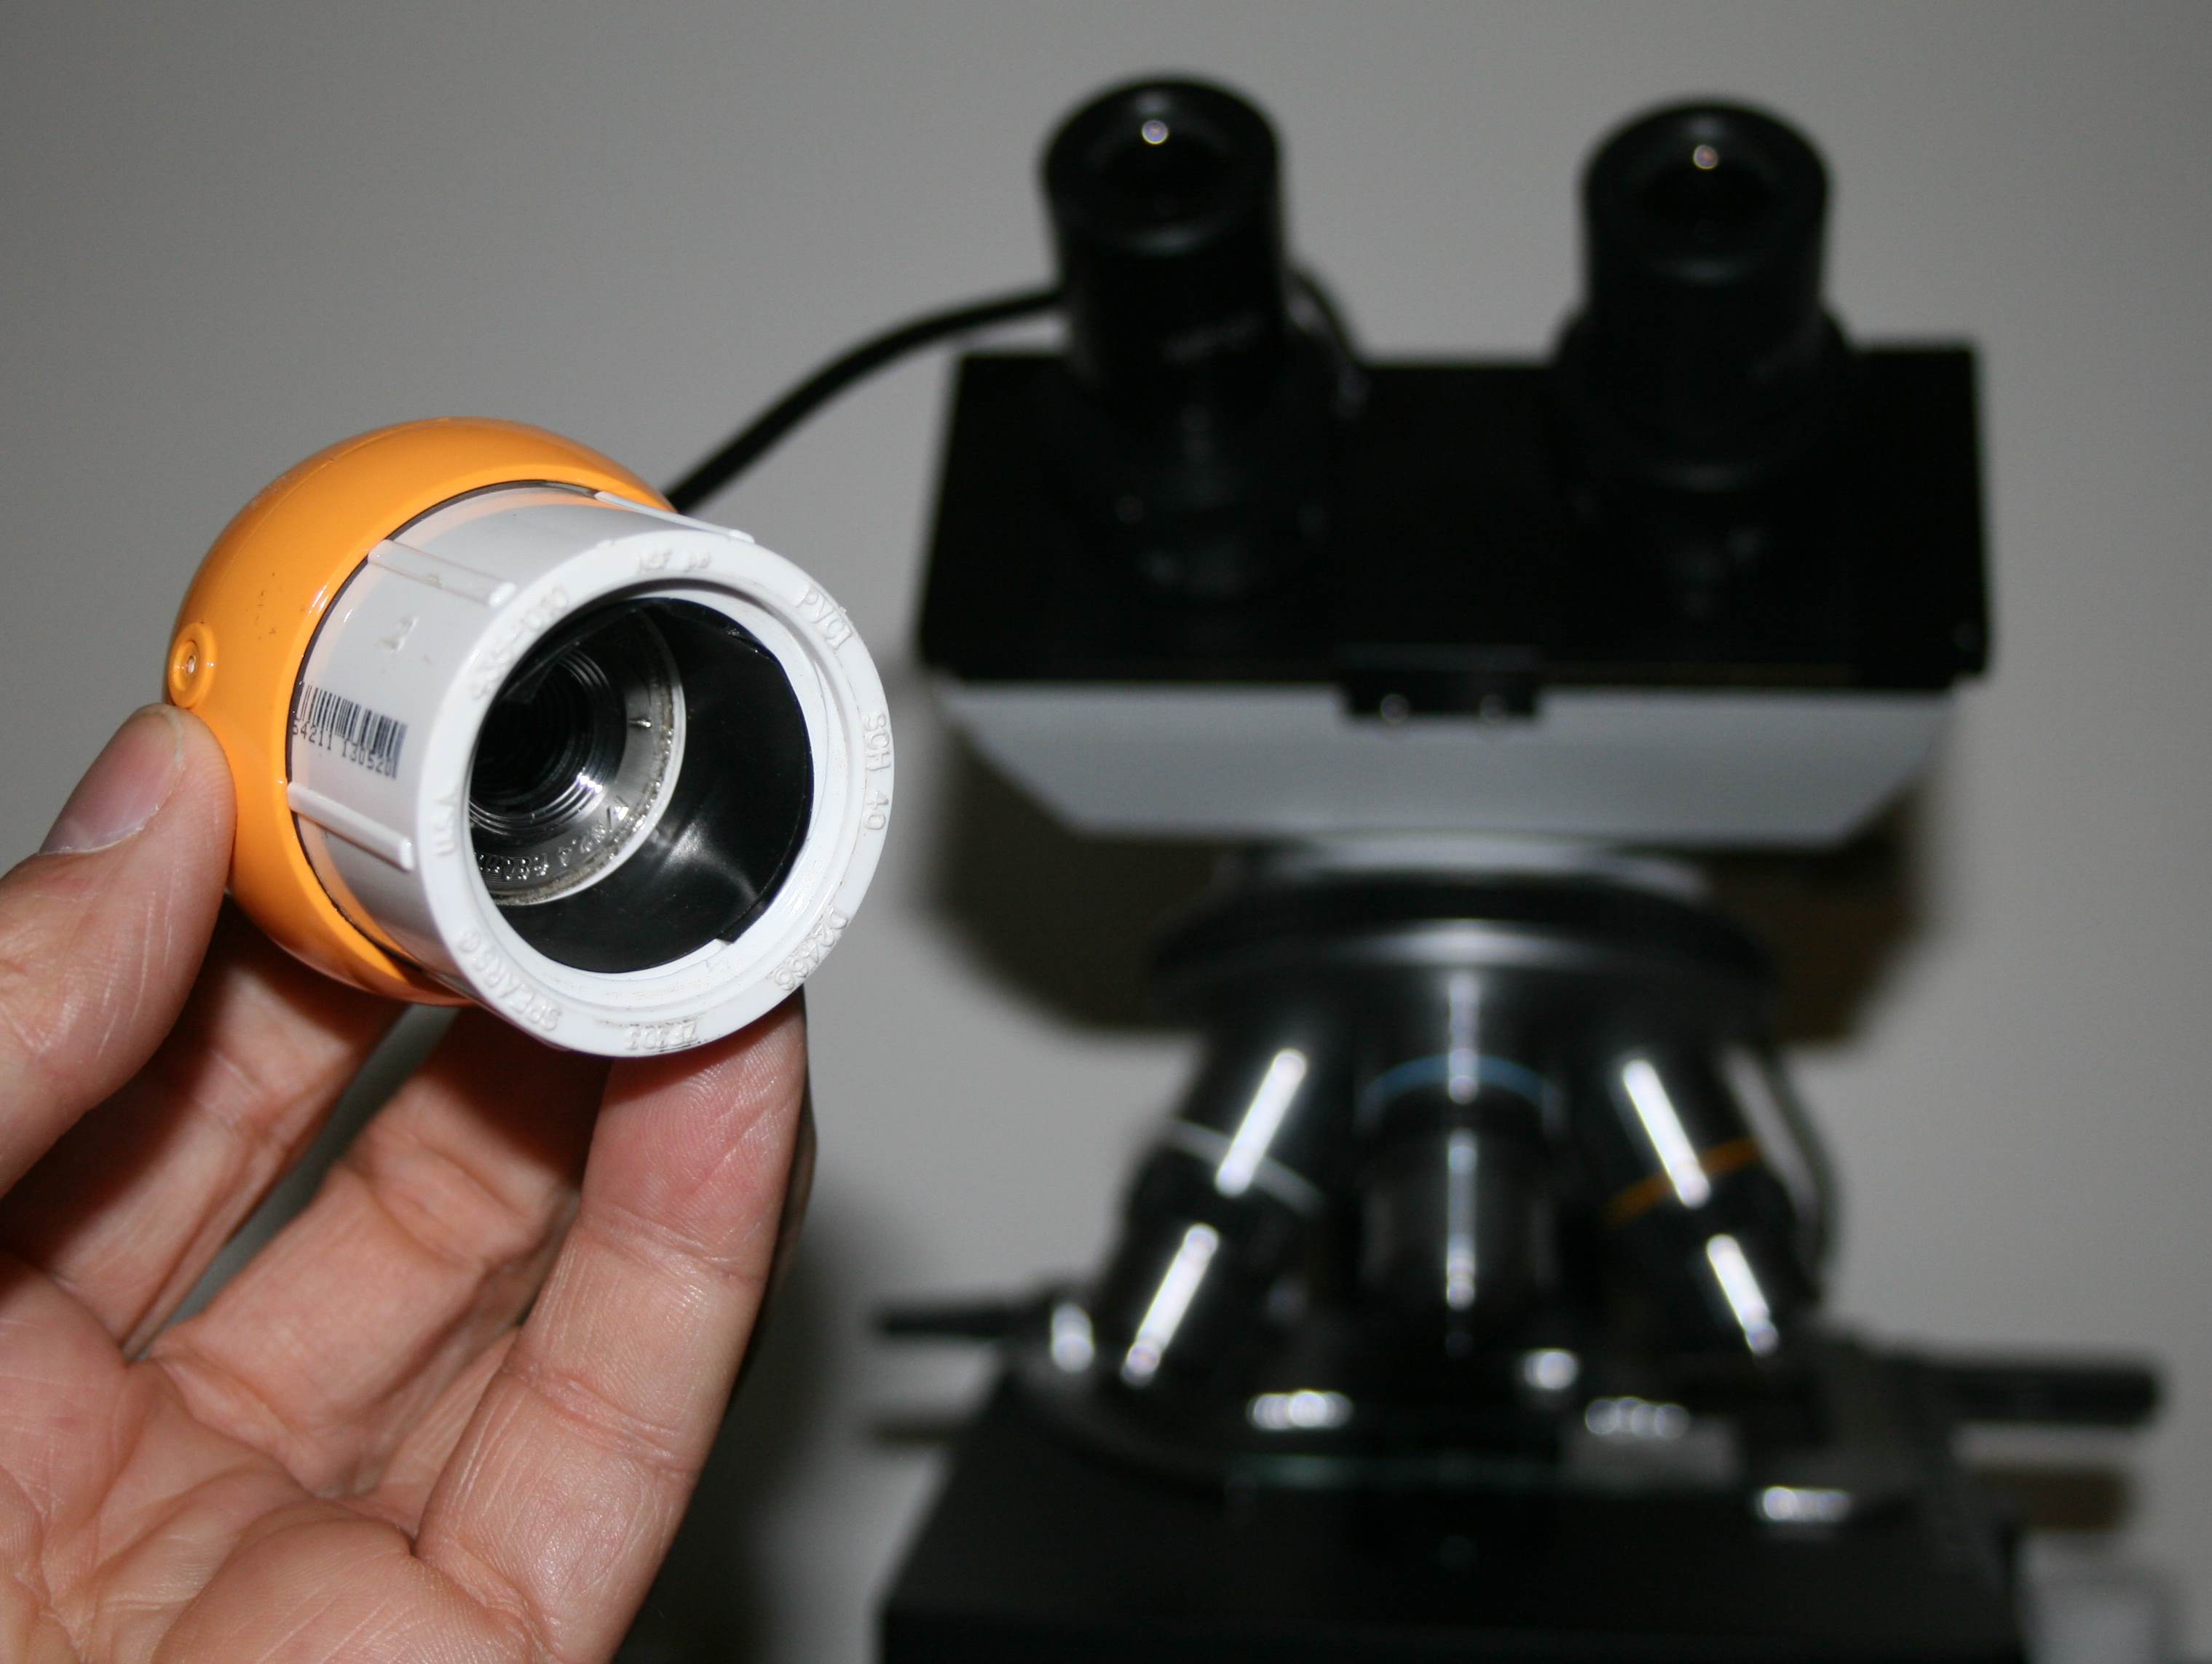
It fits over the left eyepiece on my microscope, so I don't have to hold it there by hand.
As you might expect, a cheap webcam takes pictures that aren't all that spectacular.
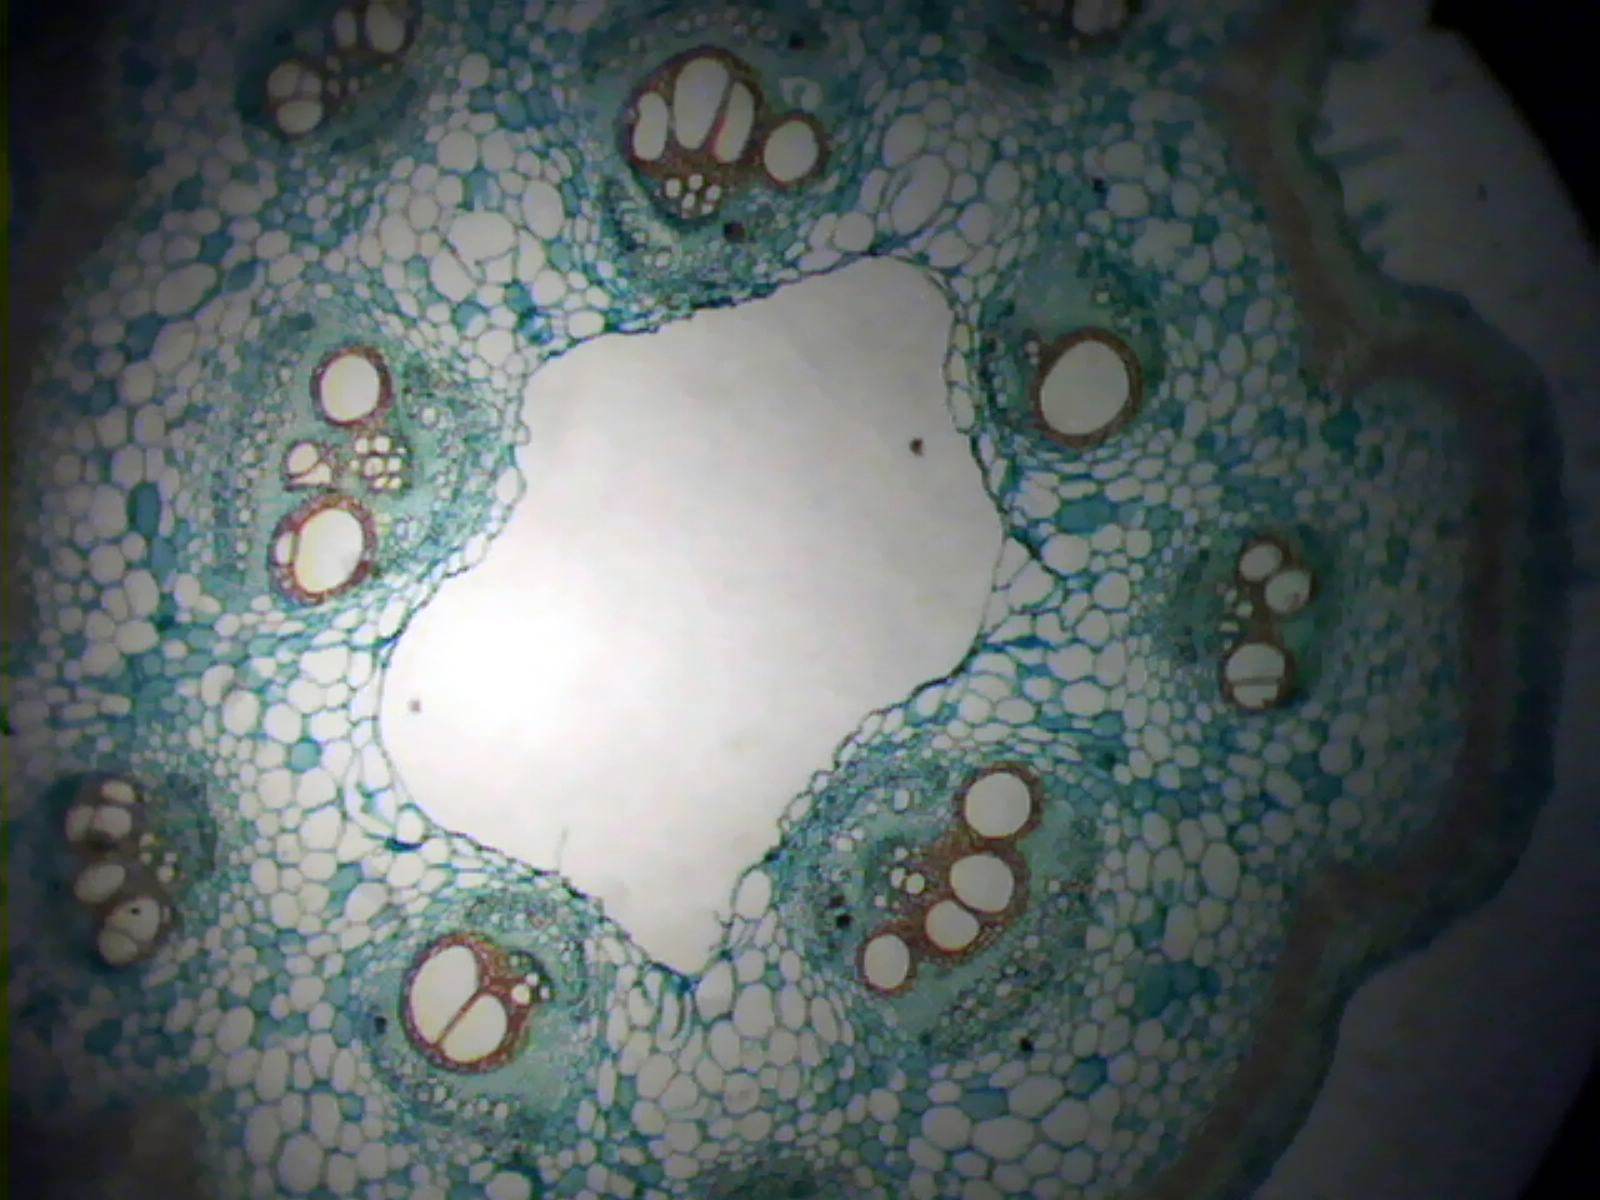
The lighting is uneven in the photo, due to the way the hardware and software read the pixels off the imaging chip. The lighting seen by eye through the other eyepiece was just fine. This varies from shot to shot, and you might want to take several shots and pick the one that looks best.
The photo is also a little out of focus. It is difficult to focus using the 640 by 480 pixel image on the computer monitor. You might want to take a stack of shots while adjusting the fine focus knob and then combine them for better focus. The camera lens can also be adjusted for focus, although I would recommend leaving it at the factory setting.
There is some vignetting, where the corners of the image are darker, showing that we are looking into a microscope with a circular lens. This is normally avoided by zooming in a little bit, to fill the frame with the bright center of the image. But this camera only has digital zoom, which is useless.
On the plus side, the camera can do video.
The video is jerky, because the camera cannot keep a high video data rate, and varies around 20 to 25 frames per second. But for $20, you get a video, and you can watch it on a big screen instead of sharing eyepieces with the rest of the class.
A Cheap Digicam
The next step up is an old 5 megapixel digicam, a Casio EX-Z57. You can probably find something like this for very little cash on eBay. Just holding it up to the eyepiece and clicking on the shutter gets you something like this:
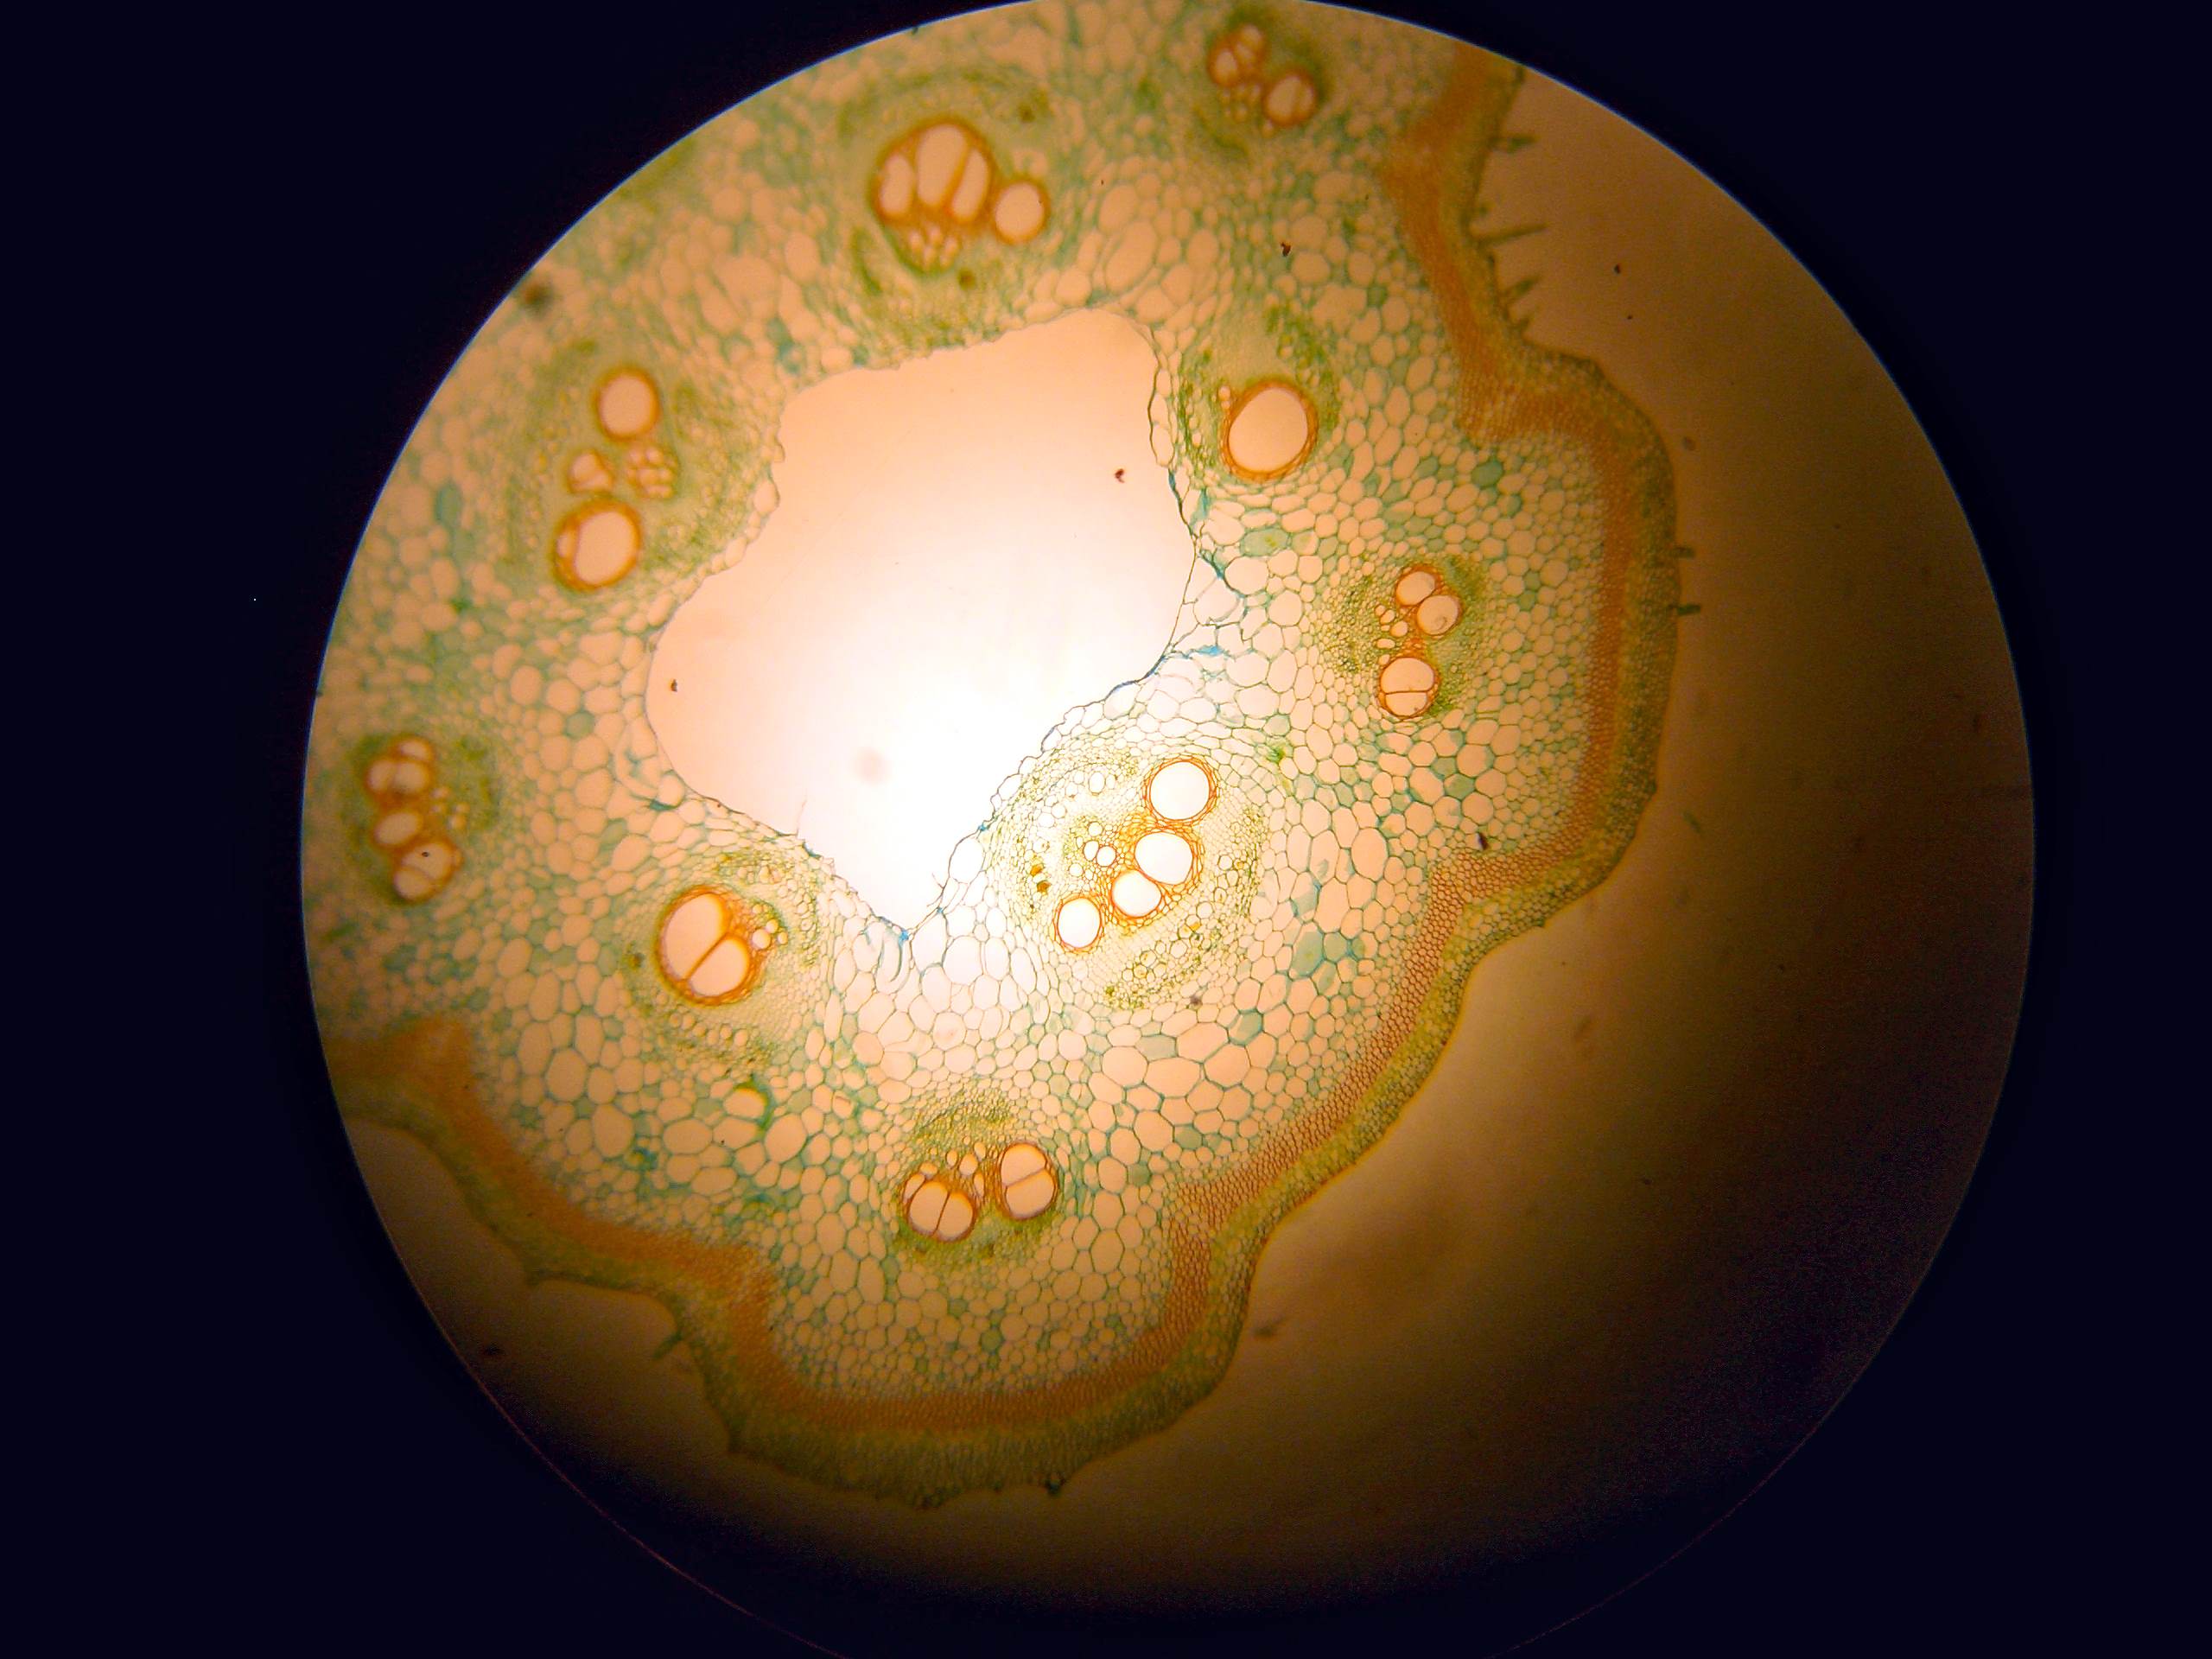
But this camera can zoom in, so the bright center of the field that is in focus can fill the frame:
This is not a bad shot, and it is very quick and easy to do.
An Inexpensive Digicam
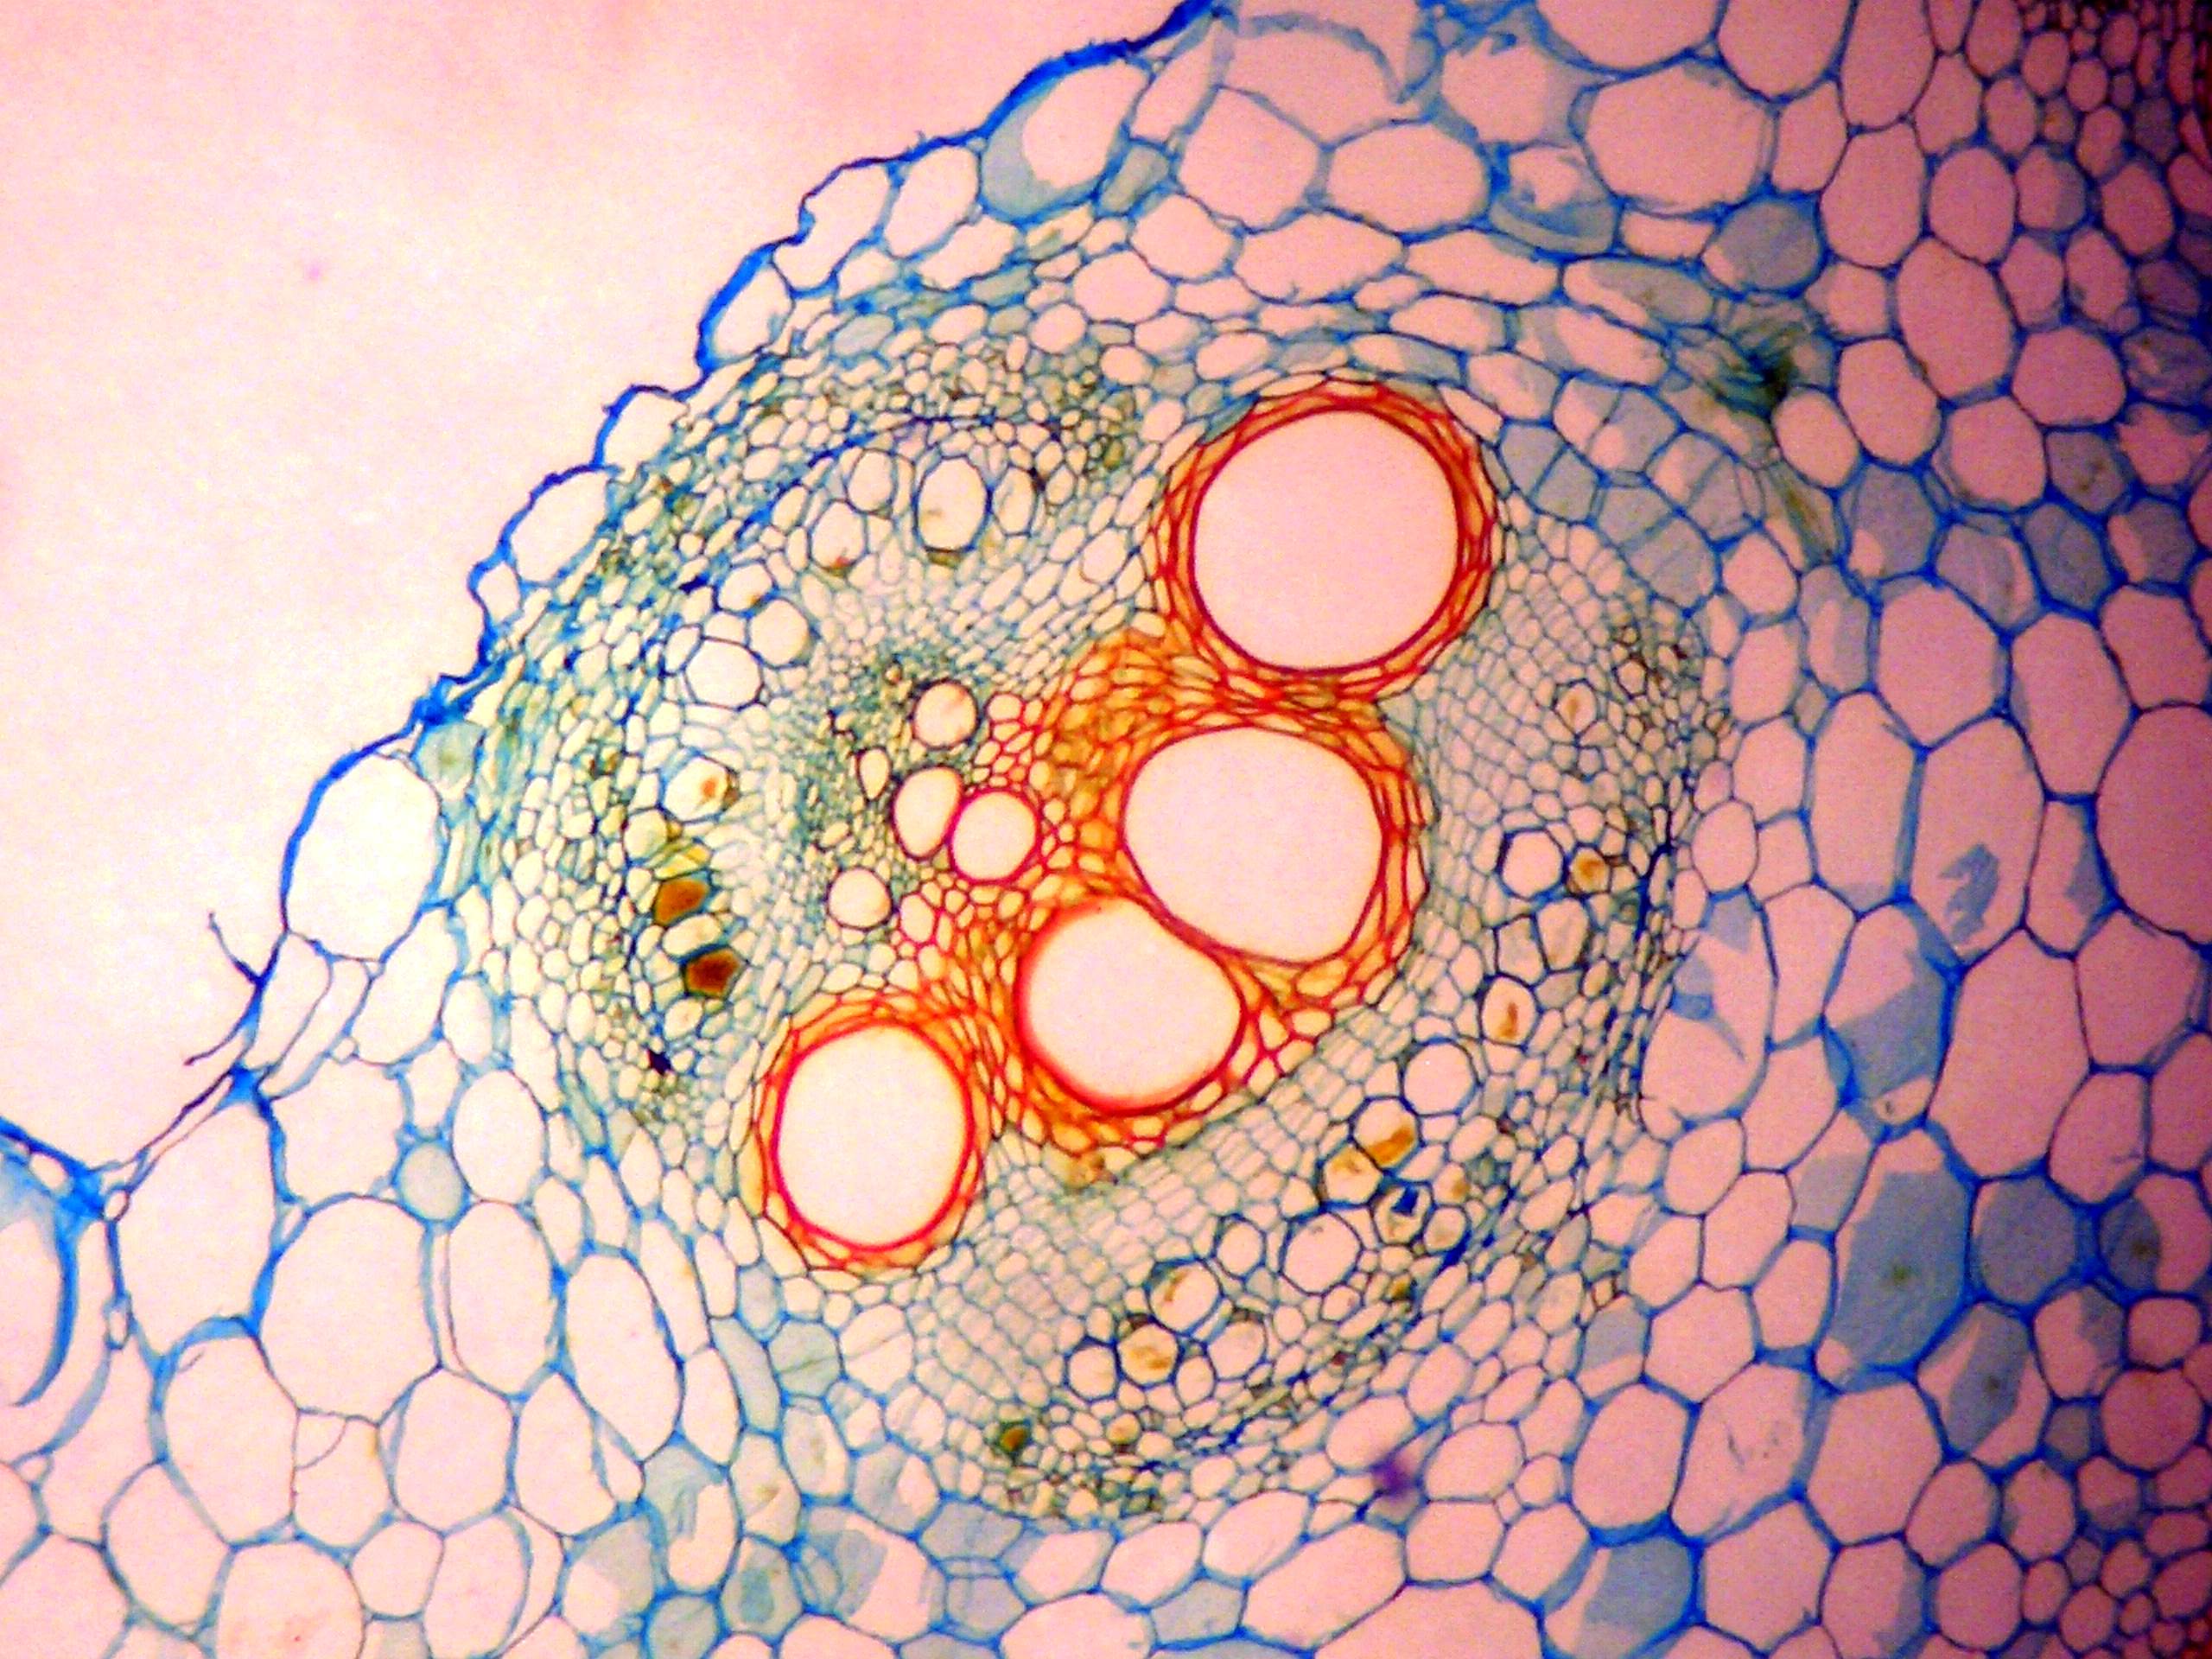
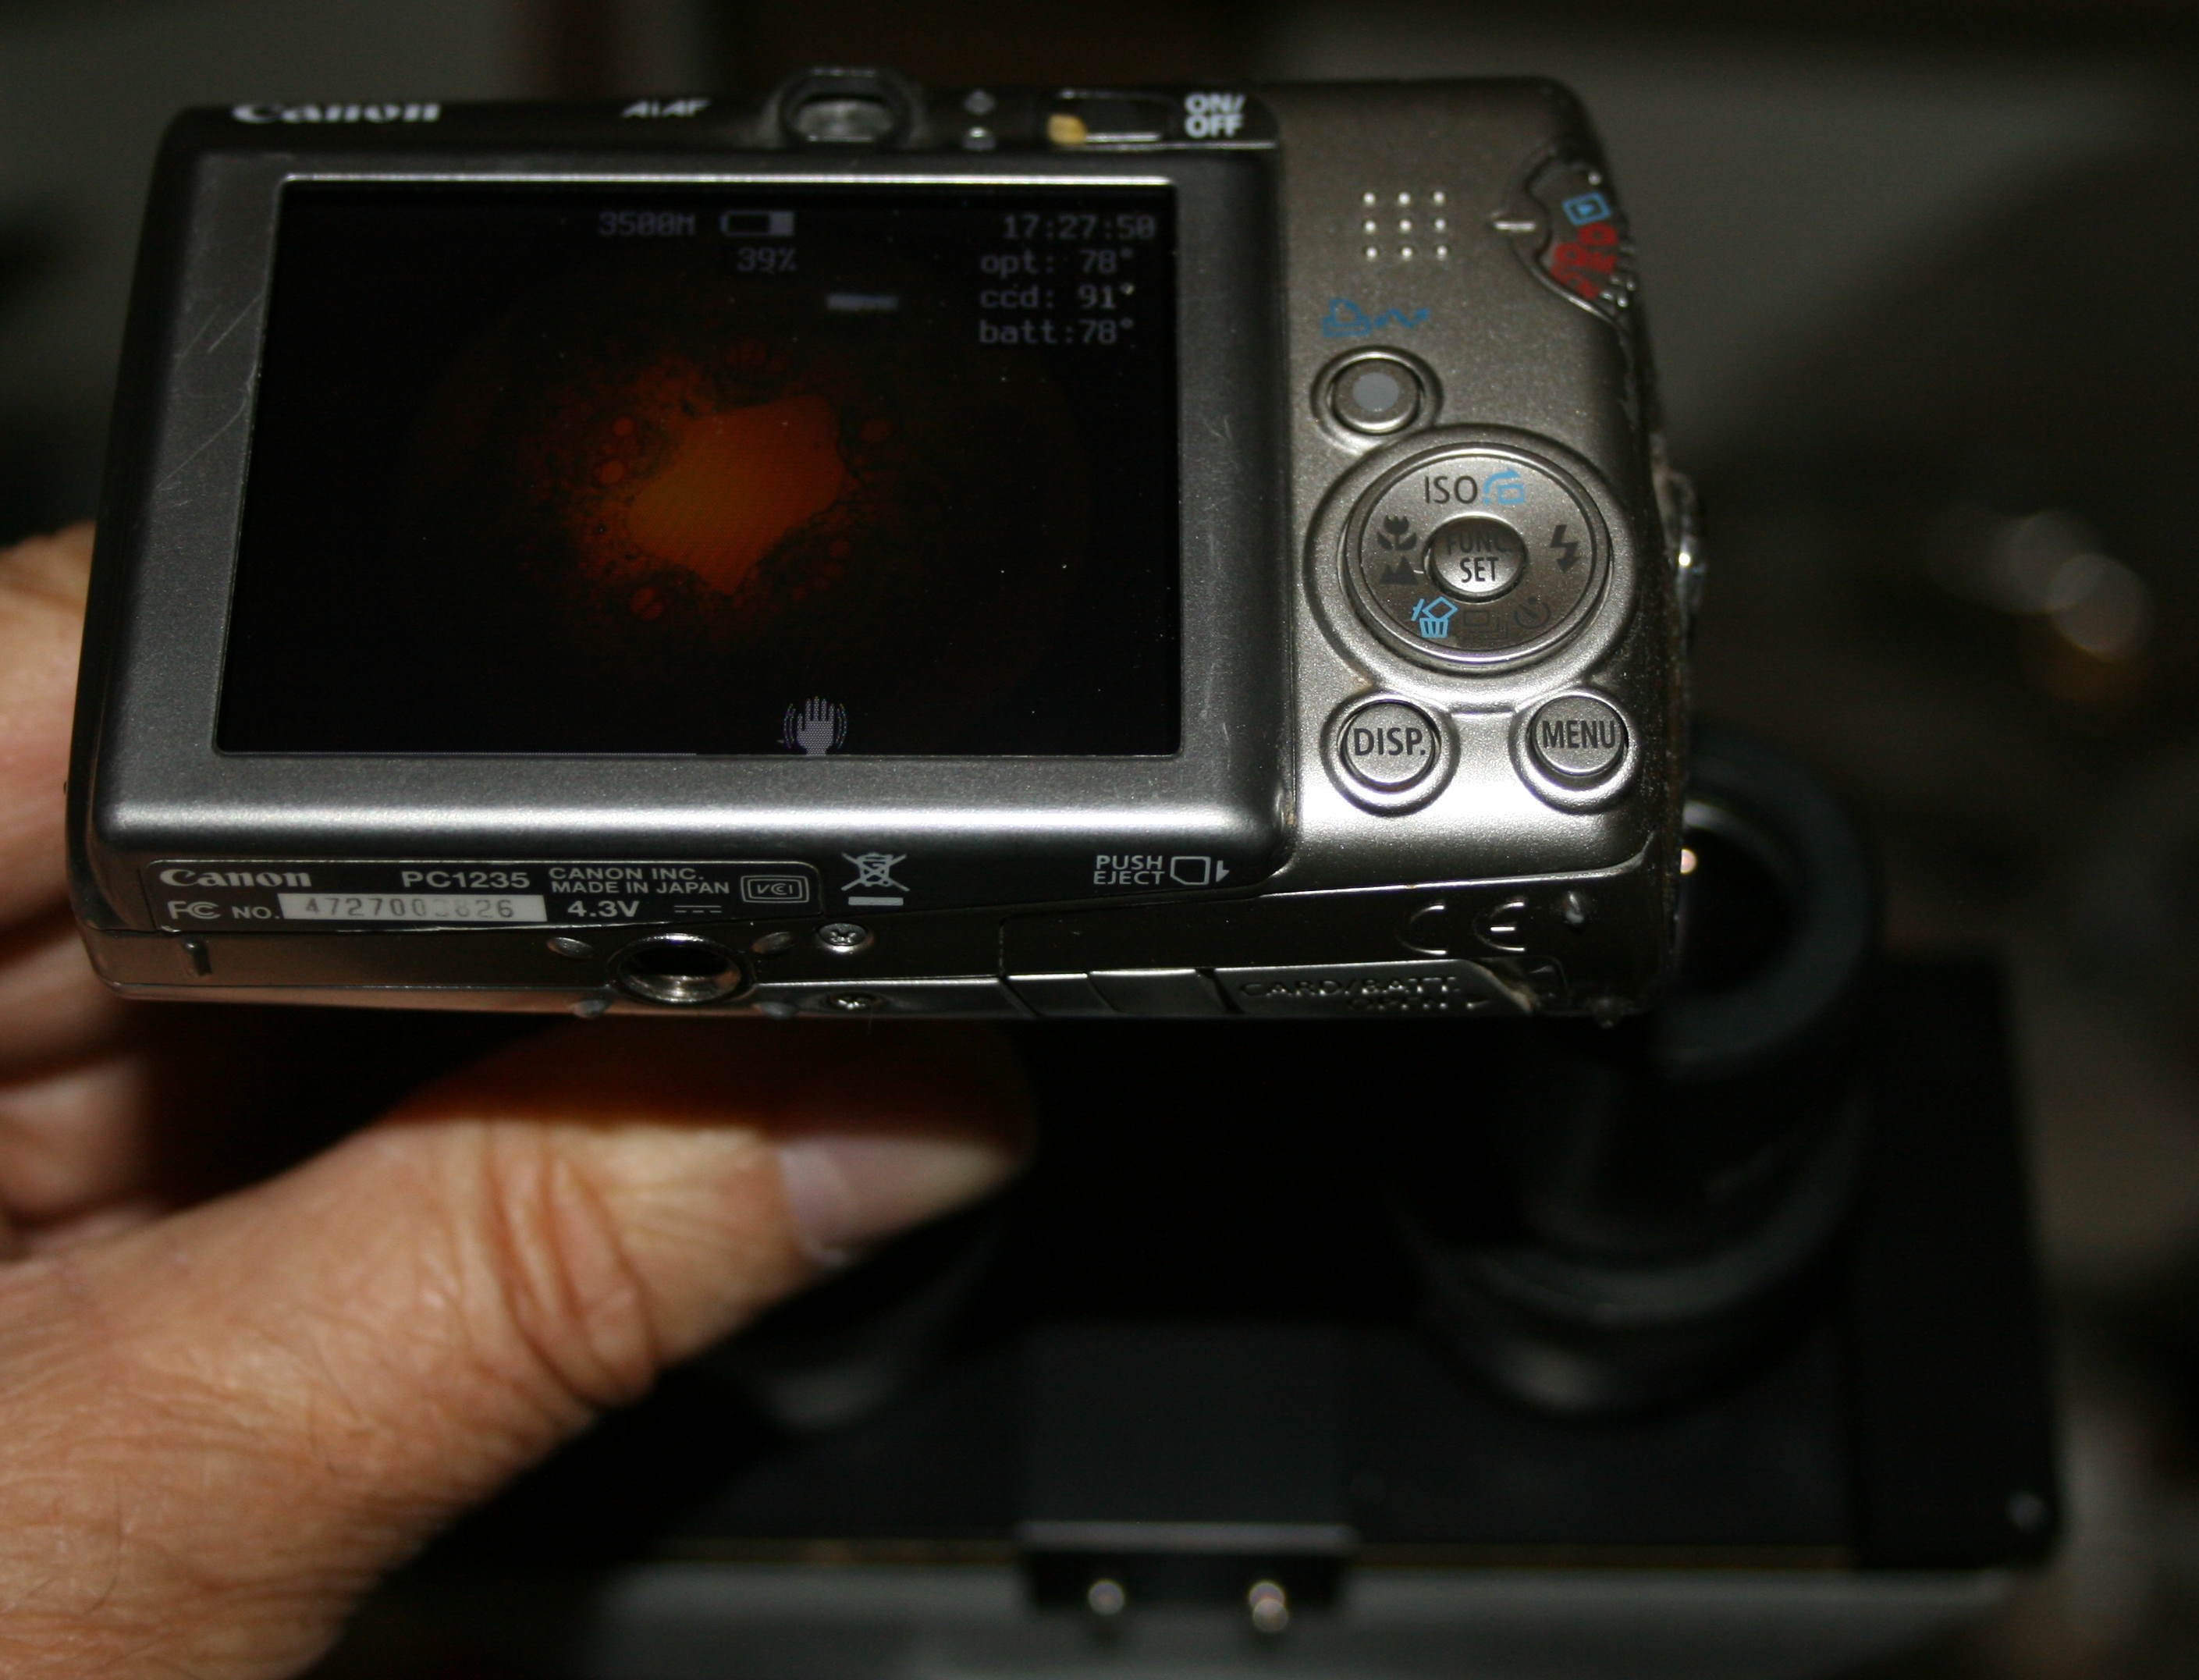
We can double the resolution of the camera by using an old Canon SD850IS that I carry around on my belt. It has 10 megapixels, which is not a lot these days, but can do a good job. Here it is pressed up against the eyepiece:
It took this picture of an ostracod:

The extra resolution of the camera allows us to crop the image and still get good detail:
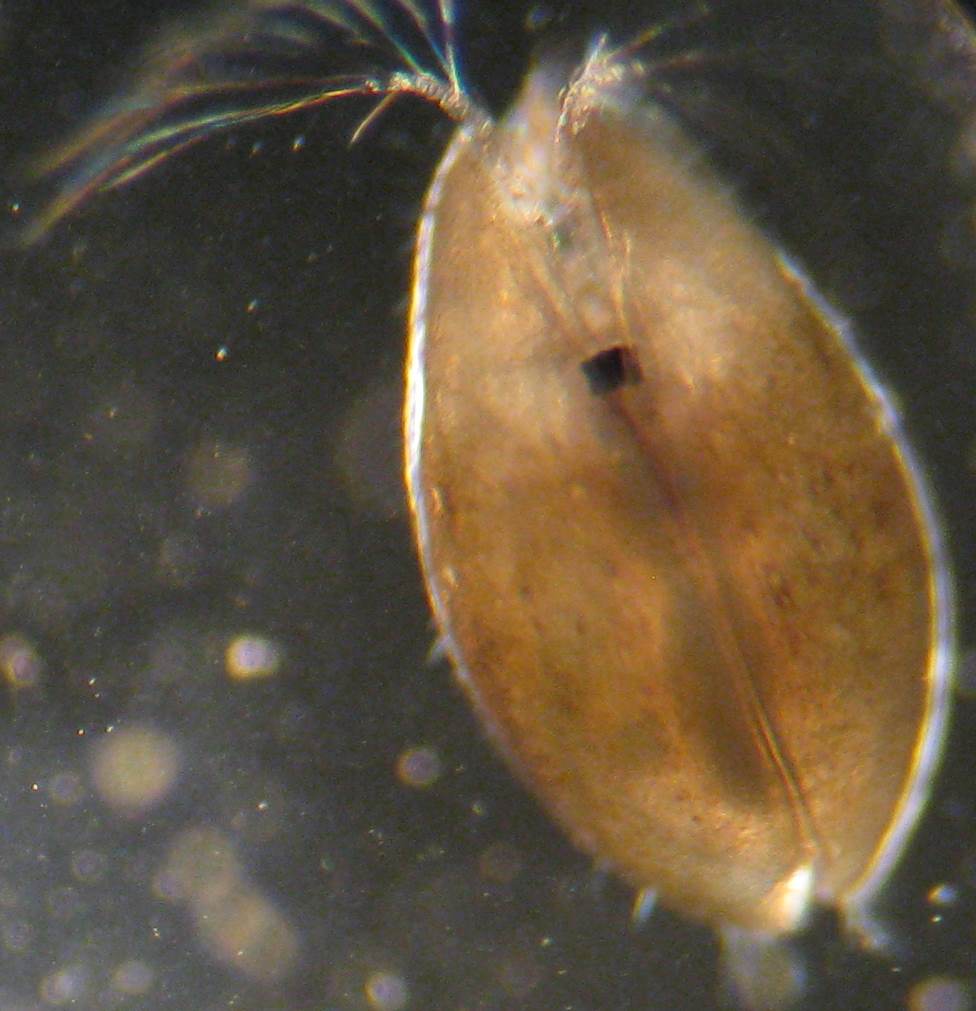
Like the webcam, this camera can do video. However, the video is higher quality, with a higher frame rate, so it is less jerky. There is also less compression, so the video has more detail. And, since the camera can zoom, we can see the ostracod a little closer if we want. I could have zoomed in a lot more, to get more detail, but the animal would have been off the screen most of the time.
We are now getting to some decent photos. But we can do better by getting rid of some glass between the subject and the imaging sensor. That's what the next section is about.