A favorite subject for many microscope enthusiasts is the tiny water flea, Daphnia magna:

Normally, a photo like the one above would only be in focus in a few places, since the microscope has a limited depth of field. If you focus on the part of the animal closest to the top, the parts closest to the bottom will be out of focus. Notice that while we can get some nice sharp lines on some features of the chest and appendages, the tail is out of focus:

Focusing lower, we can get some great detail in the tail, but the earlier features we saw are no longer sharply defined:

By taking a dozen photos of Daphne the Daphnia, each one focusing slightly farther down, we can concentrate our attention on those parts that are in focus at each depth. But wouldn't it be nice to have one image, with all of the parts in focus at once?
There are many computer programs that can do this, and several are free, like the one used here, called CombineZP. You may have used photo editing features such as unsharp mask in programs like Photoshop, where the software detects out of focus areas and removes them. In image stacking programs, this is done at the same time that the images are aligned and combined. The result is an image with nice sharp features everywhere.
Let's try it again, using an actual flea, from a dog:
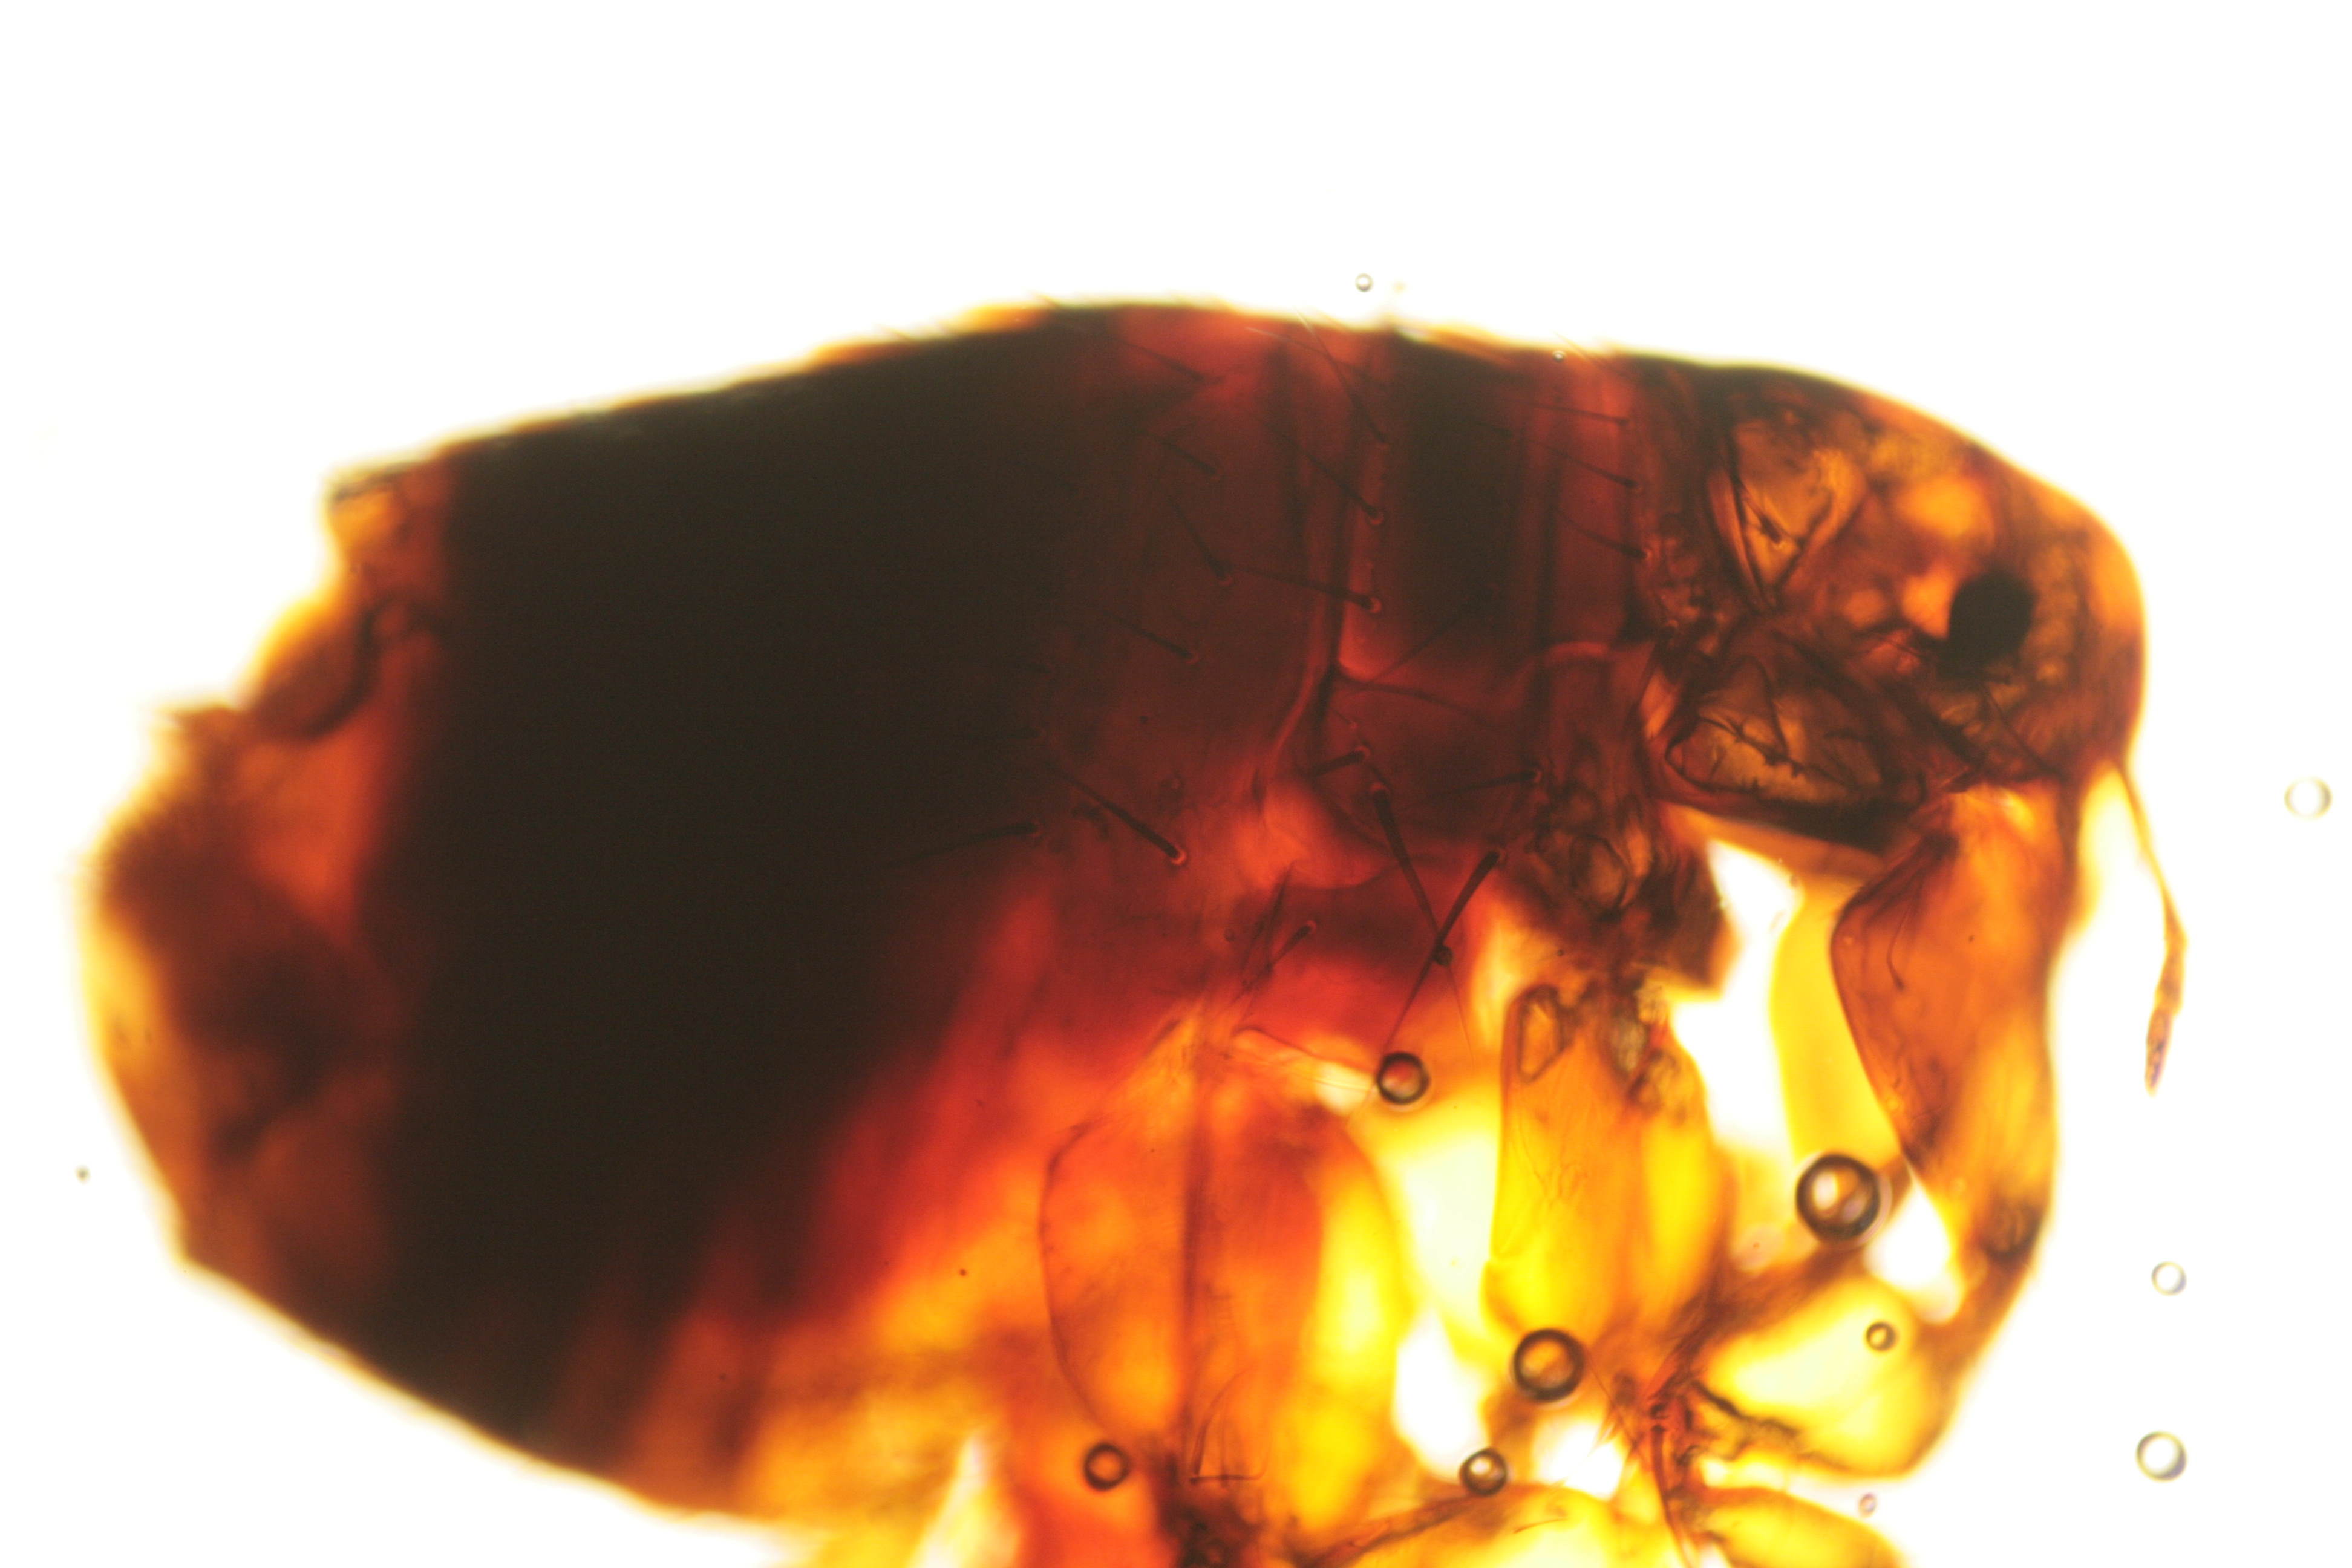
Here the hairs on the shoulder of the flea are in focus, but the legs are not. This is the top image of our stack of focus depths.
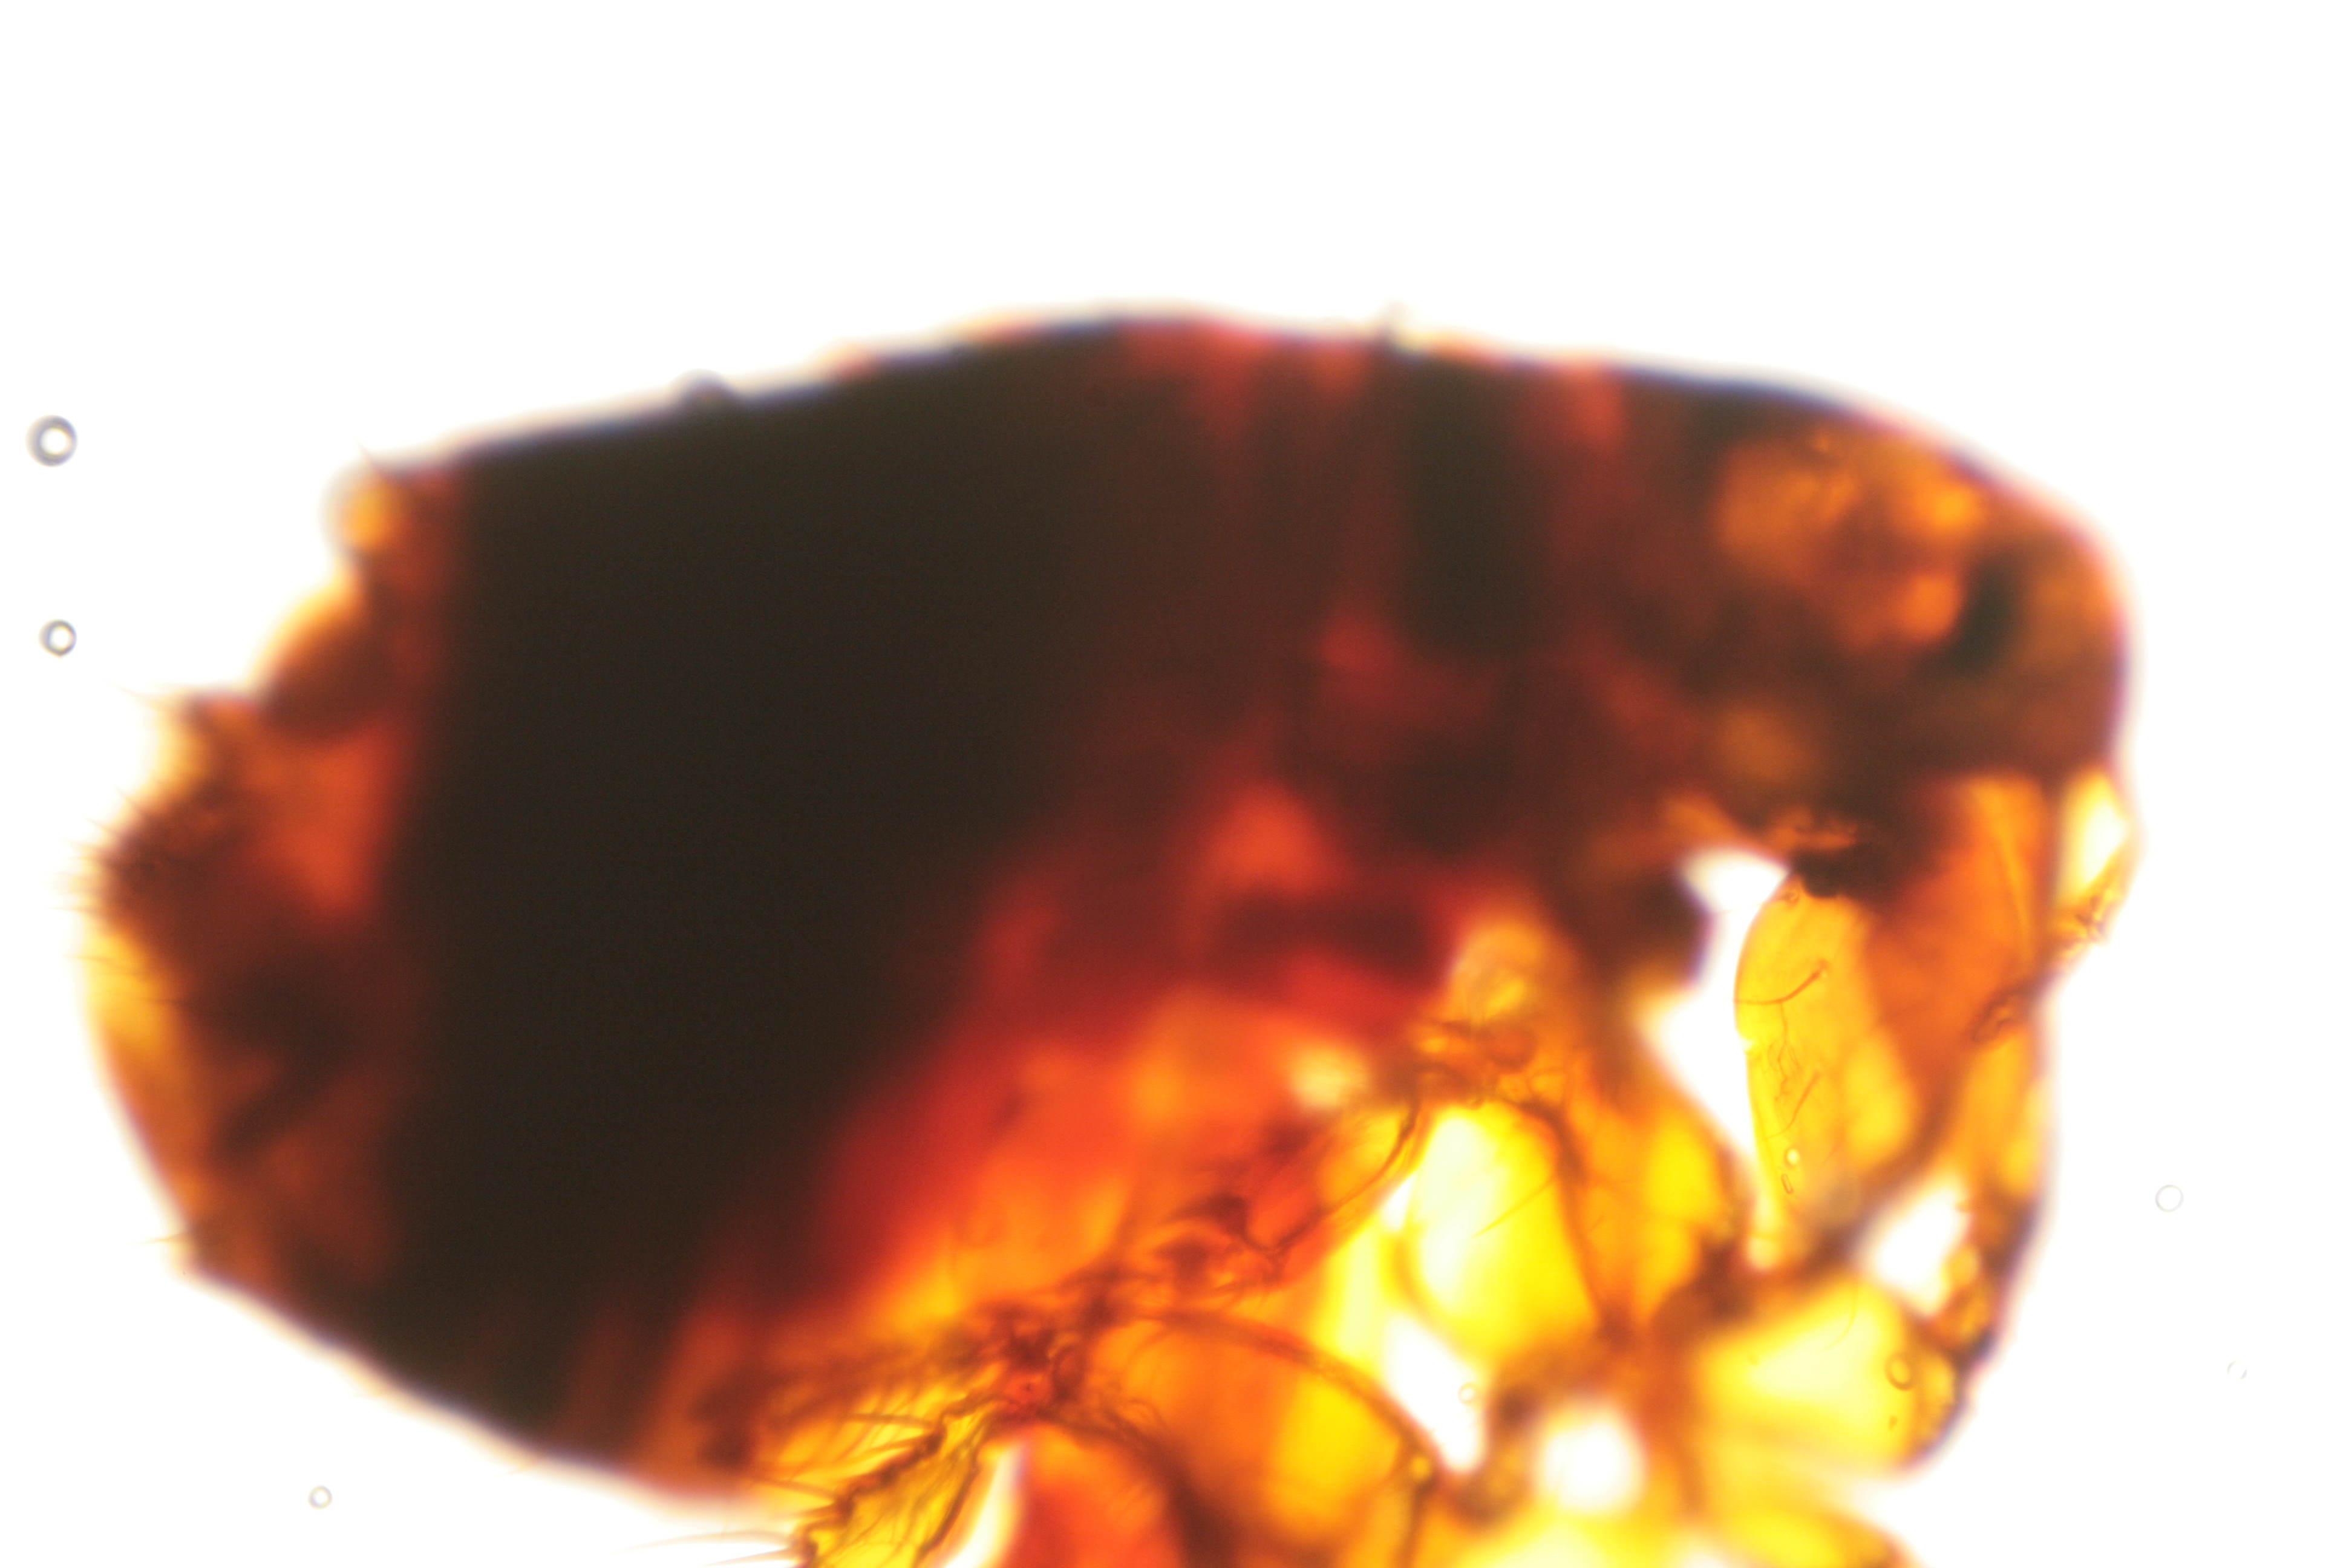
Here, focusing at the bottom of the stack, we can see hairs on the appendages, but we can no longer see the hairs on the shoulder. The bubbles that were floating at the top of the slide are no longer visible, but the ones on the left that are stuck to the bottom of the slide have now come into view.
These photos, and three more taken at depths in between the top and bottom images, are combined in the final image below:

Now we can see hairs all over the flea, and we can see how the semi-transparent exoskeleton parts connect to one another. The image captures the flea as a whole, making it much easier to understand what we are looking at.